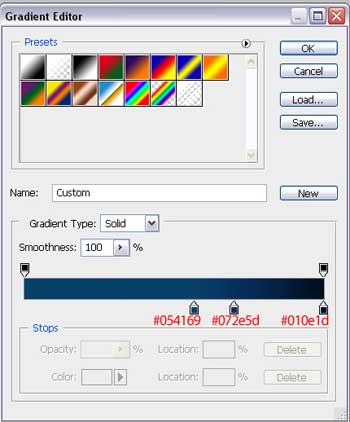
Firstly we need to open a new file (File>New) of 800x800. The first layer will represent the site's background. After that we need to select the Rectangle Tool (U) and use it on the entire page. Set the here shown parameters of Blending Options> Gradient Overlay>Gradient Editor
We must get the same result as it is demonstrated next picture:

Take now the Rounded Rectangle Tool (U) and represent an element like that one from below, placed in the middle of the picture.

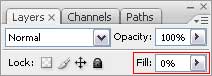
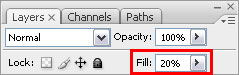
Fill 0% on the right side on the layers' palette, for our picture to get a transparent gradient.
Set next parameters in the Blending Options> Gradient Overlay
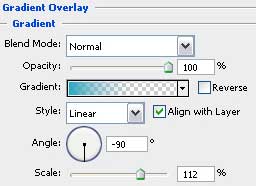
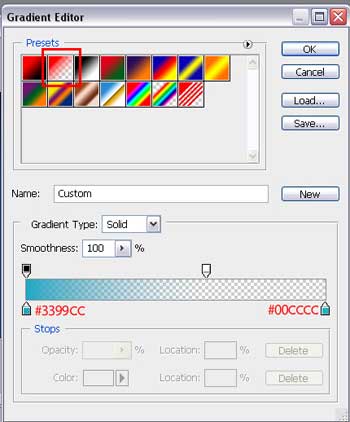
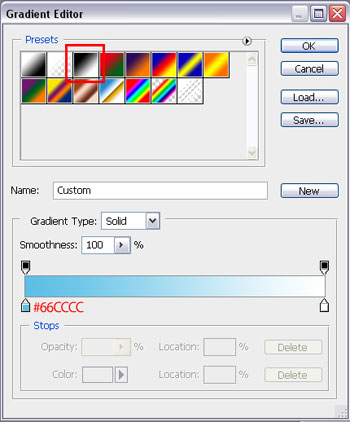
Select Blending Options> Gradient Overlay>Gradient Editor and choose here Presets transparent gradient's type. Set the same parameters, like those from next table.
We should get that:

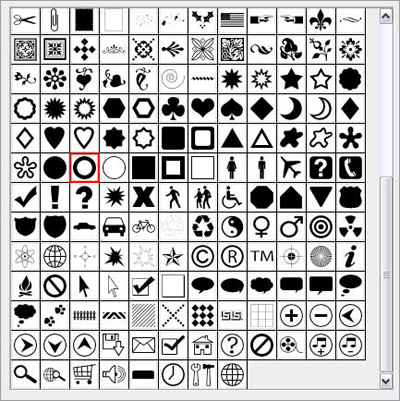
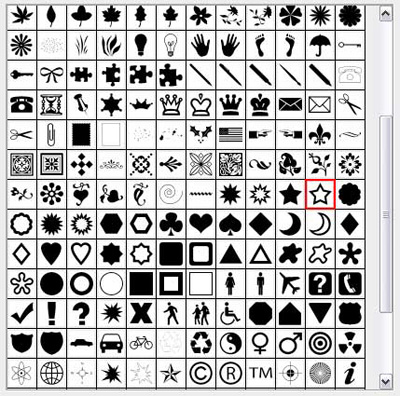
Continue by working with the next element. Select for the beginning the Custom Shape Tool (U) where we have to choose the Thin Frame.
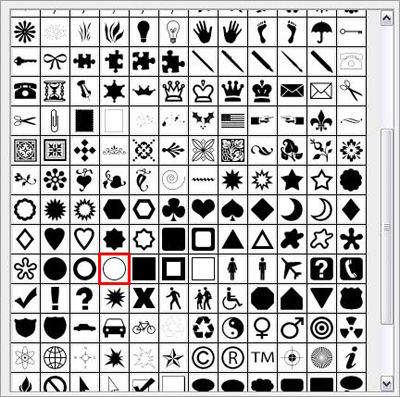
Create a circle, colored in #0066СC. After that we'll apply the Free Transform option to change the circle's shape as we want it to.
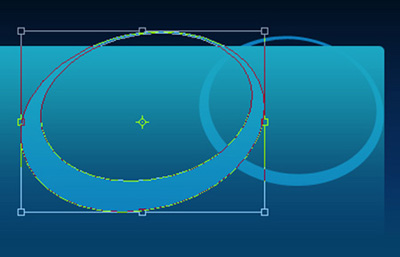
The new elements should be placed under the gradient's layer, but it's even better when combine them in a group.
![]()
Representing them in an arbitrary way, we'll get the next picture:
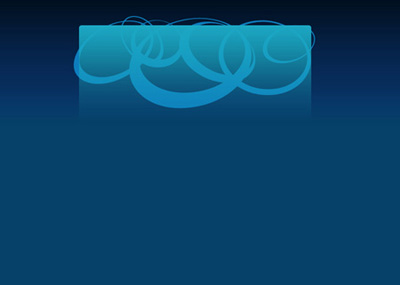
More important element's parts are those coming out from the gradient's layer. Select now the Brush Tool (B) and the color #3399СС.
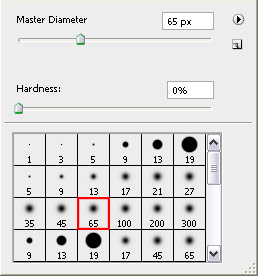
Picture it out on a new layer, situated between the gradient's layer and the figures' group.
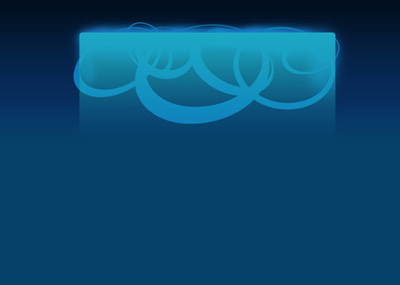
We have to represent one more figure above all the layers, choosing preliminary the Rounded Rectangle Tool (U). The edges' radius remains the same.

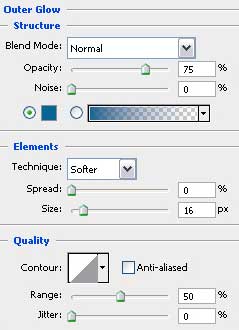
Set Blending Options>Outer Glow, as you may see in the next table. The color's code is #006699
Blending Options>Gradient Overlay parameters:
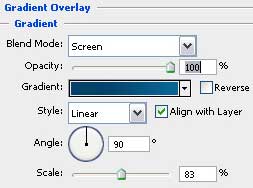
And Blending Options> Gradient Overlay>Gradient Editor

That is what we should get:

This layer should be situated in the group for making easier working with it.
![]()
Next we must represent several figures on the left side of the screen. For this operation we'll select the Custom Shape Tool (U) -Circle Frame and the color's code #003333.
The circles must be processed arbitrary also:
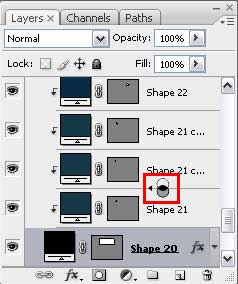
The new layers should be transformed in a mask for our figures not to get outside the gradient figure's edges, situated lower. Press on Alt button and make a left mouse's click between the layers. The upper layer will get a pointer directed on the bottom.
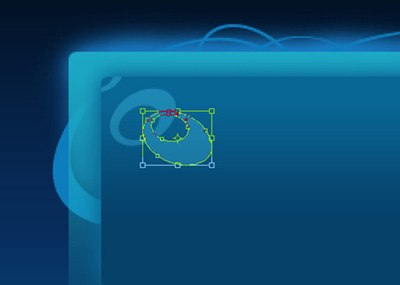
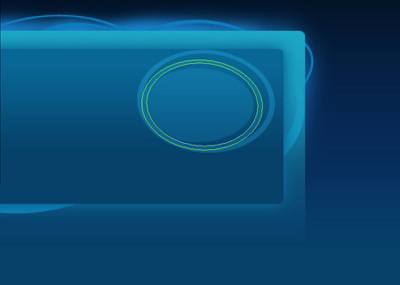
Continue by working with the right side of the picture. Draw firstly two circles, chosen from Custom Shape Tool (U) - Thin Frame and the Ellipse Tool (U) from the circles' inside. Make some transformations as it is shown below: The color's code is #003333, available for all circles. They should be transformed as it is indicated next picture.
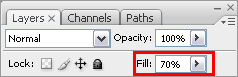
All three figures have Fill of 70%.
Select from the Custom Shape Tool (U) - 5 point star frame, which color should be #3399CC

Place them in an arbitrary way and set Fill on 20%. We should apply the Mask also as for the rest objects from the group.
Continue by drawing the site's logotype.

Choose from Custom Shape Tool (U) - 5 point star frame.

Apply Blending Options> Gradient Overlay>Gradient Editor
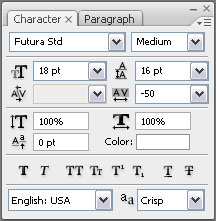
Write the logotype's text with the following adjustments:
We have to write on the right side of the screen the site's navigation: