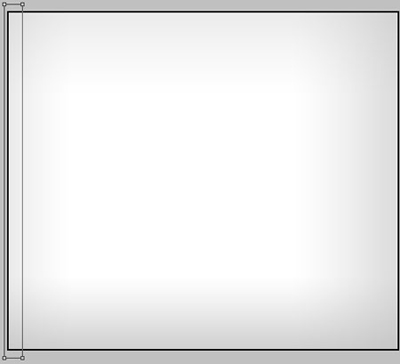
Create a new file having 742x642 px and 72 dpi and apply the Rectangle Tool (U) to represent the primary layer for the site's background.
The layer's parameters:
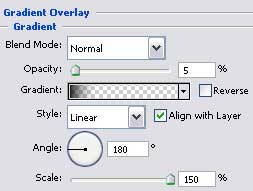
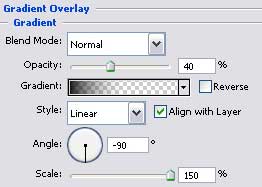
Blending Options>Gradient Overlay
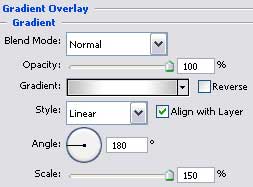
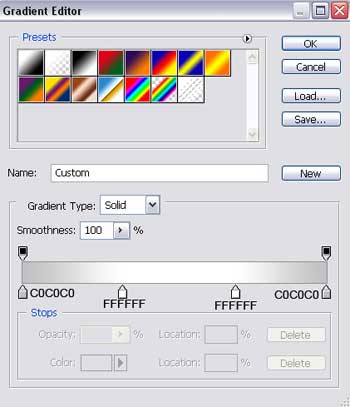
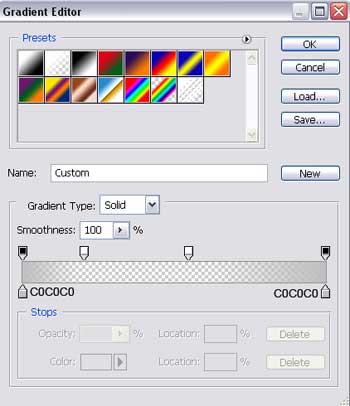
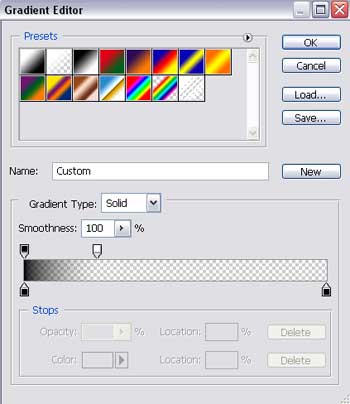
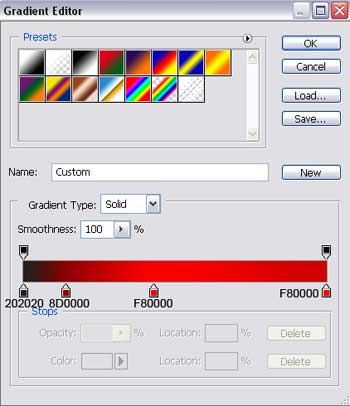
Gradient's parameters:

Make a copy of the last made layer and change the copy's parameters:
Fill 0% on the layers.
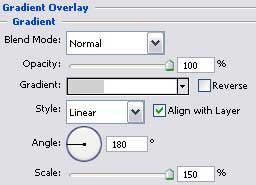
Blending Options>Gradient Overlay
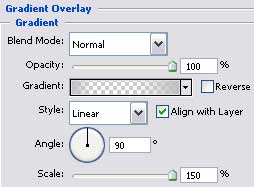
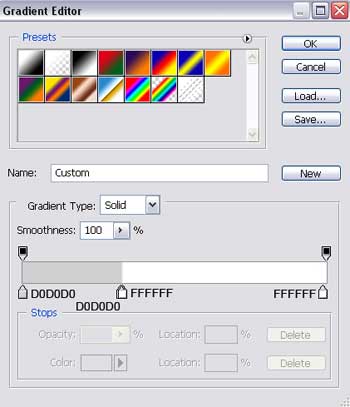
Gradient's parameters:

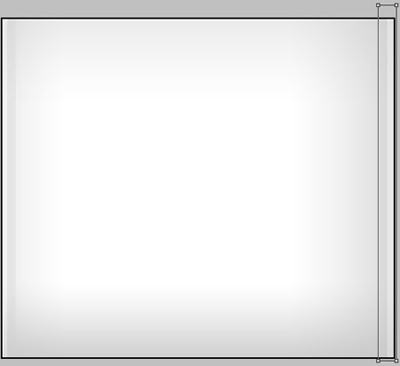
Using the Rectangle Tool (U), represent a vertical stripe along the background's left side.
The layer's parameters:
Fill 0% on the layers.
Opacity 30%
Blending Options>Gradient Overlay
Gradient's parameters:

Make a copy of the recently made layer and select the Free Transform option to turn the copy over and place it the way it is indicated below.

Select again the Rectangle Tool (U) to divide the background in two halves.
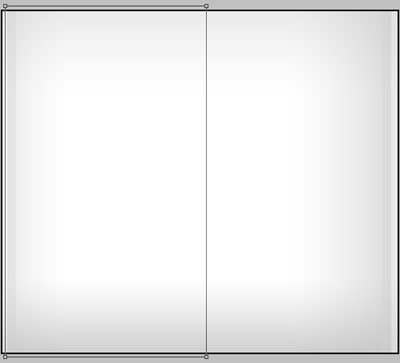
The layer's parameters:
Fill 0% on the layers.
Blending Options>Gradient Overlay
Gradient's parameters:

Now we have to represent an element of the menu on the site's header, using the Rounded Rectangle Tool (U).
![]()
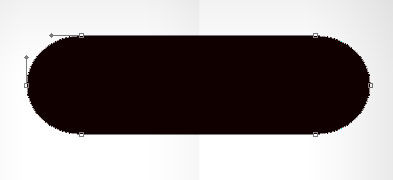
The layer's parameters:
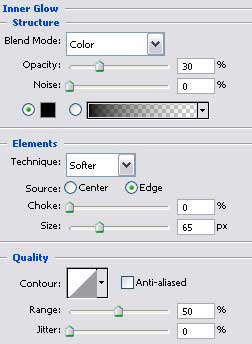
Blending Options>Inner Glow
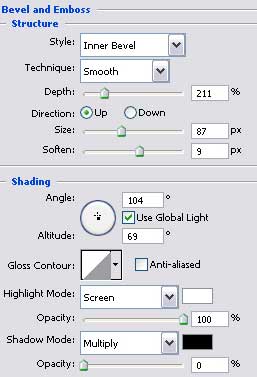
Blending Options>Bevel and Emboss
Blending Options>Gradient Overlay
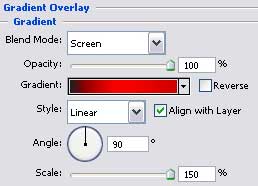
Gradient's parameters:

Make a copy of the last created layer and select again Free Transform option to situate the copy like it is shown on the next picture, changing its parameters too.

The layer's parameters:
Fill 0% on the layers.
Blending Options>Gradient Overlay
Gradient's parameters: