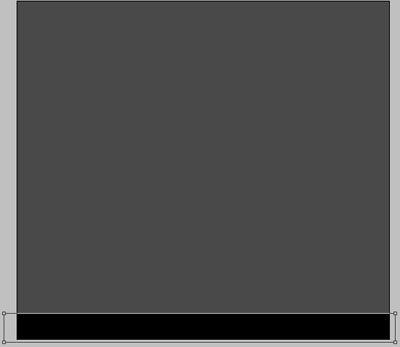
Open a new file (File>New) that would have 770x700 px and 72 dpi. Select after that the Paint Bucket Tool (G) to paint the file with this color #494949.

Draw now a thin black stripe on the lowest part of the background. The operation can be made with the Rectangle Tool (U).

Represent now the first layer of the button, situated on the site's menu, using the same instrument, but a different color - #D3D3D3

Copy out six times the last layer and select the Free Transform option to place the copies the way you may see on the next picture.
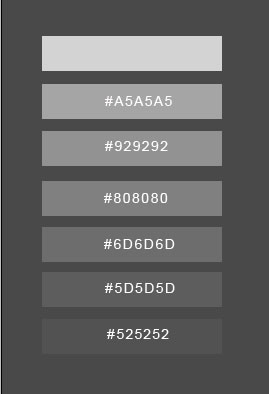
In the upper picture there are inserted the colors' codes.

Create a new layer and choose the Ellipse Tool (U) to represent the primary layer for the button's icon. But make a kind of indention on the left side.

The layer's parameters:
Blending Options>Gradient Overlay
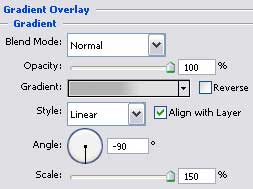
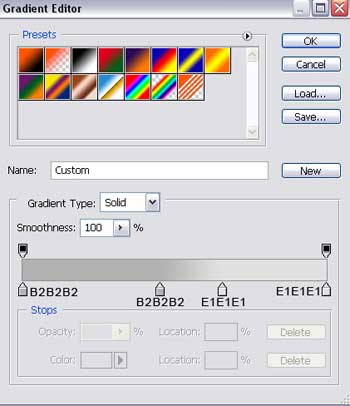
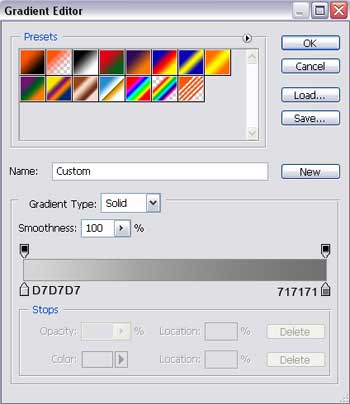
Gradient's parameters:

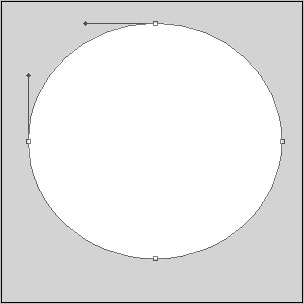
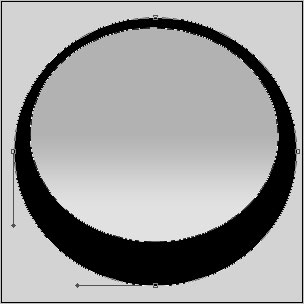
Using the previous instrument, try to represent a circle. Firstly we need to pick up the Ellipse Tool (U) to draw the outside edges and then press the Alt button to cut out an opening in the circle.
The layer's parameters:
Blending Options>Gradient Overlay
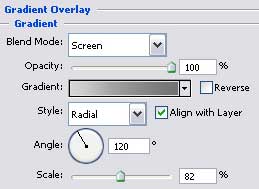
Gradient's parameters:
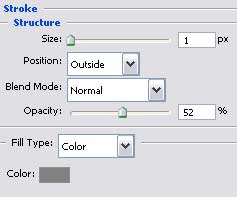
Blending Options>Stroke

The next layer should be made with the last instrument too, colored in #757575
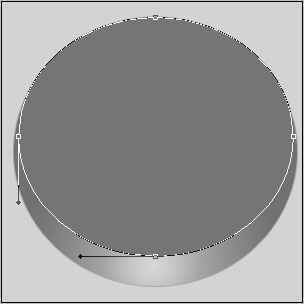
Press on the Alt button and make then a mouse's click between the circle's layers and the new last made one for the layer to be applied in the circle's limits.

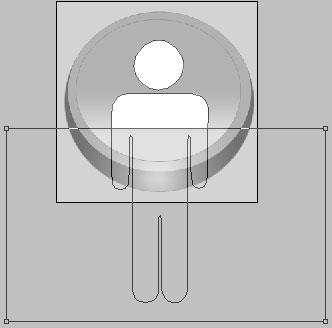
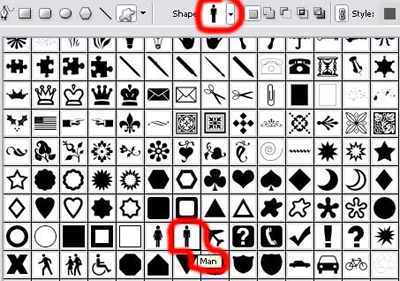
Select now the usual Custom Shape Tool (U) to choose from the next table the appropriate Shape, the way it is indicated below.
Press the Alt button and select in the same time the Rectangle Tool (U) to erase the elements we don't need.