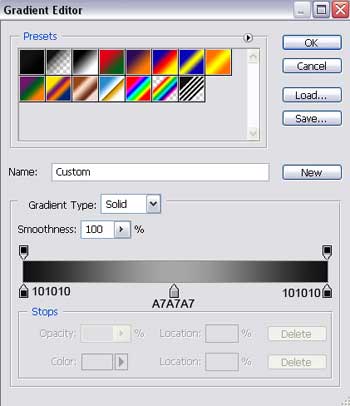
Create a new file (File>New) having 800x700 px and 72 dpi. Apply now the Paint Bucket Tool (G) to fill the background with color #131313

Using the Ellipse Tool (U), try to represent an element reserved for the site's header to be that would have the white color.

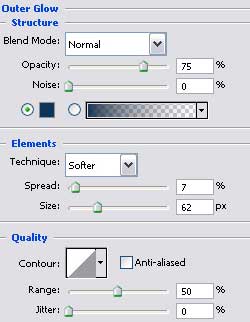
The layer's parameters:
Blending Options>Outer Glow

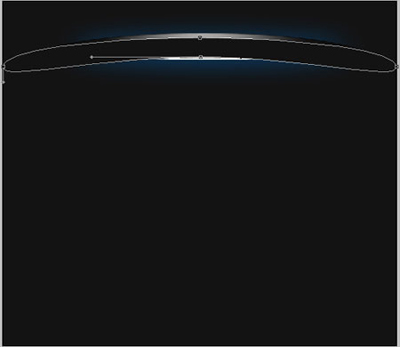
Applying the previous instrument, try to make the next layer belonging to the site's header, which corrections can be made with Convert Point Tool.

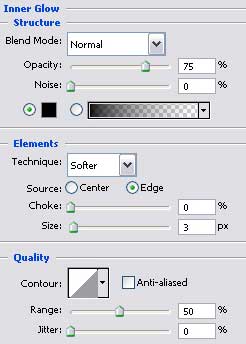
The layer's parameters:
Blending Options>Inner Glow
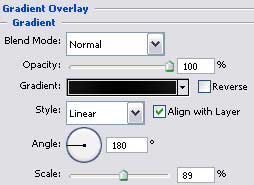
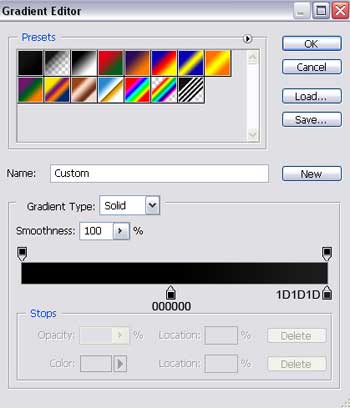
Blending Options>Gradient Overlay
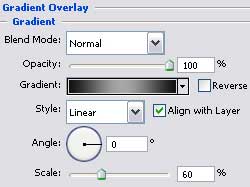
Gradients parameters:

Make a copy of the new made layer and select the Free Transform option to narrow a little the copy and stretch it out a little the way it is shown below (change the layer's parameters).
The layer's parameters:
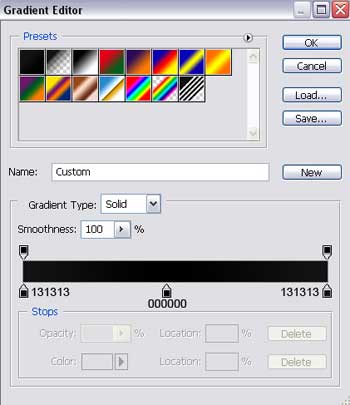
Blending Options>Gradient Overlay
Gradient's parameters:

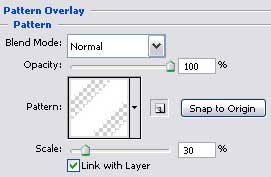
Create a new layer having 20x20 px and 72 dpi and then apply the Rectangle Tool (U) about three times and turn over the copy with Free Transform option to create a kind of pattern of white color.
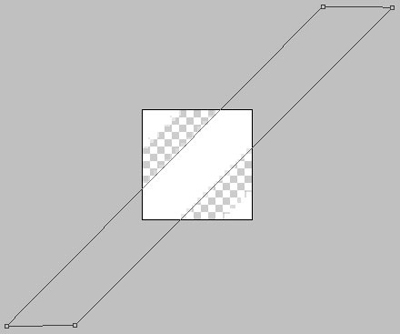
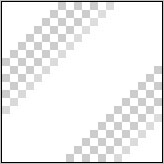
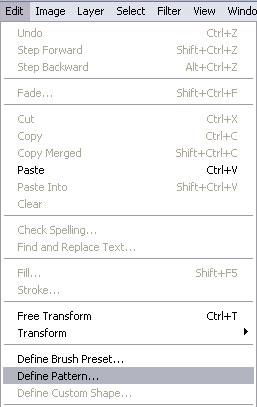
Save the Pattern!
Create a new layer and use on it the Rectangle Tool (U) to represent a wide stripe looking like a part of the site's background.

The layer's parameters:
Blending Options>Gradient Overlay
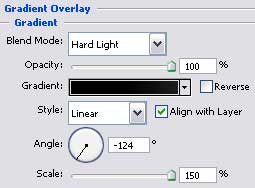
Gradient's parameters:
Blending Options>Pattern Overlay