Open a document in photoshop
Size 760 x770
Background color : #333333
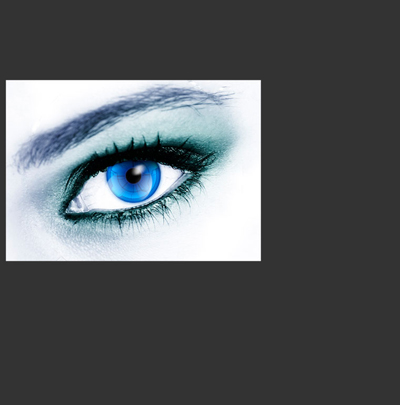
Then add a nice image on your layout.
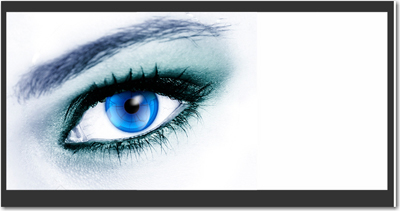
Then Select the rectangle tool and add a shape on the right of the image
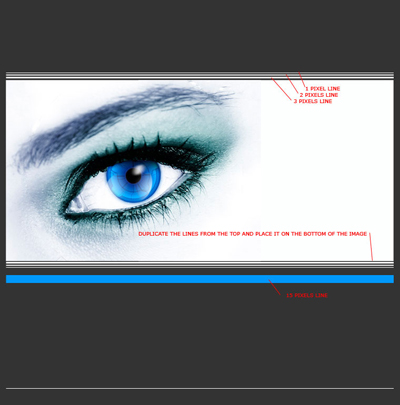
Now select Line tool, and start creating some simple lines. When you create lines be sure you will use different weight
Now create a new pattern
Now Create another document:
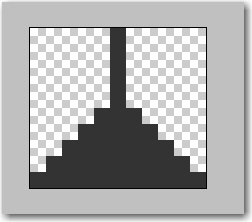
Zoom this document to 1600% and with the Pencil Tool Draw 3 points:

After that go to Edit > Define Pattern...
Choose a name for your pattern and press OK
Then you can close this document.
Create a new layer ( Ctrl+Alt+Shift+N )
Select Marquee Tool and make a selection like mine
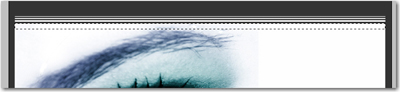
Then grab Paint Bucket Tool. Be sure you will select the pattern we have created , and press one time inside your selection with the paint bucket tool
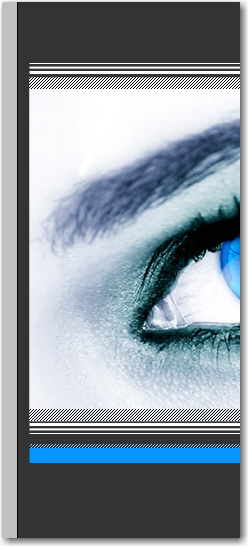
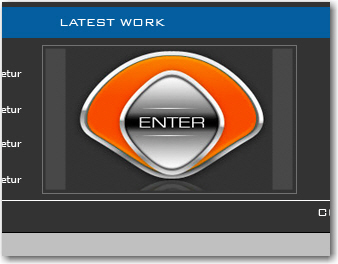
In the next image you can see more changes. This is done with the same technique
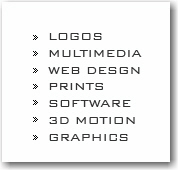
Now add some text on your layout
Then create another document.
The size should be 5 x 5 pixels
With a transparent background
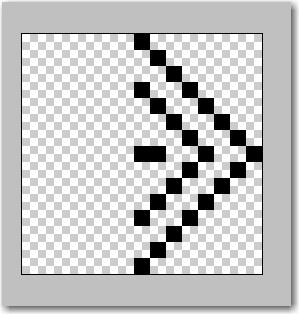
Zoom the document to 1600 % , and with the Pencil Tool create the following arrow
Be sure that you have the brush size = 1 pixel
Now select Move Tool and drag this arrow on your layout. Duplicate the arrow a few times and place it like in the next image
Now create another document with transparent background
Size should be 11 x 10 pixels
Zoom the document to 1600 % and make the following drawing with the Pencil Tool ( brush size 1 pixel )
Be sure you set the color of the pencil tool to #333333 ( the color should be the same as your background
Now Select Move Tool one more time and drag this small pixel art image to your layout. Duplicate this layer a few times and place it between your text from navigation bar
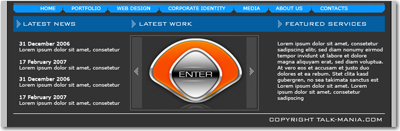
Now add more text on your layout and also some image. i will add a image with another tutorial you can find on Talk-mania.com
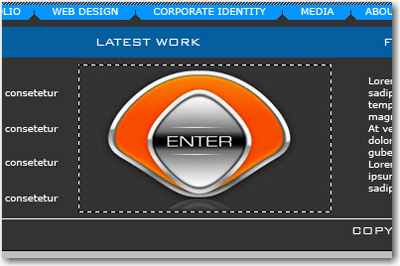
You can add another details on your layout. For example select rectangular Marquee Tool , Create a new layer then make a selection like in the following image
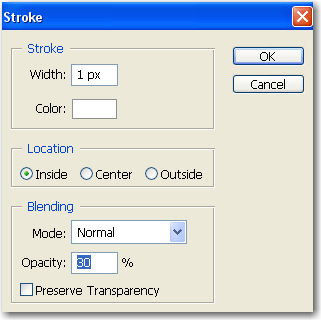
Then go to Edit > Stroke and use the following settings
Click ok. then press on Ctrl+D to deselect
This is the result

Select Line Tool. Set the weight to 20 pixels and make 2 vertical lines like in the following image
Then Create another document . Size should be 15 x 15 pixels.
With a transparent background
Zoom it to 1600 % , Select pencil Tool and make this pixel art drawing
I will make the drawing with black, but please use a white color in your document
Then With The move tool drag to your layout and place it in the same way i did
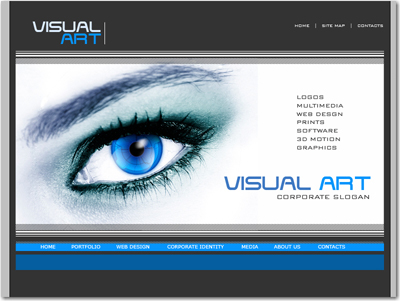
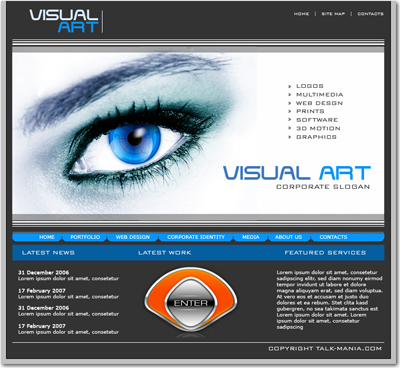
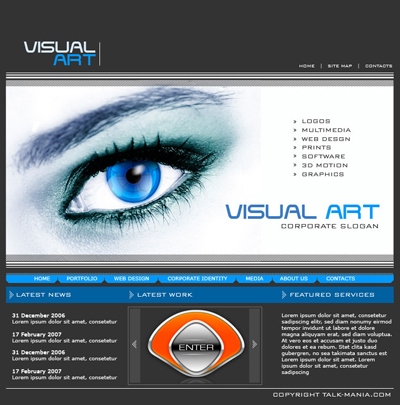
I think i am ready with this layout. i can add as many details i want. but i am sure you can add more details then me
This is my final result
I hope you like it.