
This tutorial will teach us how to use the clone tool to change the shape of the pupil of an eye. This tutorial will work best in CS3, but is possible to achieve just as good results in PS 7 - CS2.
This tutorial has been design for intermediate users and assumes that the user has a working knowledge of Photoshop.
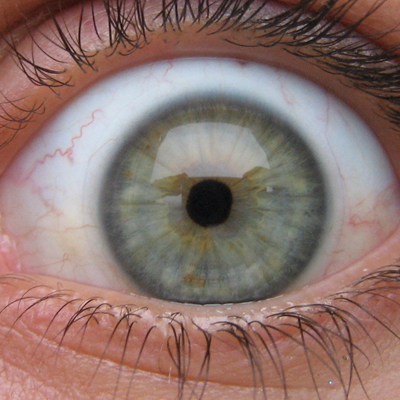
We will begin with a stock image of an eye which i found.
The first step is to duplicate the layer and hide the duplicated layer by clicking the small icon next to the thumbnail of the layer in the layer's palette
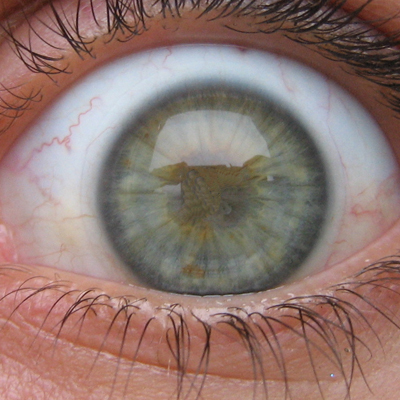
The next step will be to edit away the iris of the first layer using the clone tool. Select the Clone Stamp tool and choose a relatively small brush size. Then, when ready, select a small section of the eye just outside the black pupil and stroke inward a bit. Keep doing this, following the grain of the eye's retina until you achieve this result.
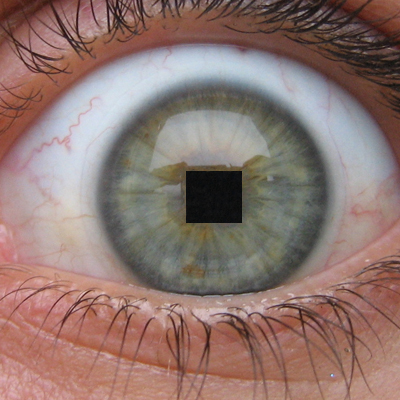
The next step is to un-hide the duplicated layer, and then draw a square marquee around the restored pupil. Select a point within the pupil with the clone tool again and then fill the square. The reason for doing this, rather than simply drawing a black square, is to ensure that the grain and contrast of our modified iris will match the rest of the photograph. When you have the square filled, press CTRL/CMD + X to cut it and delete the duplicated layer. Then press Ctrl/Cmd + V to paste it back in. Modify its position so that its in roughly the same position that the original pupil was and you should have something like this.
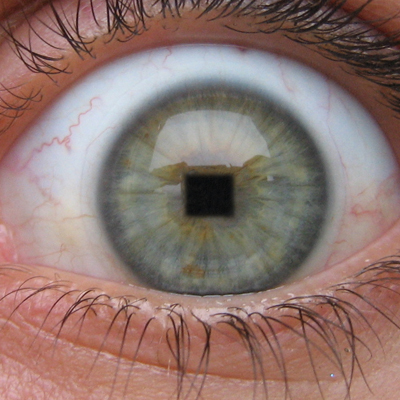
Then Final step is to use the eraser tool set to a size 15 brush and 0 Hardness and just wipe away those edges ever so slightly to soften them. This will add better blending between eye and pupil.
And this is the result.
I hope you enjoyed this tutorial.