Open a new file that must have 1024x768 px and 72 dpi. Then take the next tool
![]() and represent the background for the picture to be.
and represent the background for the picture to be.

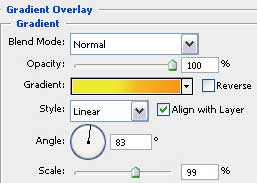
Blending Options-Gradient Overlay
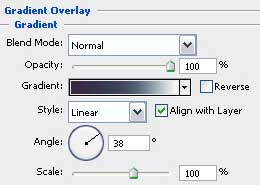
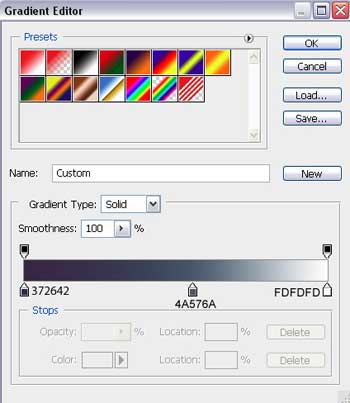
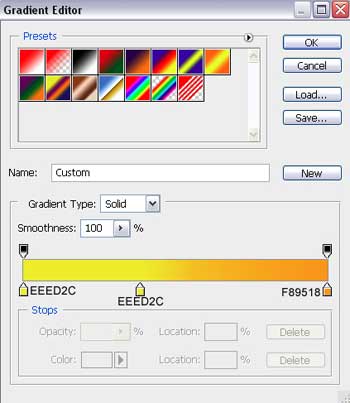
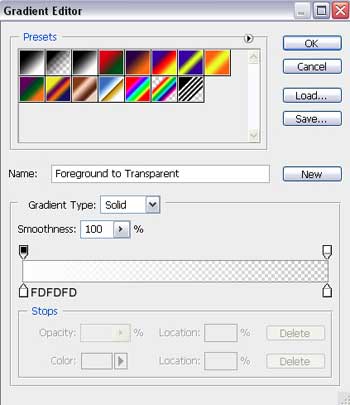
Gradient's parameters:
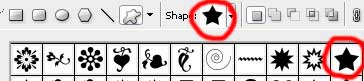
Choose the following tool now
![]() and select the next cliché marked with red color.
and select the next cliché marked with red color.
Turn around the small cliché star, using the Free Transform selection.

Fill 0% on the layers.
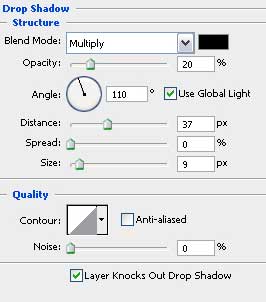
Blending Options-Drop Shadow
lending Options-Inner Glow

Blending Options-Gradient Overlay
radient's parameters:
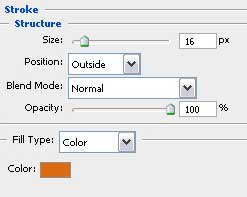
Blending Options-Stroke
Applying the next instrument now
![]() , try to represent a kind of gleam on the pictured star already.
, try to represent a kind of gleam on the pictured star already.


Fill 0% on the layers.
Blending Options-Gradient Overlay
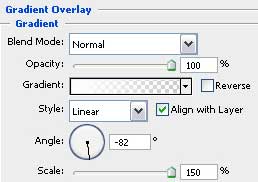
Gradient's parameters:
Selecting the previous instrument, it's possible to draw also a train on the star, like the dress has, the way it is demonstrated below.