Create a new file with 766x700 dpi and select the Rectangle Tool (U) to represent the background of the picture to be next:

Blending Options-Gradient Overlay
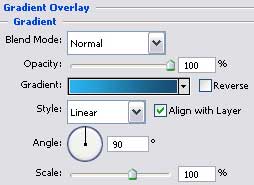
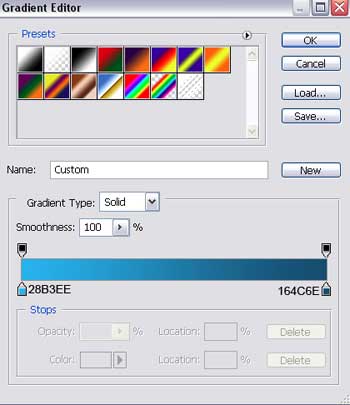
Gradient's parameters:
Select the Pen Tool (P) to represent twenty rays, having a triangle shape.


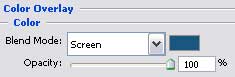
All of them have the same parameters:
Blending Options-Color Overlay
For our convenience, we have to merge down in a group all the rays and set the Blending Mode to Soft Light for this group.

Download from www.deviantart.com brushes evil_bloodsplat. Place them on the next directory … Program FilesAdobeAdobe Photoshop CS2 PresetsBrushes.
Load them and select the Brush Tool (B). Click with the right mouse's button on the picture and choose the next option:
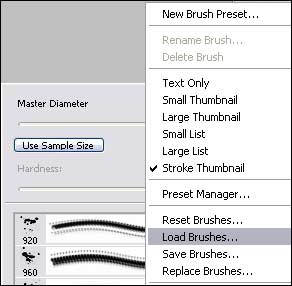
Load brushes.
Create a new layer now and apply the appropriate brush of white color on the layer, to get the same picture it is shown below:

Using the Rectangle Tool (U), represent the lowest layer for the site's panels, having the white color.

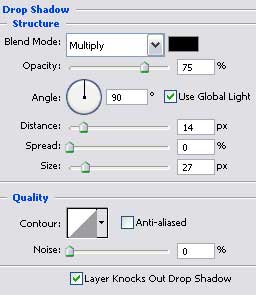
Blending Options-Drop Shadow
Using the same instrument, create one more layer reserved for the site's sections, colored in 4A4A4A.

Using the same Rectangle Tool (U), represent the layer reserved for the right and left halves of the site to be next.

Blending Options-Gradient Overlay
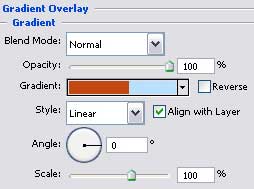
Gradient's parameters:

Applying a set of ready to use brushes, try to draw the drops, having the colors C34713 and BAE1FC.

Select next the Line Tool (U) and represent a vertical dividing stripe, colored in 646464.


Make three copies of the new made layer and place them the way it is shown below:

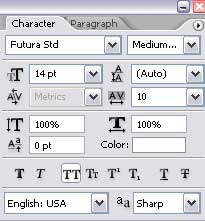
Write now the titles for the site's menu's buttons.