Now let's start with a new document.
Size : 760 X 770 pixels
background: white
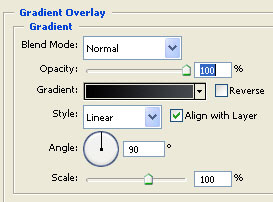
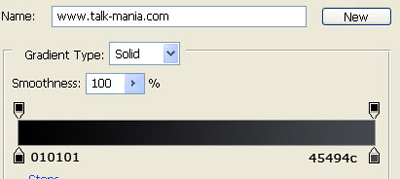
Select Gradient Tool. And use the following settings:
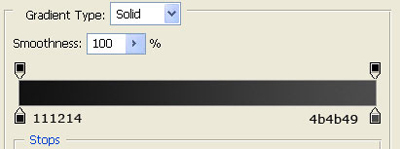
Then draw a line from top to bottom

Select Rounded rectangle tool. Set the radius to 5 pixels
And create a shape in the middle of your layout

The color is not important.
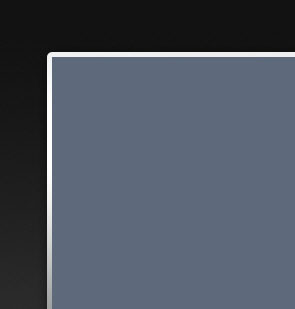
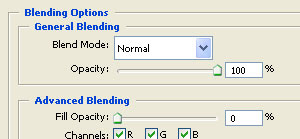
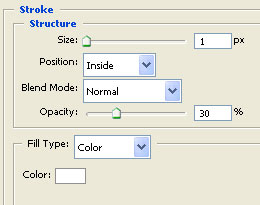
Now add the following layer style for this shape
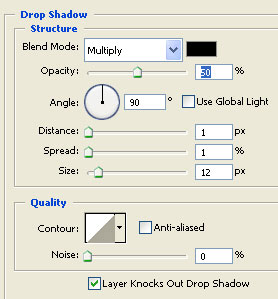
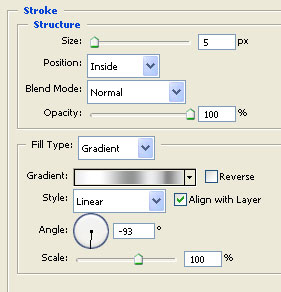

This is my result
Then with rectangular tool create a rectangle and place it in the middle of the other one
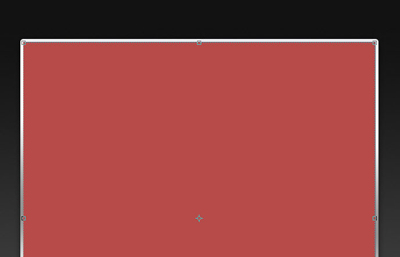
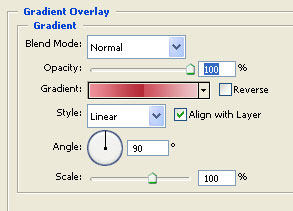
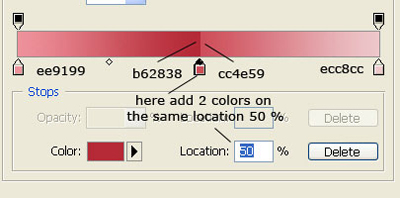
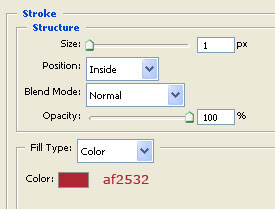
For this red shape please add the following layer style
This is my result
Now with the same tool, ( rectangular tool ) create another shape

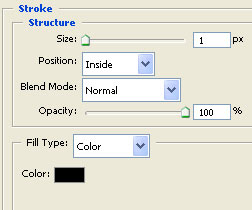
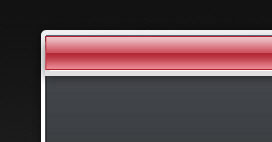
For this white shape please add the following layer styles
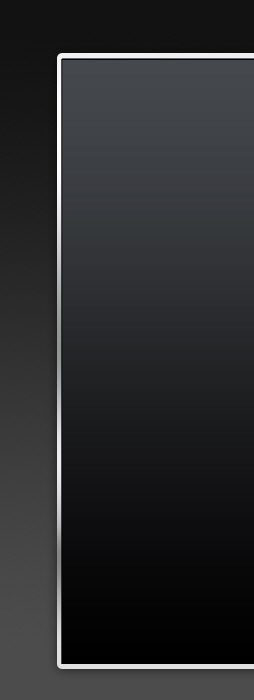
This is my result

Now duplicate this Shape ( to duplicate be sure you have the layer selected in layer palette then press Ctrl+J )
Select Move Tool ( or press V ) and with your arrow keys move the duplicated layer a little above.
Then add the following layer styles ( after i will add this layer styles you will see where you have to move your duplicated shape )
This is my result
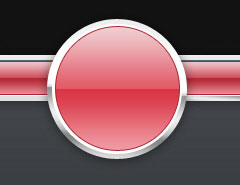
Now Select Ellipse Tool , and create a simple circle
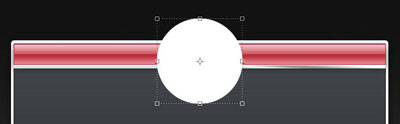
For this circle add the following layer styles
This is my result
Create another circle shape and place it in the middle of the last one
I will use a blue color. So you can see better what i am doing
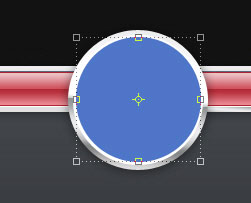
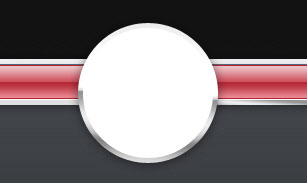
Now for this blue circle add the following layer styles
This is my result
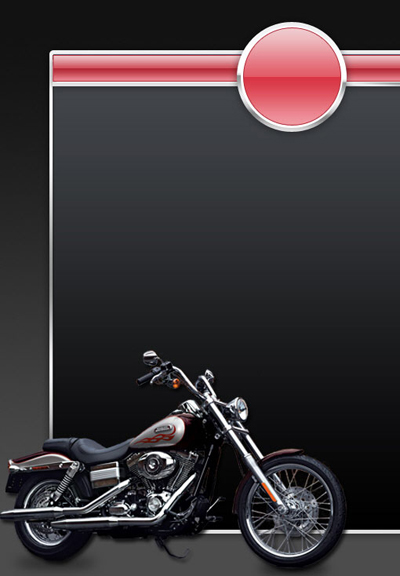
Next step is to find a nice render with a chopper, then add it on your layout
Now select Rectangle Tool and make some white rectangles.
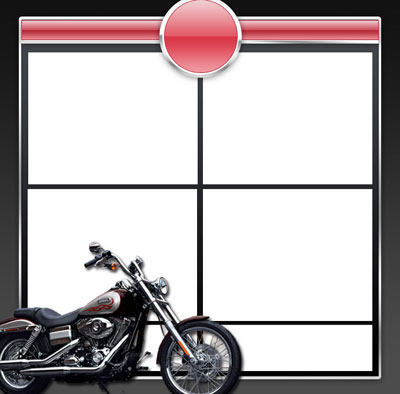
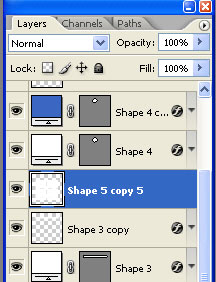
Then select all the layers in layer palette
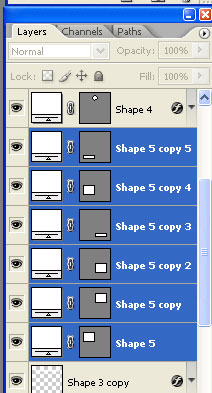
After you have all this white shape layers selected please press Ctrl+E ( this command will merge all the layers into a single one. and in the same time the layer will be rasterized.
Now grab Elliptical Marquee Tool and make a selection on top of your layout
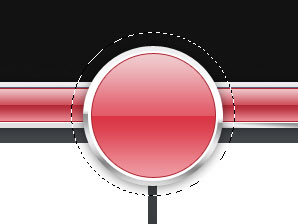
Be sure you have selected the layer with white shapes , the hit Delete Key from your keyboard.
Then press Ctrl+D to deselect
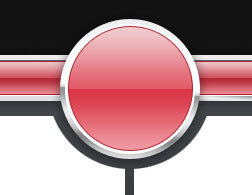
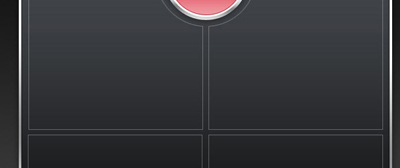
Now for this white shape, please add the following layer style
This is my result
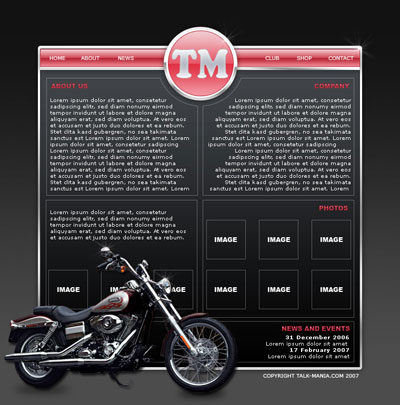
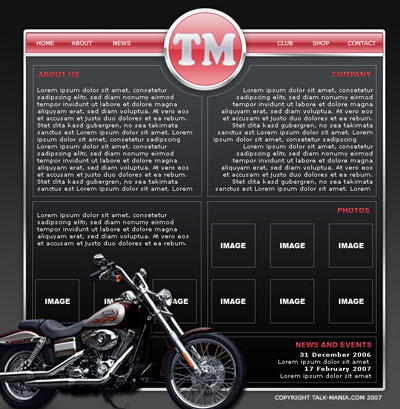
Now i will add alone some text and images
Soon on www.Free-Photoshop.com will be placed a nice set of stars brushes. Or if you have some nice brushes please use your own brushes.
Load this brushes, then on a new layer ( to create a new layer press Ctrl+Shift+Alt+N ) use this star brushes to add some nice light effects
This is my final result