


Step 1 - Open your canvas
Open a new document, In this tutorial I am using 400x400, with a white background. (The images are cropped to save space.)
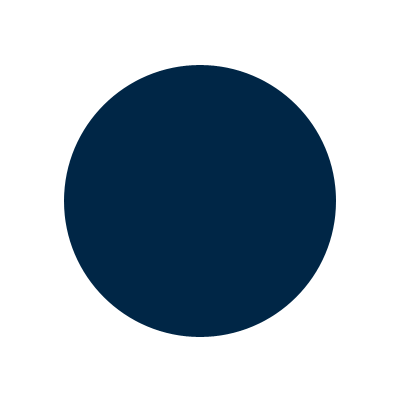
We want to start by grabbing our Ellipse Tool and drawing a large circle on our canvas. Set the color to #09325b and center it.
Step 2 - Adding the Basic Gradient
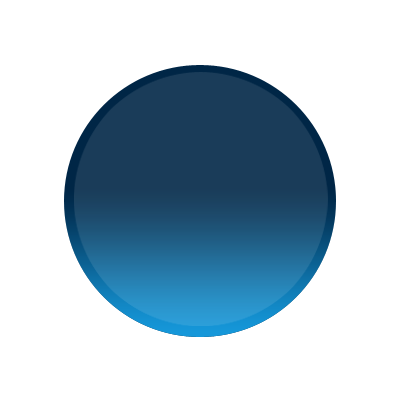
Now we are going to add the base gradient found in the vista logo.
Set your foreground color to #1597d9 and select your Gradient Tool. At the top, be sure to change your gradient preset to Foreground to Transparent (It should look like light blue fading into gray checkers.)
Now, press "Ctrl" and while holding, click the thumbnail of the circle layer you created in step one (You should see a moving marquee outline the circle.) With your Gradient Tool selected, and the preset changed to the settings above, put the cursor at the bottom of the circle, drag it about 70% of the way to the top and let go.

Step 3 - Adding The Gloss
For this step, the first thing you want to do is create a new layer, you can name it anything but for the purposes of organization we will be naming it "Gloss".
With this new layer selected, so everything you do goes on this layer (Having multiple layers allows you to add a logo under it later on.) Once again, Ctrl+Click the circle layer thumbnail, it should select the circle but the layer you just created should remain selected. On your top menu bar, go to
Select -> Modify -> Contract: 5px
This creates the outline of where the gloss will go. The creator of the Vista logo (assuming he used Photoshop) modified this selection a bit to give it a more rounded effect. This tutorial is for beginners but for the more advanced this is easily achieved by right clicking the selection and going to "Transform Selection" and nudging both sides in a few pixels.
With the Gloss layer selected, and with the selection you just created, go to
Edit -> Fill -> Color: White, Blending Mode:Normal, Opacity:10px
Congratulations! You now have the basic gloss done. Do not deselect yet, the fancy footwork comes in the next step.
Step 4 - Advanced Gloss Effects
This part may be tricky for newer users.
With the selection from last step still selected, create a new layer, name it "Advanced Gloss". This is for the specific shine at the top. Grab your brush tool, I set it to about
320px, color white, hardness: 0
All it takes is one click of the mouse, upper middle of the selection. It doesn't look very much like the gloss right now, but it will in a few seconds. Deselect your selection, grab your rectangle marquee tool and set the feather to 20px. Draw a marquee over most of the gloss but leave the top part. Once it is selected, hit the "Delete" key, and watch all disappear except for the top part, thus giving you your gloss. To make it fade a bit more, set the layer opacity to 60%
Next, Deselect everything, select the original Gloss layer, grab your rectangle marquee tool and set the feather to 20px, a little below the gloss you just created, make a rectangle, hit delete, this should make the small gloss you had for that area disappear, giving it depth. (it also might be a good idea to burn the original layer a bit to make it darker)

Step 5 - Adding Your Logo and the Last Bit of Gloss
Import your logo (make sure it is transparent, fit it between the Gloss and Advanced Gloss layers. It should be noted that this logo is really good and was made for the windows logo, not every logo will look good. The gloss over the logo is basic, you can do it from what you have learned already in this tutorial.
Please note that it is good to add a drop shadow, distance:0 size:whatever looks spread out
If the color is off, a quick color balance of hue saturation layer can fix it.
This is just a basic example of making the orb. The real orb is a lot more involved and has a lot more subtle effects.
Hope you enjoyed.
