As usual let's start with a new document:
Size : 760 x 770 pixels
background color : white
Now open a new document . this time the size should be 4 x 4 pixels ( we will create a pattern )
Zoom this small document to 1600 % then select pencil tool ( brush size 1 pixel ) and start drawing with the same colors i have used
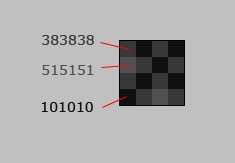
Then go to Edit > define pattern
Choose a name for your pattern and click OK
Now let's return to our big document ( 760 x 770 pixels )
Create a new layer ( press Ctrl+Shift+Alt+N )
Select Paint Bucket tool and be sure you have selected our pattern
![]()
This is our result

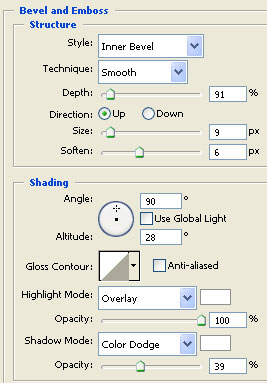
Now select Rounded Rectangle tool ( set the radius to 30 pixels ) and make a shape in the middle of your canvas
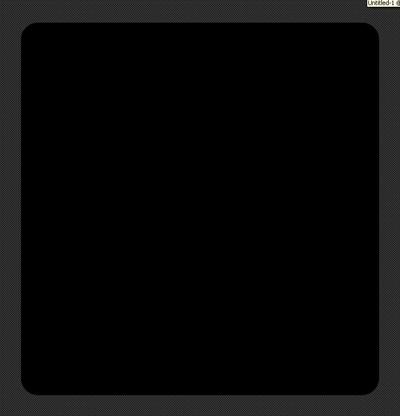
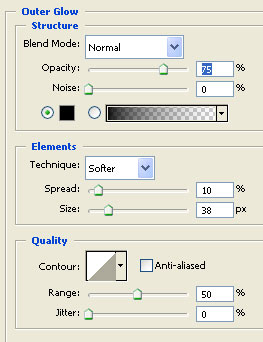
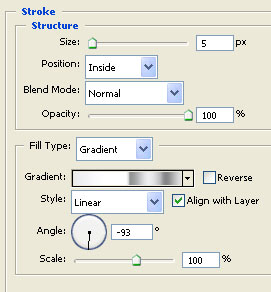
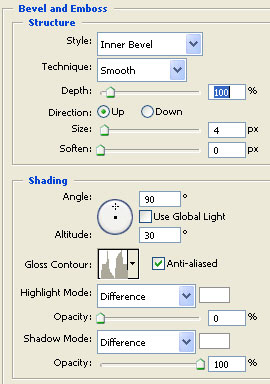
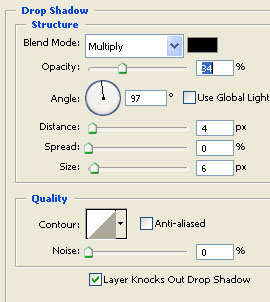
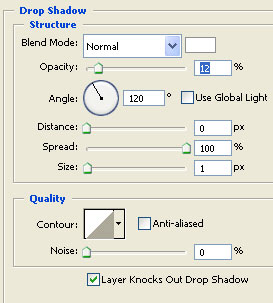
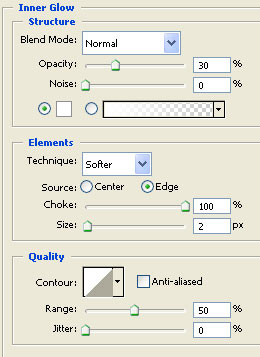
Then apply the following layer styles
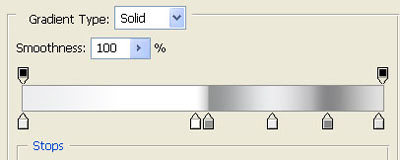
This is my result
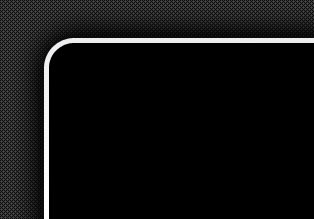
Now create a new layer ( press Ctrl+Shift+Alt+N )
Then select Rectangular Marquee Tool and create a selection like mine
Fill your selection with a random color. To fill this selection please use Paint Bucket Tool
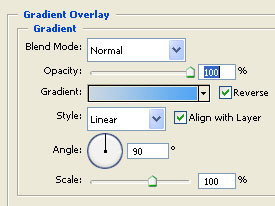
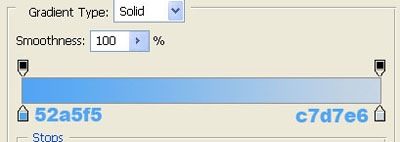
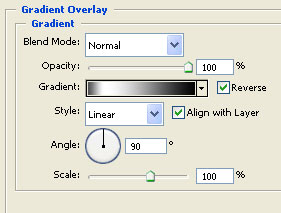
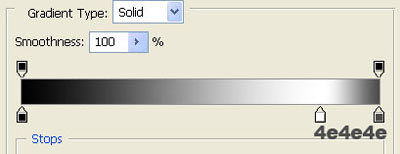
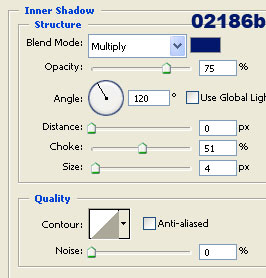
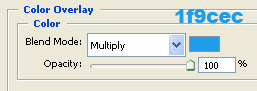
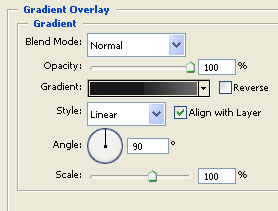
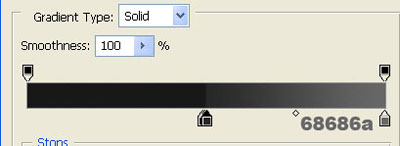
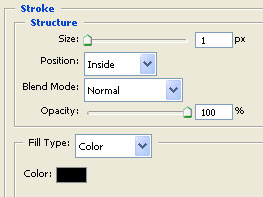
Then add the following layer style
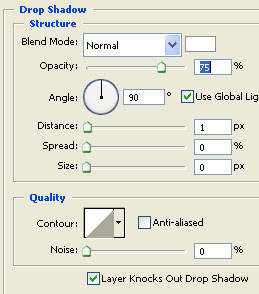
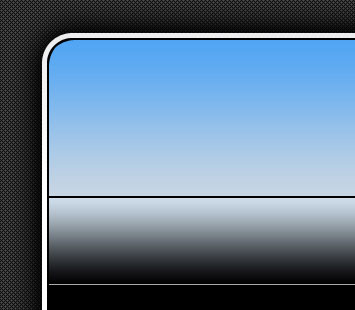
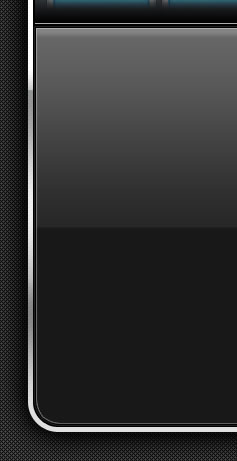
This is my result
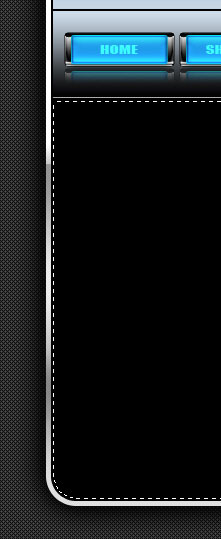
Now load the selection for the big rounded shape
To load the selection you need to hold the Ctrl key down and with your left mouse button , click on the layer thumbnail
You can see that a new selection will be visible.
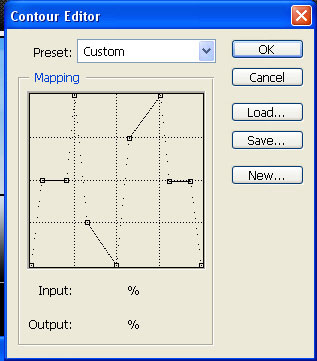
Now go to Select > Modify > contract and use the following settings
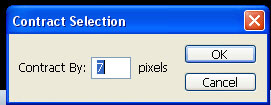
When you click OK you will have the following result
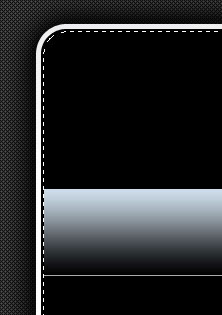
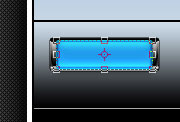
Now select Rectangular Marquee Tool , hold down the Alt key from your keyboard and delete the bottom part of your selection until you have something like me
After you release the mouse button you will have something like that
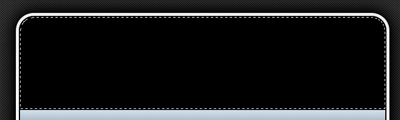
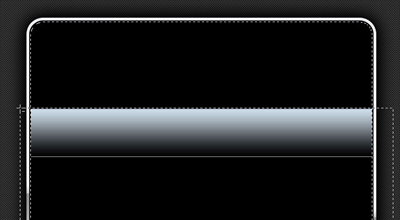
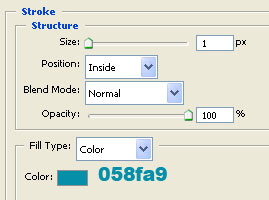
Select paint Bucket tool, and fill this selection with a random color. then press Ctrl+D to hide the selection
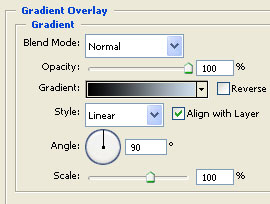
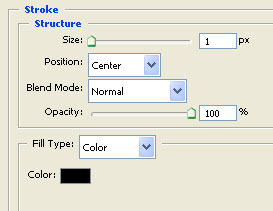
For this layer please apply the following layer styles
This is my result
Now go to www.free-photoshop.com and download the following set of brushes ( set number 5 - Clouds brushes ) - link
in order to download this set of brushes you need to register on www.free-photoshop.com
Then load this set of brushes in photoshop
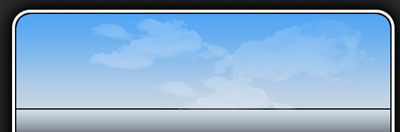
Now let's return to our layout. Create a new layer ( press Ctrl+Shift+Alt+N ) , and with the brush tool create some clouds on your header
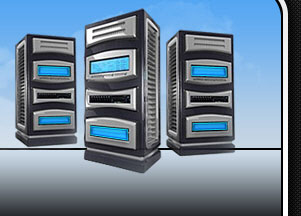
Then try to add a image with a computer or with a server
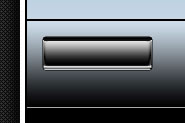
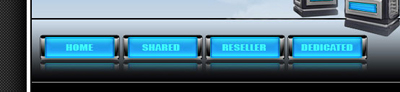
Now select Rounded rectangle Tool * set the radius to 3-4 pixels ) and make a simple shape for our buttons
For this blue button please add the following layer styles
This is my result
Select Rounded rectangle tool and make a white shape and place it on top of your button
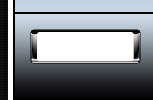
For this white button please add the following layer styles
This is my result
Now select both layers in your layer palette , and drag them to the " Create a new layer " button from the bottom of your layer palette
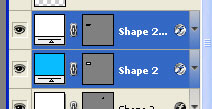
You can see that you have duplicated this buttons )
Select this 2 layers and press Ctrl+E ( this will merge down the buttons )
Place this duplicated buttons like me
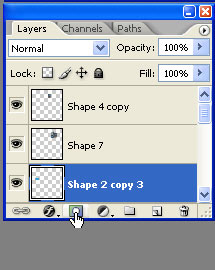
Be sure you have this layer selected, then press on Add layer mask button
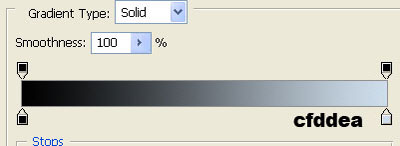
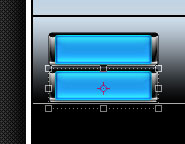
Select Gradient tool ( your foreground color should be white, and background color should be black )
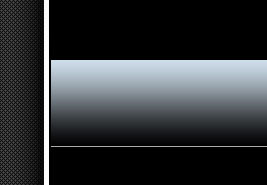
With Gradient tool draw a small line ( please follow the arrow from next image )
You can see also the result in this image
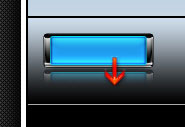
Now duplicate this button layers a few times and place them like me
Now please load the selection one more time for the big shape ( please use the same steps as above )
Go to Select > Modify > contract and use the following settings
Then with rectangular marquee tool subtract from selection until you have the following result
Select Paint bucket tool , and fill the selection with white, then press Ctrl+D to deselect.
For this shape please add the following layer styles

This is my result
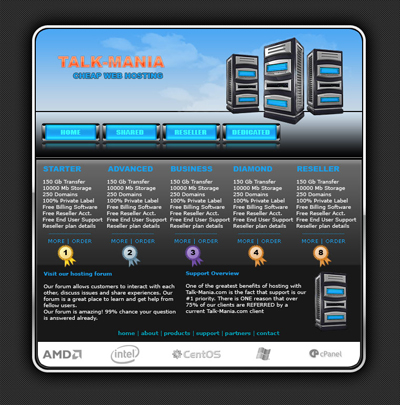
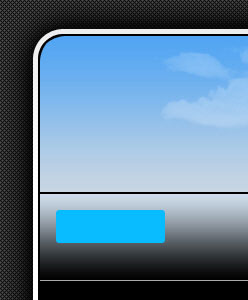
Now please add some text and images
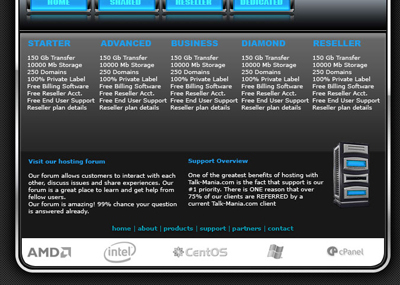
Then you can add some details. for example you can download Brush #1
Place as many details you want. this is my final result