


Open a new document
Size 760 x 770 pixels
Color background #d3edff
Select Pen tool and create the following drawing ( be sure you hold the Shift key down to create perfect lines )

Then with the same tool modify the shape ( for this step you should know how to use the pen tool. it is a little bit tricky for beginners , but i assure you that is a great tool )
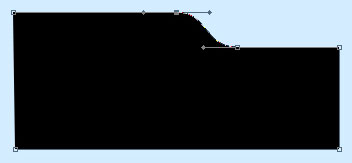
Then press Enter. And now you will have a nice shape.
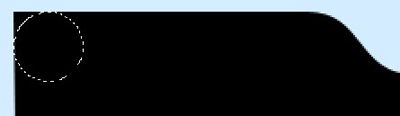
Rasterize the layer ( to rasterize go to Layer > rasterize > Shape )
Select Elliptical Marquee Tool, and create a simple selection, and place it on the left top corner of the shape
Press on Ctrl+Shift+I ( this will inverse your selection )
Then Select Erse Tool ( choose a square brush ) and delete the corner
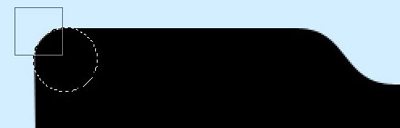
Press on Ctrl+D to deselect
Then duplicate this layer one time and place it like in my next image
To duplicate the layer, be sure you have the shape layer selected, then press on Ctrl+J
Then go to Edit > Transform > Flip Horizontal
With your arrow tool place the duplicated shape as above
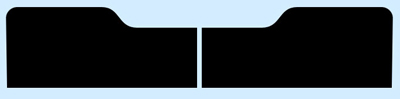
Then Duplicate one more time the last layer
Rotate the layer 180 degrees , and with the arrow keys from your keyboard place the shape like me
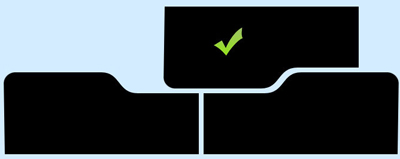
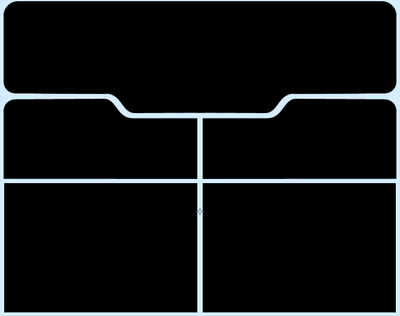
In the image from above you have seen a new green shape. This one i will delete in my further steps. is only there so you can see better what i am doing
Duplicate the shape marked with the green sign. ( Ctrl+J )
Flip the shape horizontally ( Edit > Transform > flip Horizontally )
Then with the move tool, or arrow keys place the shape like in the following image )
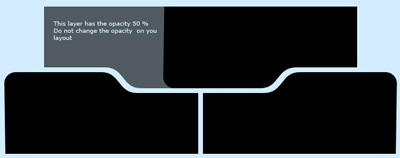
Now duplicate the layers marked with the green sign
And place it like in the following image ( i will use another color, so you can see better what's changing on the layout )

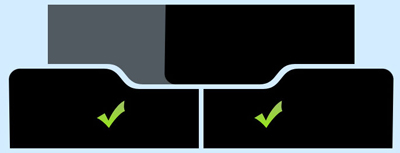
Select the Rectangle tool and make a simple shape on top of the header
I will use a green color - one more time on your layout use the same color )
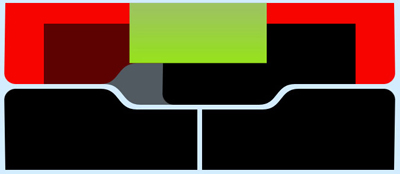
Now i will change alone the colors on my header, and this result you should have too.
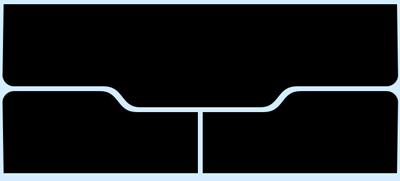
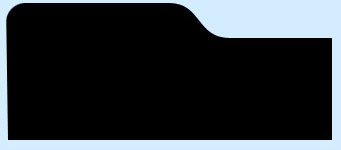
Grab the rounded Rectangle Tool and make a simple shape ( set the radius to 30 pixels )
One more time i will use another color - on your layout please use black
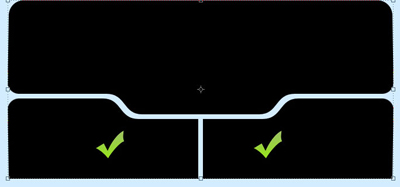
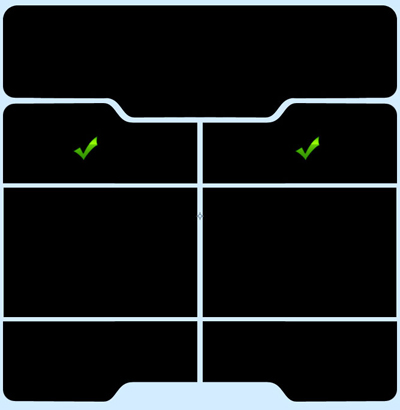
In the following image you will see the how the header of your layout should look. Now you can see that i have placed 2 green signs.
Select all the layers with the exception of the background and the 2 layers marked with the green signs
When you have the right layers selected press Ctrl+E ( this will merge all the layers into a single one
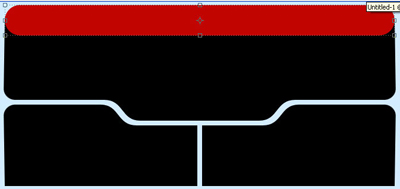
Select Rectangle Tool , and make 2 shape
Now duplicate the layers marked with the green signs ,
Flip the layers vertically and place both layers on top of the layout
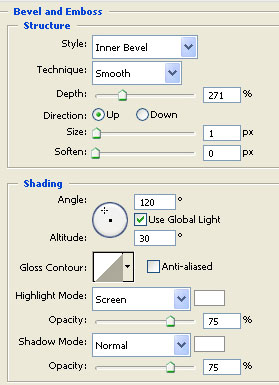
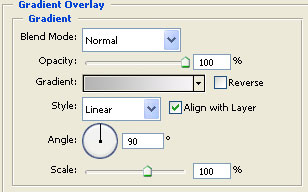
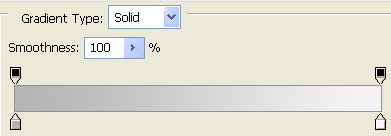
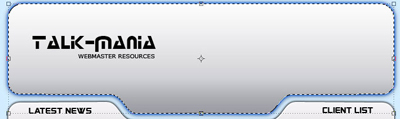
Now add the following layer styles for the header shape
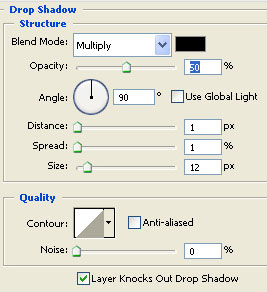
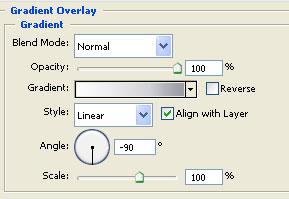
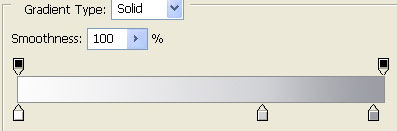

This is the result
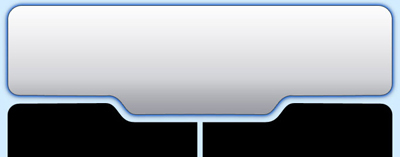
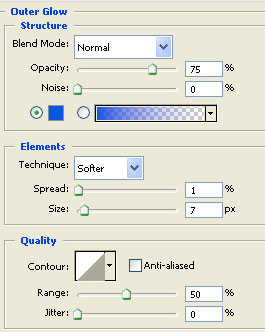
Then for the rest of the shape please add the following layer styles
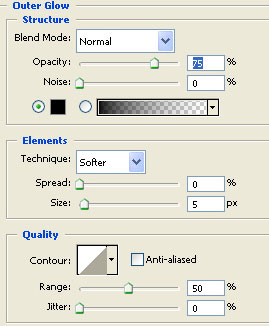
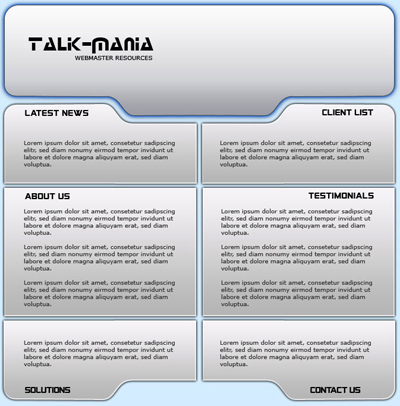
This is my result

Now it is time to add some text on your layout
Now Create another document: ( we will create a pattern )

Zoom this document to 1600% and with the Pencil Tool Draw 3 points:

After that go to Edit > Define Pattern...
Choose a name for your pattern and press OK
To learn more about patterns , please visit the following link. www.talk-mania.com
Then Create a new layer ( press Ctrl+Alt+Shift+N )
Now select the header layer. and go to Select > Load selection
Then go to Select > Modify > Contract
Then Choose Contract by 7 pixel
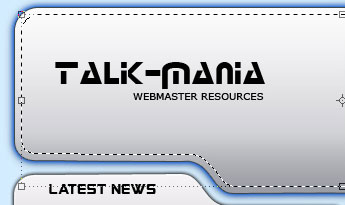
Grab the Paint Bucket Tool , and fill the selection with the pattern we have created
Then press Ctrl+D to deselect

Now press on Add Layer Mask ( you can find this button on the bottom of the layer palette )
Select Gradient Tool, and make a vertical line from Bottom to top ( follow the arrow from the next image
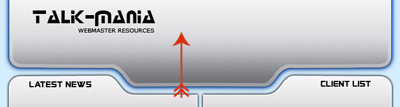
Now you can add more details alone. for example you can add some arrows
In the following image you can see that i have added also some simple lines which are done with the type tool
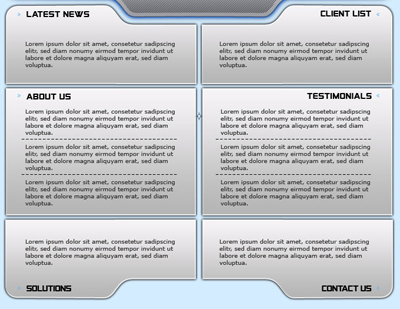
Then you can add some images or some nice brushes on your header
and we are finished
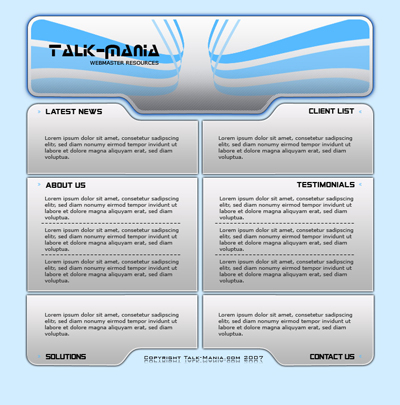
Thank you for watching