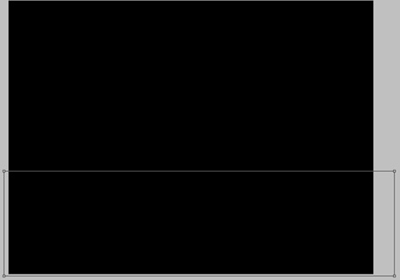
Start by creating a new file (File>New) with 1024x768 px and 72 dpi. Using the Paint Bucket Tool (G), it's possible to give black color to the new file.

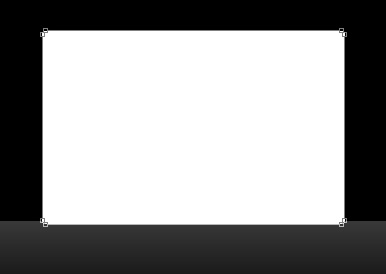
Select the Rectangle Tool (U) to represent the same plane surface from below:
Select for the new layer the next shown parameters by making a mouse click on the processed layer on the layers' panel: Fill 0%
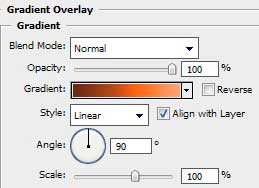
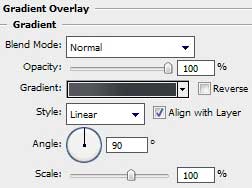
Blending Options>Gradient Overlay
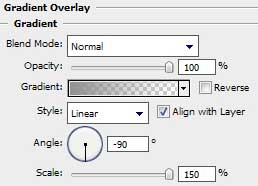
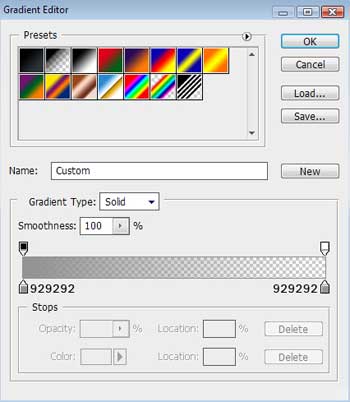
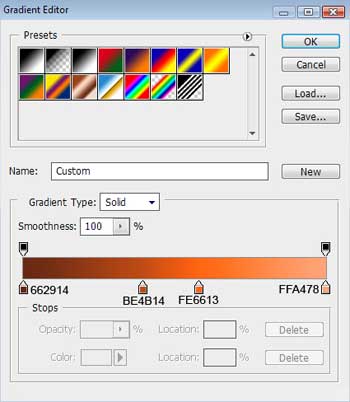
Gradient's parameters:

Applying the Rounded Rectangle Tool (U) with a radius of 5 px, it's possible to represent the primary layer of a media player on the picture we already have.
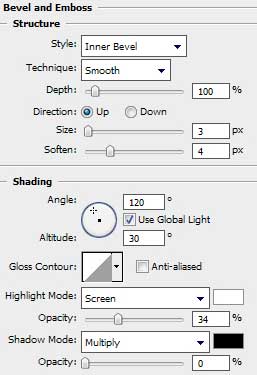
The layer's parameters: Blending Options>Bevel and Emboss
Blending Options>Gradient Overlay
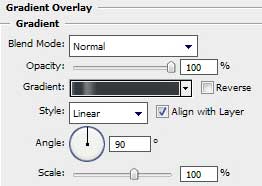
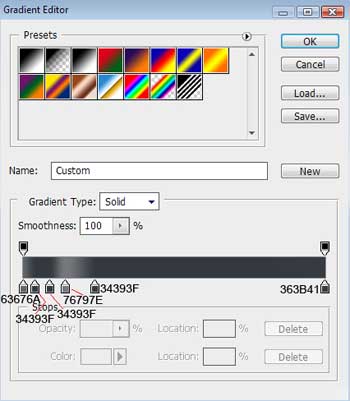
Gradient's parameters:

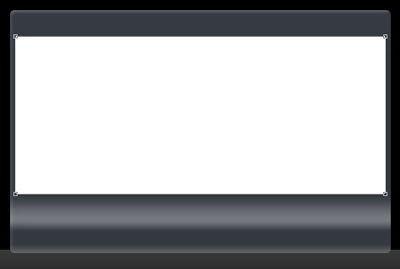
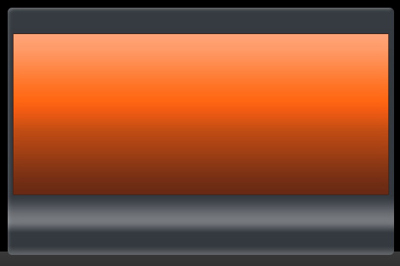
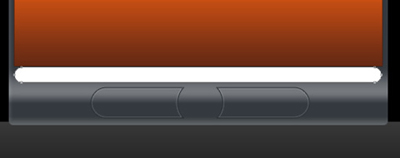
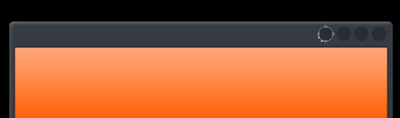
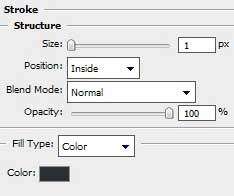
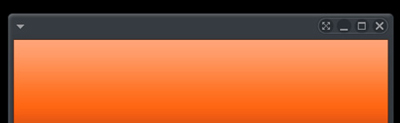
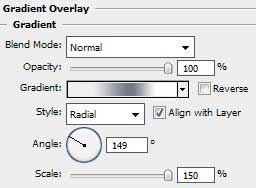
Select again the Rectangle Tool (U) and try to represent a special zone reserved for the media player's screen.
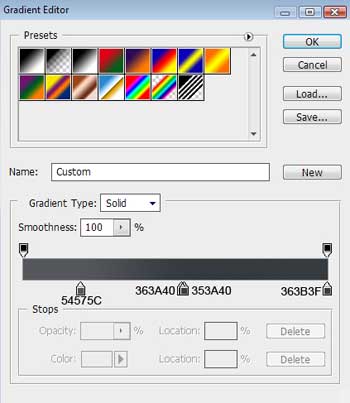
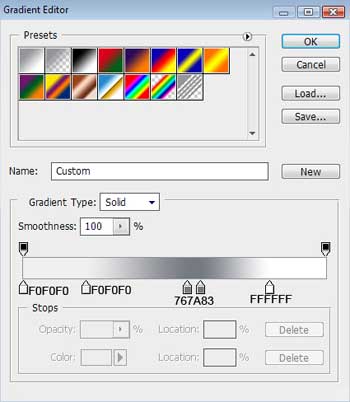
The layer's parameters: Blending Options>Gradient Overlay
Gradient's parameters:
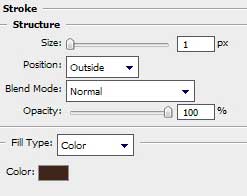
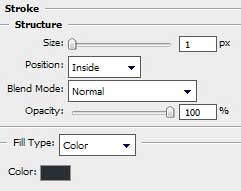
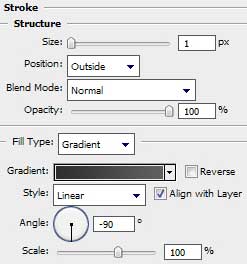
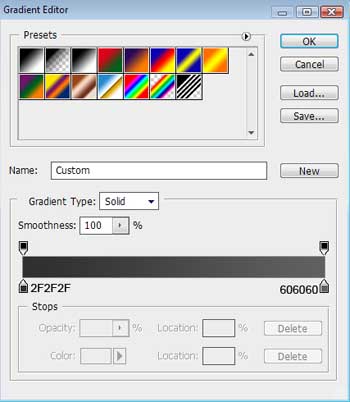
Blending Options>Stroke
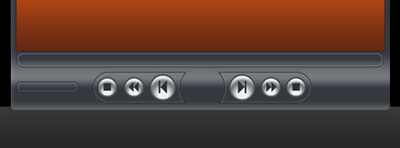
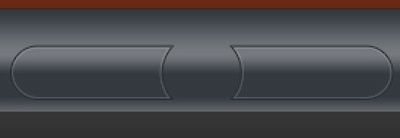
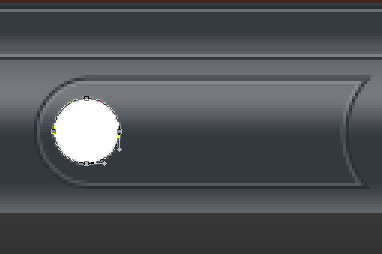
On the bottom part of the media player we'll have to represent a zone reserved for the menu's buttons. Use in this case the Rounded Rectangle Tool (U) with a radius of 20 px. Then press Alt button while using the Ellipse Tool (U) to cut out a special zone reserved for the main central button.
The layer's parameters: Fill 0%
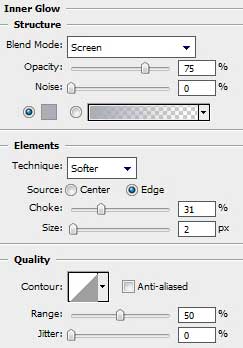
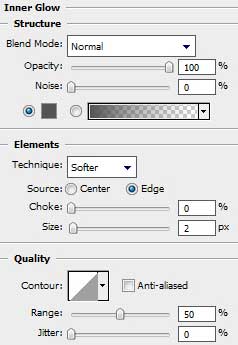
Blending Options>Inner Glow
Blending Options>Stroke
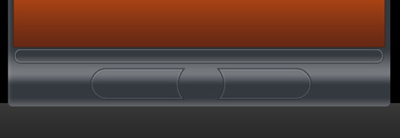
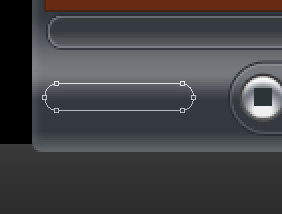
Use next the Rounded Rectangle Tool (U) with a radius of 10 px to represent the panel of play indicator.
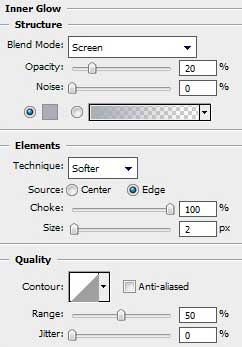
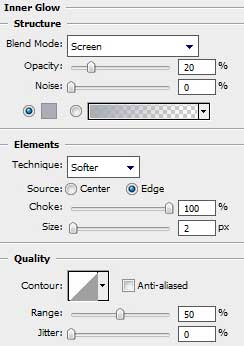
The layer's parameters: Blending Options>Inner Glow
Blending Options>Gradient Overlay
Gradient's parameters:
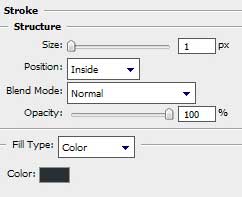
Blending Options>Stroke
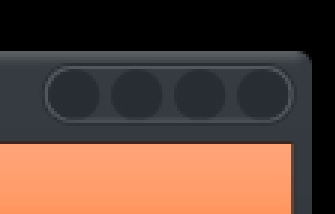
Use again the Ellipse Tool (U) with the color #282D33 to draw on the top part of the media player several elements reserved for the system buttons.
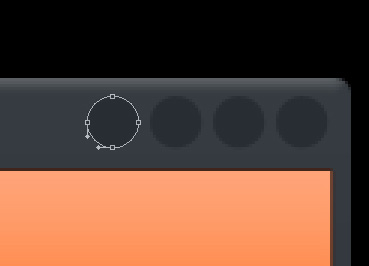
The Rounded Rectangle Tool (U) will be helpful in drawing a special frame for the system buttons.

The layer's parameters: Fill 0%
Blending Options>Inner Glow

Blending Options>Stroke
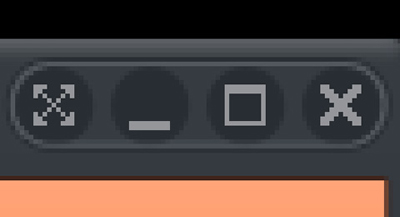
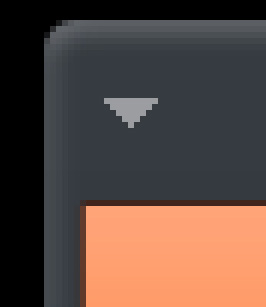
Create a new layer on which we shall use the Pencil Tool (B) (brush of 1 px) with white color (Fill 50%) to represent the symbols on the system buttons and on the top left corner.
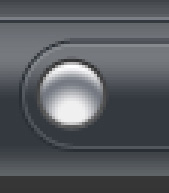
Take the Ellipse Tool (U) and start drawing the Play button for the player.
The layer's parameters: Blending Options>Inner Glow
Blending Options>Gradient Overlay
Gradient's parameters:
Blending Options>Stroke
Gradient's parameters:
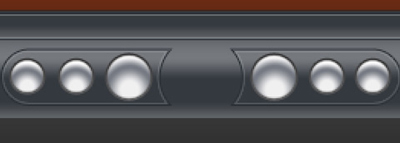
Make five copies of the layer containing the button and select the Free Transform option to make the necessary changes on the copies' sizes and on their placement on the picture.
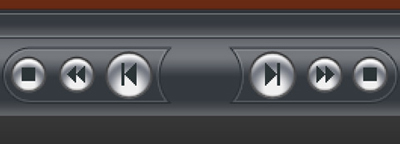
Create again a new layer and use on it the Pencil Tool (B) (brush of 1 px) with the color #2C3437 to represent different symbols on the player's buttons.
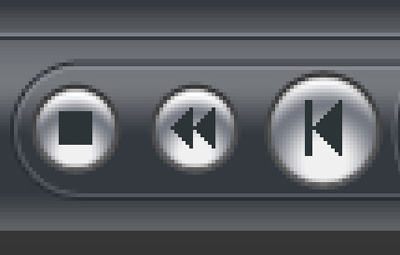
Make copies of the layers composing the buttons' symbols and select Free Transform option to turn over the copies and place them the way shown below:
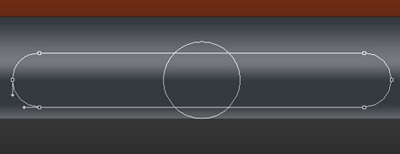
Next we have to draw on the left side of the play panel the sound's indicator. The instrument applied in this case is Rounded Rectangle Tool (U) with a radius of 10 px.
The layer's parameters: Fill 0%
Blending Options>Inner Glow
Blending Options>Stroke