Step 1
Create a new file with 450 X 150 pix and fill the background with black colour [#000000] and you should have something like this :

Step 2
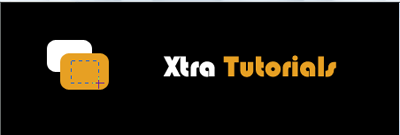
Add the name of your text like I have done with different colours
I have used white [#FFFFFF] with orange [#e7a023] and you should have something like this :

Now using the rounded rectangle shape
![]()
Step 3
Rasterize layer by right clicking the layer and pressing rasterize layer for both the shapes.
Now make a selection on the first rounded rectangle like this and press delete
Step 3
Repeat this process for the other also and make the selection of the first half of the first orange rectangle and you should have something like this :

Step 4
Using the gradient
![]()
make the selection like the previous image and the final result should be the following :

Step 5
Now for the text add a reflection
For this right click on the text layer and duplicate the text layer and then press Ctrl+t and right click on the text and make it inverted using this :

Step 6
After this add a layer mask to the inverted image and using the gradient tool make a selection like this to make it look like a reflection
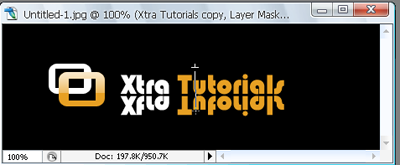
Step 7
Now just add some pattern to the background and chosen the gap between the text and the shape to make it look better. I have added the striped pattern and my result was the following :