
You can use up to 10 channels, including RGB, CMYK, and Lab in hard cases. But in the given example RGB channels were enough to make the picture better and give it more volume.
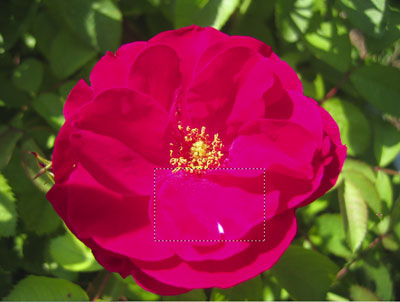
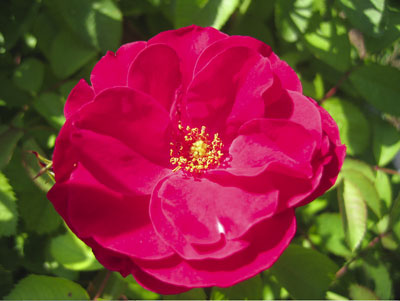
Here's the original picture with the problematic areas marked.
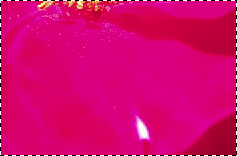
You can see the fragment and its red channel with almost no details visible.
Image fragment
Blue channel fragment
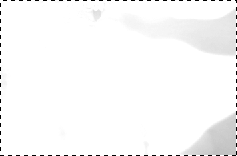
Step 1. Highlight the blue channel in the channel palette. It has enough detail in it and, at the same time, is not too dark as the green channel is.
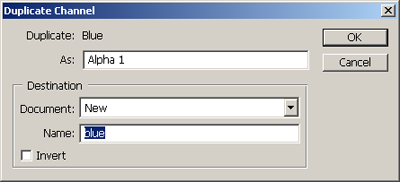
Step 2. Duplicate the channel and save it as a new document.
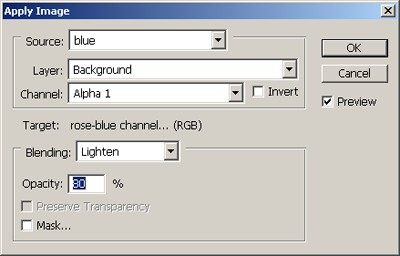
Step 3.
Go to Image>Apply Image. Use the document you created out of the blue channel as a source. The blending mode is Lighten. Opacity is 80% but should be adjusted individually. The same is true about the blending mode.
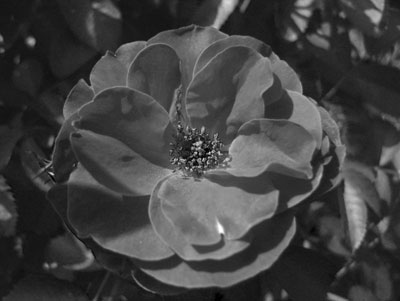
See the final result:
The effect can be achieved by different means, of course. Having a light object you better choose Darken as a blending mode, for a dark object - Lighten. Or it can be Hard Light. The object will define it. Same is with the Opacity. And even the proper channel for applying should be found through experiments.
