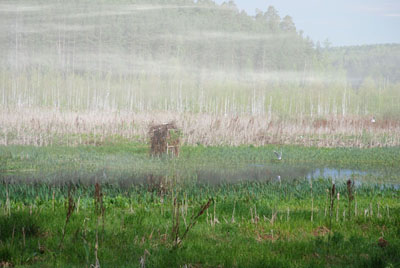
This free Adobe Photoshop tutorial shows how to add realistically looking fog into the image.
1. Open your image
2. Add Layer > New Adjustment Layer > Hue/Saturation.
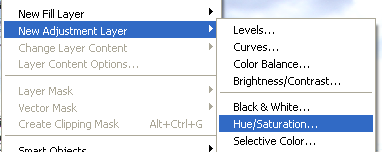
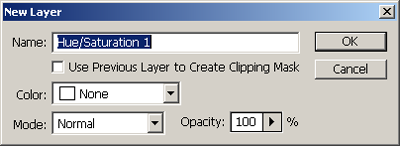
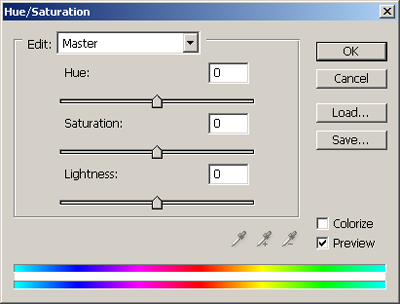
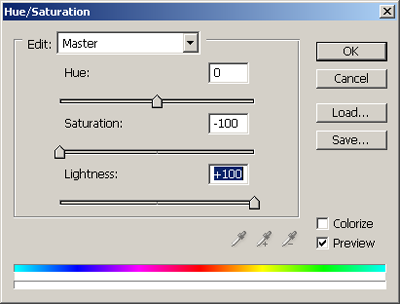
3. Open the Hue/Saturation dialogue box by clicking on the new layer. Set it to the values shown below.
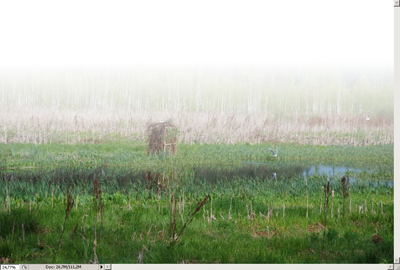
4. Press “G” and choose Gradient tool. Draw a vertical gradient on half of the image in the center.
![]()
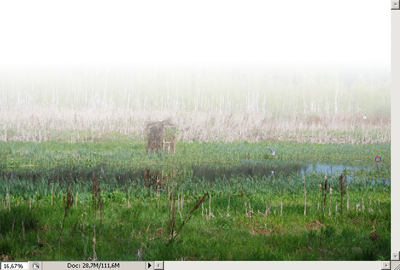
5. Staying in Layer Mask choose a brush with soft edges. Paint everything within edges you intend to be clear. It will remove the fog from this area and give your image the illusion of depth. In the example photo I cleared the front grass line. If the fog effect seems too strong, you can reduce Opacity of Hue/Saturation layer.
![]()
6. Create a new layer between your layers and name it FOG.
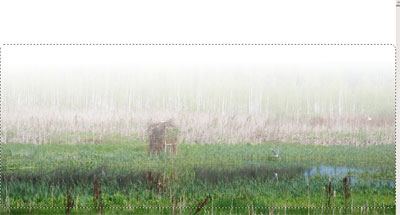
7. Starting in the FOG layer choose about half of the image in the middle with Rectangular Marquee tool with the following settings.
![]()
![]()
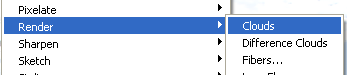
8. Apply Filter > Render > Clouds and press Ctrl+D.
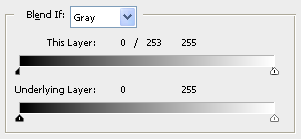
9. Open Blending Options of the FOG layer. Go to Blend If in Blending Options. Holding Alt press the small black triangle on the left of this layer gradient.

10. Divide the triangle in two and move the right half as it is shown below.
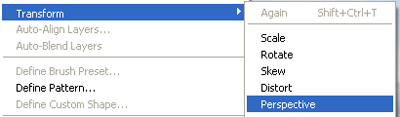
11. With the active FOG layer apply Edit > Transform > Perspective and change the marquee as shown below.

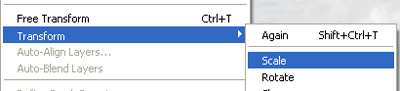
12. Then you should press Edit > Transform > Scale and set W parameter to 400-500%. Press Return or Commit Transform.
![]()
13. Set FOG layer to Lighten
![]()
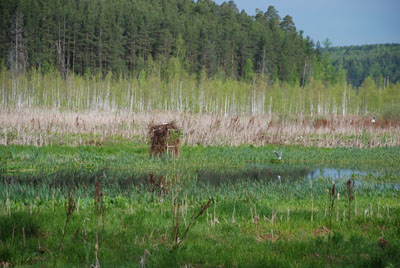
Here's the result: