


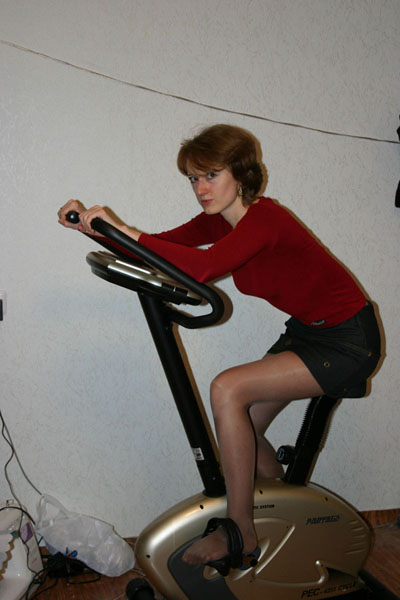
In this Adobe Photoshop tutorial we'll show how to make a poster with the look of the 70's colored poster or an old newsprint photograph in the shades of grey. The main effect used in the process is Threshold.
1. Open the document. Duplicate layer (drag background layer onto New Layer button in the Layer palette)
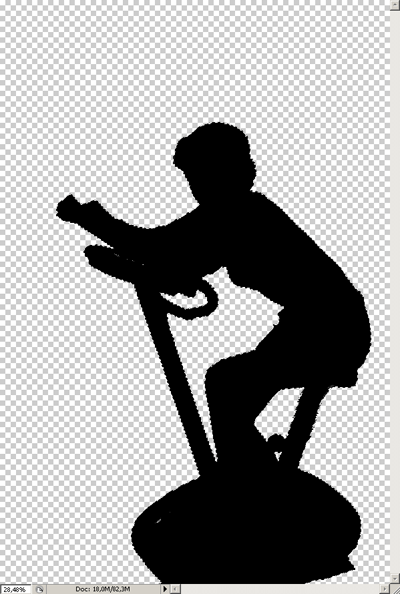
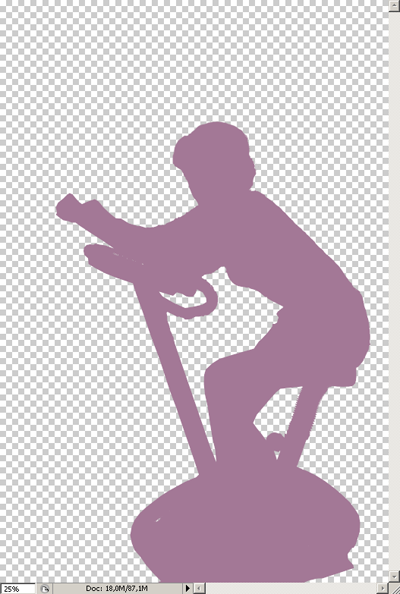
2. Make a cutout of the image. Accuracy is not the point here. The clear edge is more important. The Polygonal Lasso tool will do. (Or any selecting plug-in you're familiar with). Delete the background (Or you can leave it, if it's not filled with unnecessary detail. In this photo the background is a little not picturesque).
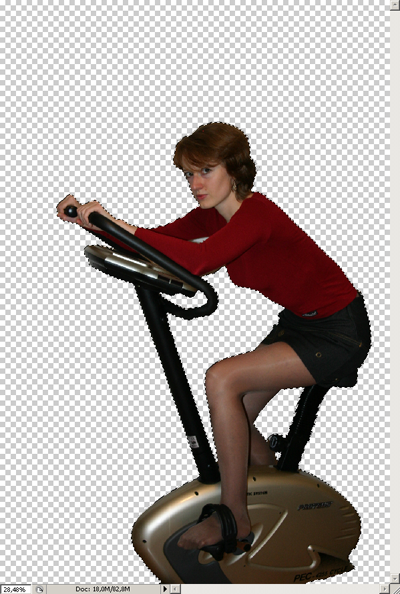
3. Make two copies of the layer with the cutout image. You may make the original layer invisible by this time.
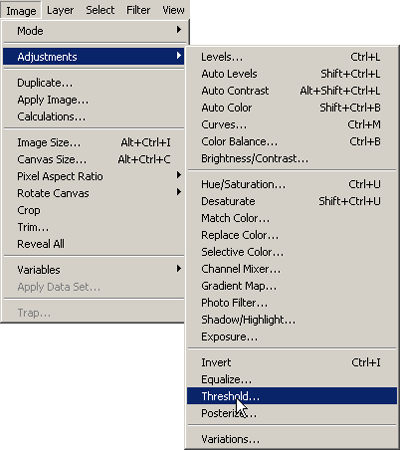
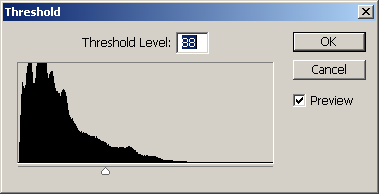
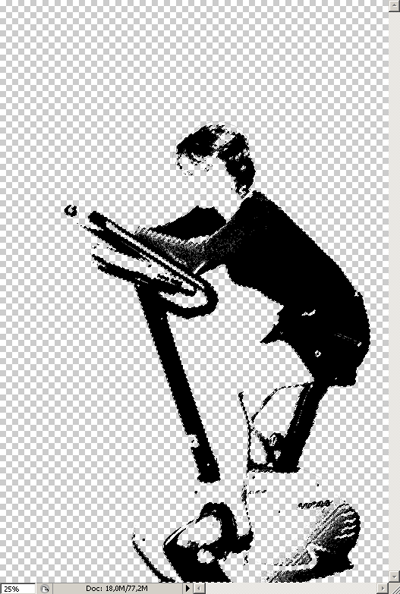
4. Staying in the top layer go to Image>Adjustment>Threshold.
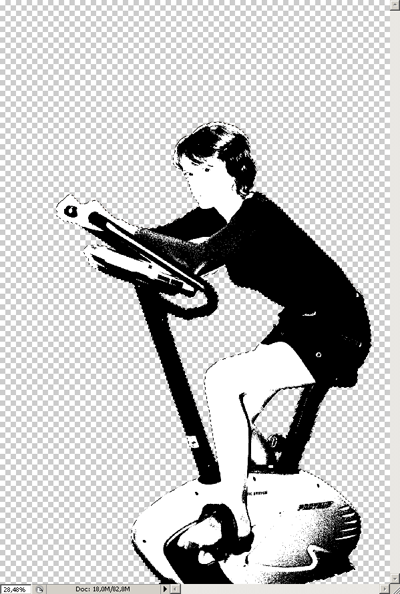
5. Set the Threshold to about 30-40. You should have the finest detail like eyes visible.

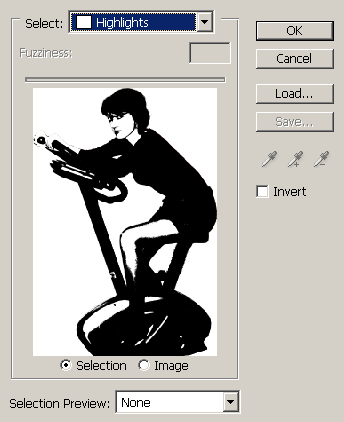
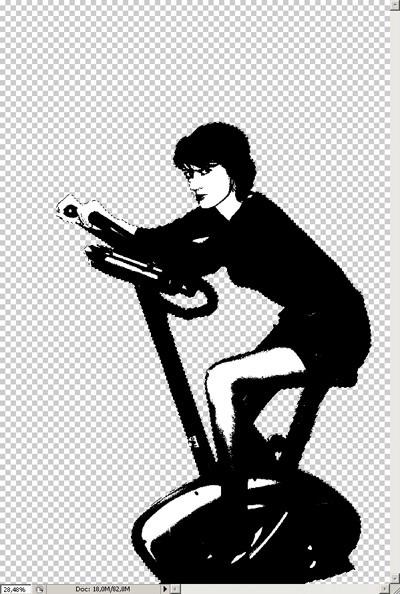
6. Go to Select>Color range>Select Highlights and press Delete to remove the new background spaces. Don't forget to Deselect the image before going to the next Layer. And make the Top Layer invisible for a time by pressing the eye icon next to it.
7. In the second Layer repeat steps 5 and 6 with Threshold settings around 70.
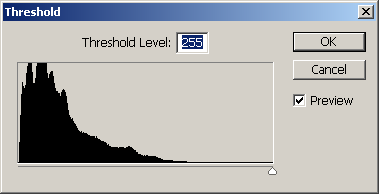
8. In the last Layer set Threshold to maximum.
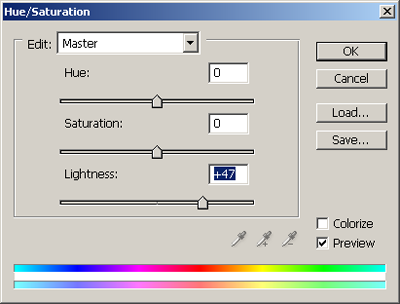
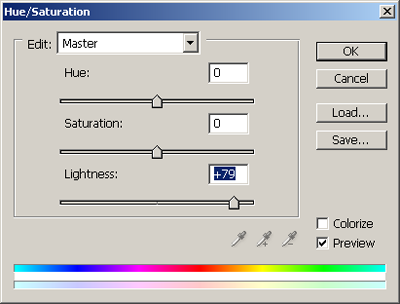
9. It's time now to color the layers. You can work with shades of grey. This can be done by changing the Lightness in Image>Adjustment>Hue/Saturation dialogue. The top layer can remain unchanged. In the next I set Lightness to 47 and the the bottom Layer it was 79
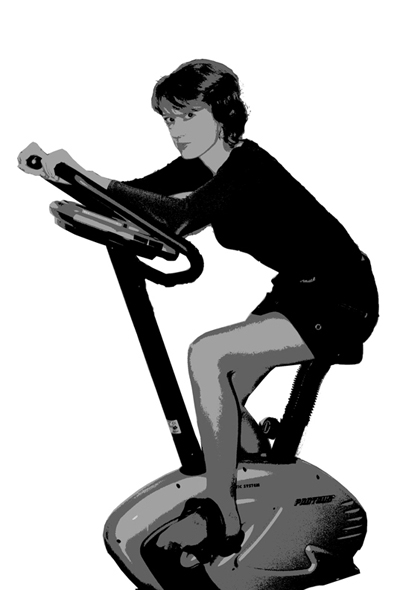
The grey scale image would look a lot like an old news print photo.
If you want a colored image the procedure would be a little different.
10. We begin with the top layer again. Ctrl click the top layer in the layer palette to select all opaque pixels.
11. Then click the background color square to choose the color. Pick the dark shade of the chosen color.
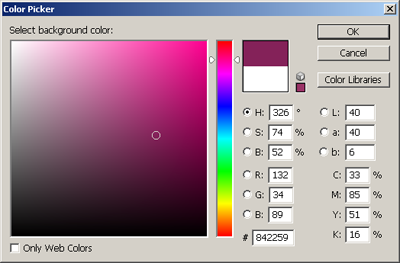
12. Press Ctrl+Obstacle. The selected areas will be filled with the background color. Press Ctrl+D to deselect the image, and go to the next layer.
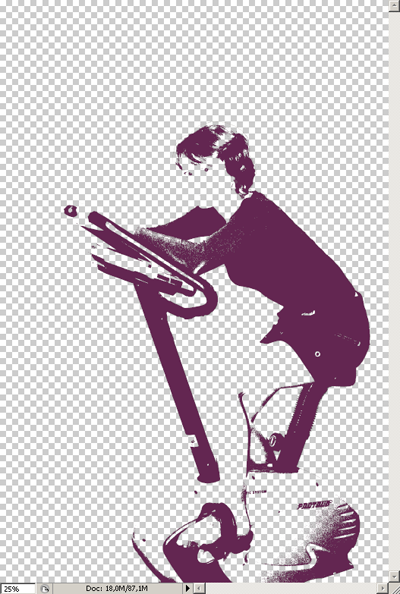
13. Repeat the selection procedure. Pick a lighter shade. Fill your selection with it and deselect.
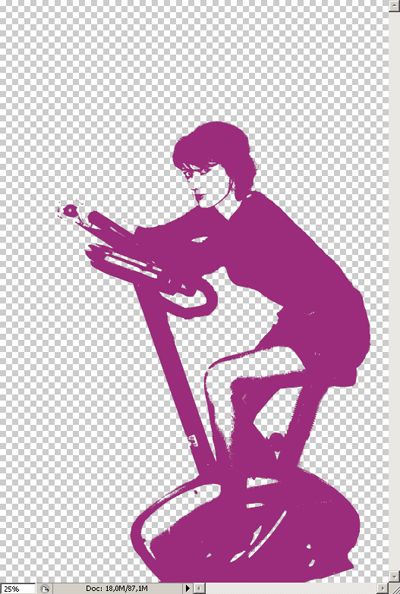
14. Repeat step 13 with the lightest shade.
You will have a poster looking image as a result:
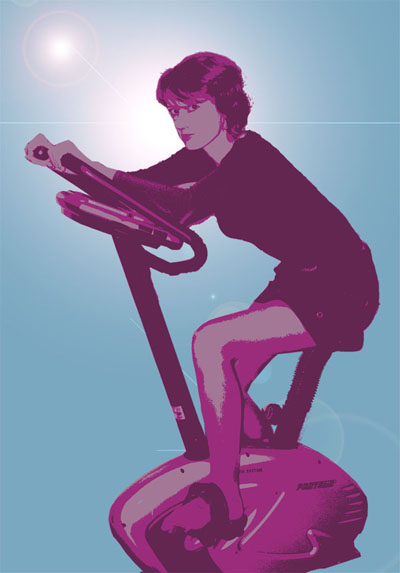
I also added a layer with the background. You can work your imagination here.
