1. Open your image and copy the background layer.

2. Change image mode to Lab (Image > Mode > Lab) without flattening it.
3. Go to Image > Adjustment > Curves and increase the contrast in a and b channels (some times a is enough).
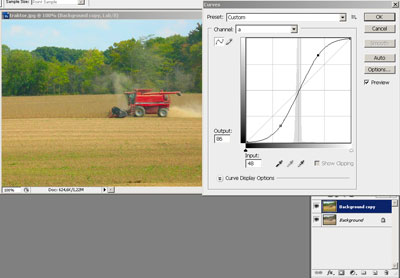
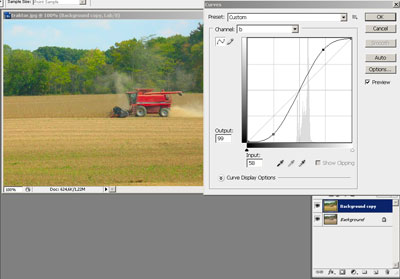
4. Change mode back to rgb (Image > Mode > rgb).
5. Add layer mask to the top layer and change layer Blending mode to Difference. The light parts of the image are showing the greatest difference between the background and the adjusted layers.
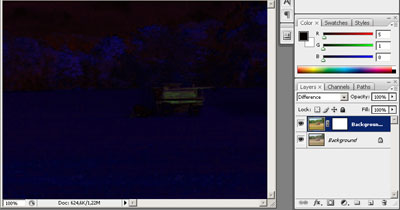
6. Go to Image > Apply Image. The different parts will be reflected as black and grey areas of the mask.
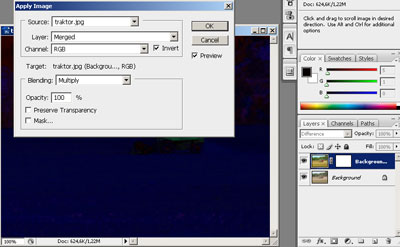
7. Return blending mode to Normal.
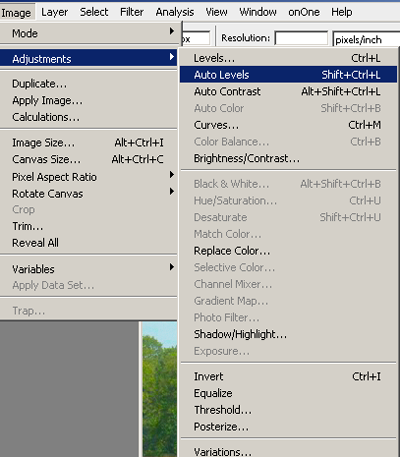
8. Staying in the layer mask use Image > Adjustment > Auto Levels (or Shift + Ctrl + L) on the mask to intensify the contrast. The too bright and unnaturally looking areas of the top layer are now subdued.
9. Duplicate the Background layer again, bring it to the top, and going to Image > Adjustment > Hue/Saturation increase Saturation of the image.
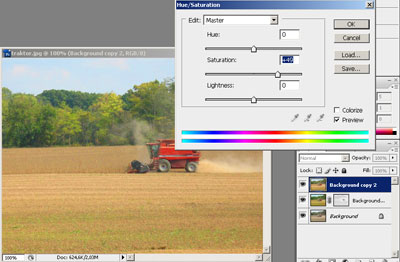
10. Add layer mask to the just saturated layer at the top. It's time now to compare the two layers saturated in different way. Staying in the mask paint the parts you think look better in the Curves layer with the soft brash to reveal them.
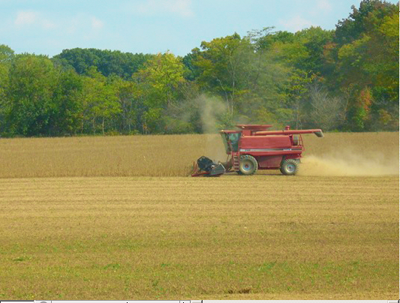
Compare you final result with the source image:
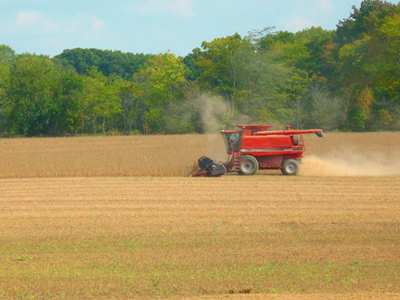
Original
Result