

Create a new file with 445x470 px and 300 dpi. Paint it in the following color - C00000

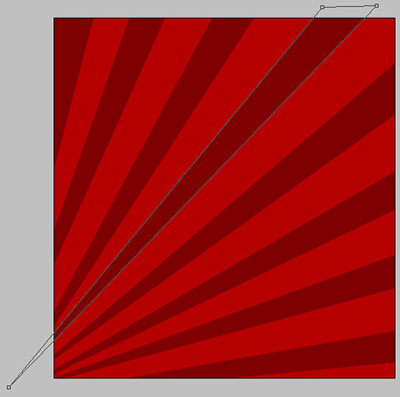
Take the next instrument
 and represent several triangles of the same color – 900000, like in the image below.
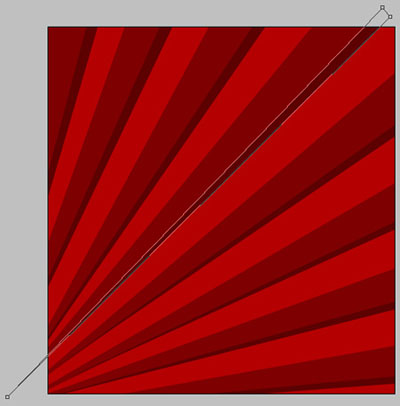
Use the previous instrument to picture several more triangles and color them in 700000. Place them out like in the next picture.
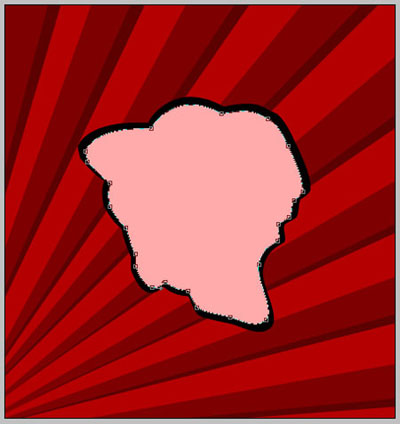
The previous instrument will be helpful in representing a figure of black color, like in the next picture.

Copy this new made layer.
Apply now this instrument
 to move a little the splines on the necessary distance, exactly like it is shown below. Paint the picture in FEBABA.
Copy the new made layer.
Take again the instrument
to move the splines on the necessary distance and paint it in black.

Represent now the rose's petals, applying the next instrument
and creating a new figure. It must have the color – C71000 and must look also exactly like that one from the picture below.

Take the previous instrument to draw a figure of the demonstrated color – D20902, like in the image below.

The same instrument and one more figure with the color CB342B.

Take the shown tool
to picture another figure of the indicated color – C30601.

Another figure must be represented with the same color – B90000.

Apply the previous instrument to make a figure of the next color – C60601.

One more figure pictured by the same tool. It must have the color BD0100.

Picture now the next figure with BD0100.

The indicated tool
will be helpful in picturing the next figure with the next color – D2352E.

Apply the previous instrument to create the necessary number of figures for representing the rose's petals. Place them out like it is shown next picture.

The final result!