Photoshop is an excellent software for creating and retouching of bitmapped images. One of its helpful functions is photo editing. You can improve photos, or just play a trick on your friend and add moustaches, funny nose or something to his photo.
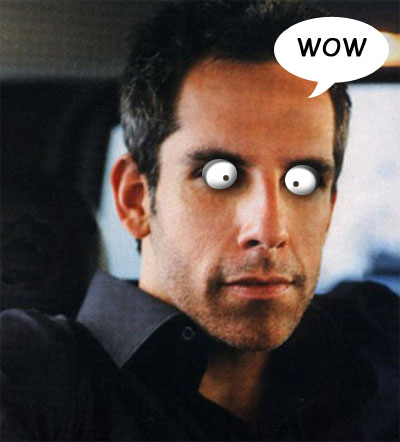
In this tutorial I'm going to describe how to add wide-eyed astonished eyes to some photo. I've chosen the picture of Ben Stiller, my favorite comic actor. He has rather thoughtful and serious look on this photo. It's time to change it and add two popped eyes to his face.

So open the image in photoshop. Create the new layer. Draw an oval of 30x35px size with the help of Elliptical Marquee tool (M) in the right eye area.

Fill the selection with some color and deselect. Go to Blending Options and set the following parameters:
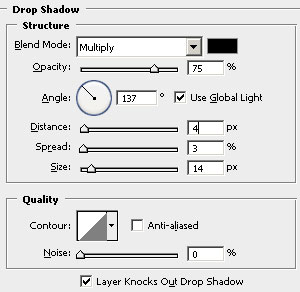
Drop Shadow (Layer>Layer Style>Drop Shadow) to make shades under the eyes as if they fall out.
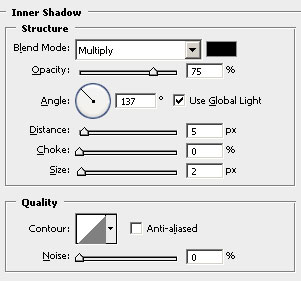
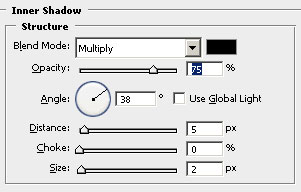
Inner Shadow (Layer>Layer Style>Inner Shadow) for eyebrows.
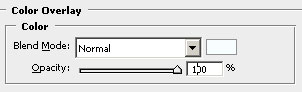
Bevel and Emboss (Layer>Layer Style>Bevel and Emboss) to form the white of the eyes.
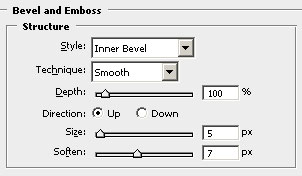
And, at last, Color Overlay (Layer>Layer Style>Color Overlay ) for milky color of the eyes.
The basis for the eyes is ready:
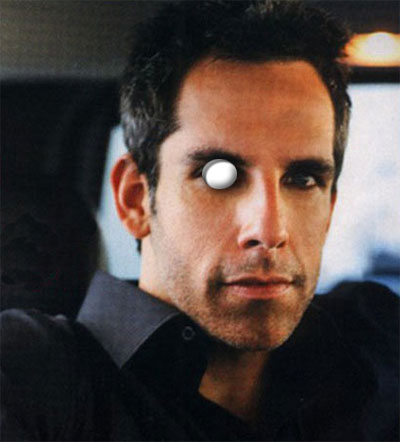
Create the new layer (Ctrl+Shift+N). Make one more selection of 6x6px size in the right bottom side of the eye (M) (on the Bevel & Emboss shadow border). Fill the selection with the dark gray (#575148). Deselect (Ctrl+D).

One eye is done. Create the new layer (Ctrl+Shift+N) and make the oval selection of 29x34px size (M) (a less than the first one) over the left eye. Fill it with any color. Deselect (Ctrl+D). Next click Copy layer style (Layer>Layer Style>Copy Layer Style) on the layer with the first eye, and then click Paste Layer Style (Layer>Layer Style>Paste Layer Style) on the layer with the second eye.
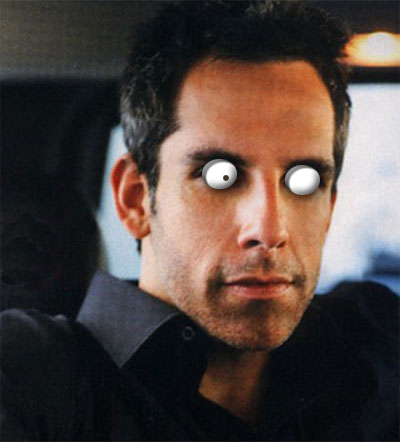
Now duplicate the layer with the pupil (Ctrl+J), and move it over the second eye using Move tool (V).

Now our hero has a different expression. You can also change the direction of the eyes. Just change the eyebrow's angle and the pupil's placement. Take off the check 'Use Global Light' and change the Angle for 68 degrees in Inner Shadow on the layer with the left eye.
Now go to the layer with the first pupil and move it to the left.

Cranky look is finished. You can add speech bubble with some text in it.
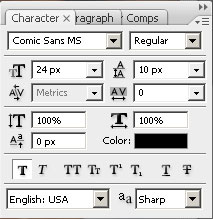
Select Custom Shape tool (U) and then select "Talk1" shape in it. Draw a bubble in the top of the picture. Add "Wow" text with the help of Text tool (T).