1. Begin by creating a canvas of somewhere around 640x480. Fill the background with white. Create a new layer called 'orange' and select the custom shape tool (U). I chose to use the grass like shape show here.
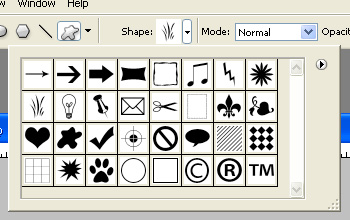
2. While holding shift draw a shape somewhere along the size of this. I used the color #ff6600.

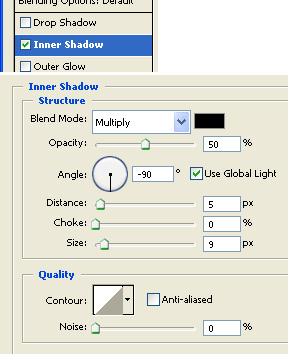
3. Next go to blending options and apply an inner shadow.
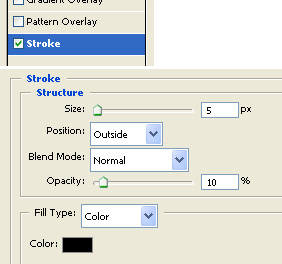
4. Also add these stroke settings.
5. You should have something like this.

6. Next, create a new layer called 'black' and move it underneath your 'orange' layer. Change your foreground color to black and draw a new shape. You can make it any proportion so don't hold down shift. Now CTRL+click the 'orange' layer with your 'black' layer still selected and hit delete on your keyboard.

7. With the 'black' layer still selected, nudge it up a bit (up arrow).

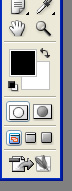
8. Now hit D to reset your foreground/background colors.
9. Go to filter>distort>diffuse glow and apply these settings:
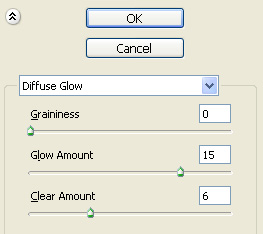
10. Your preview should look like this.
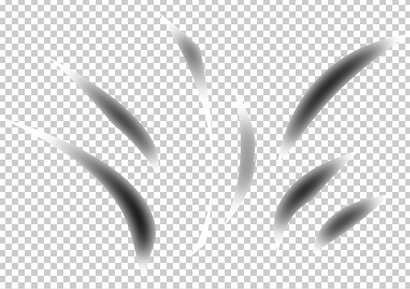
11. Lookin' good

12. Create a new layer and select the elliptical marquee tool (M). Draw something like this.
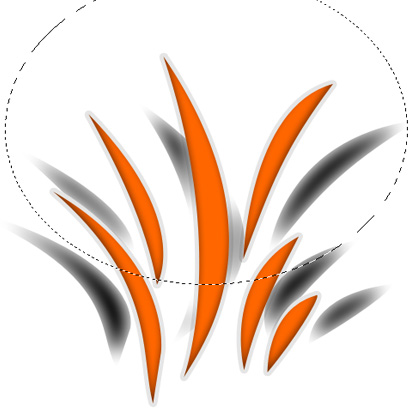
13. Fill your selection with white and make the opacity somewhere around 20%.

14. Now for a final touch you may add a bit of red spots by using the burn tool (O). Make sure you do it on your 'orange' layer. Here is what I got.