

1. Begin with a document with any size, I chose 800x600. Fill the background color with #9b6808.
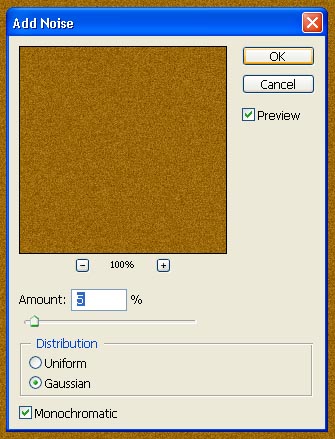
2. Go to filter>noise>add noise. Choose a value of around 5% with these options sent.
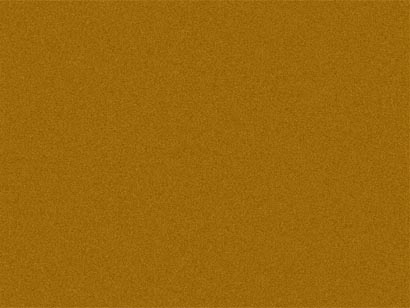
3. This is what you should have. If you are trying to get a cherry wood texture or another kind you may go to image>adjustments>hue/saturation.
4. Go into blending options for this layer and add a gradient overlay.
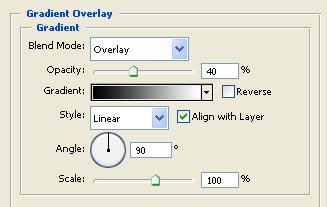
5. This is what you should have.

6. Reset your foreground/background colors by pressing 'D'.

7. Create a new layer (Shift+Alt+N) and go to filter>render>clouds.
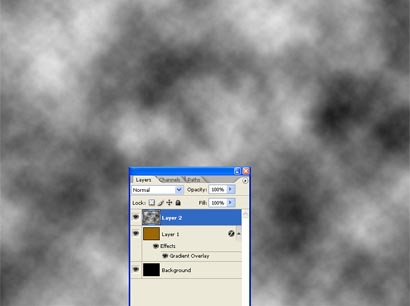
8. Next go to select>color range. Move your fuzziness to 200 and select any white part of the clouds. Try to select an area where it is the whitest. This is what your selection should look like.
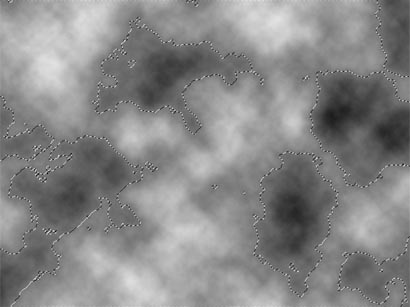
9. Hit the delete key to delete the selection and this is what you should be seeing.
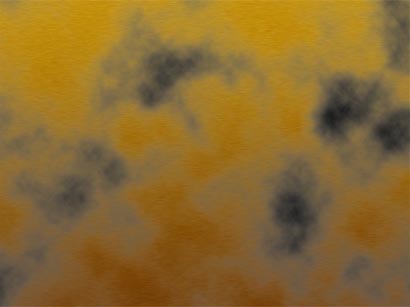
10. On this same layer go to filter>sketch>graphic pen. Use these settings.
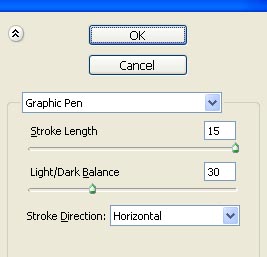
11. You should have something like this.
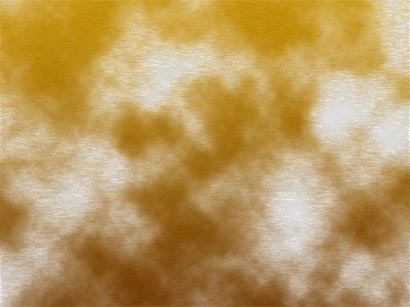
12. Still on this layer change the blend mode to 'linear burn'. This is what you should have so far.

13. Now just change the opacity to around 65% and you have a realistic clean looking wood texture :]
