In this tutorial, we will use these stocks:
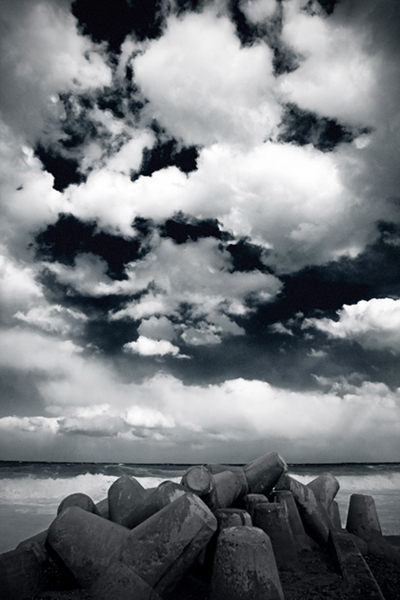
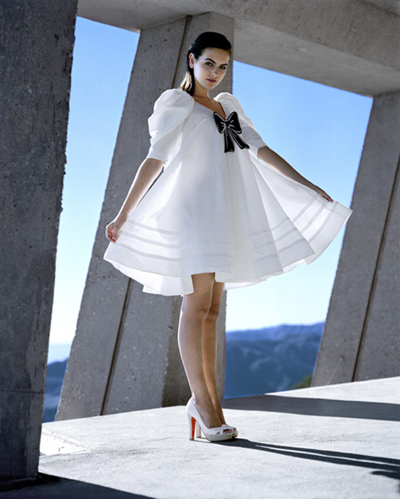
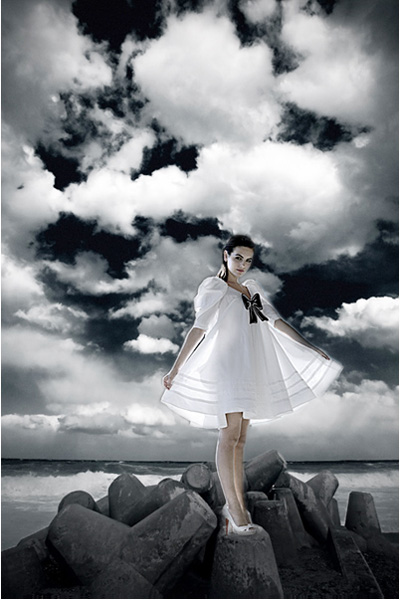
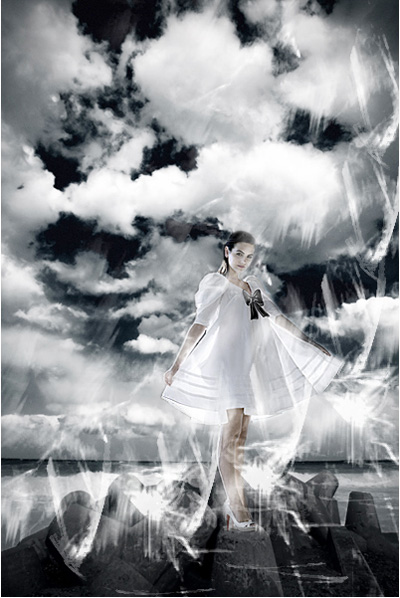
Use pen tool to cut the model out of original background, then put the model into new background like this:
Open Brush tool then choose the brush below: (Download brush)

Create a new layer then apply that brush to the picture on this new layer:
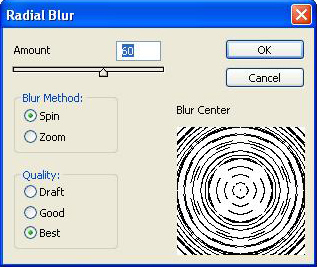
Go to Filter -> Blur -> Radial blur:
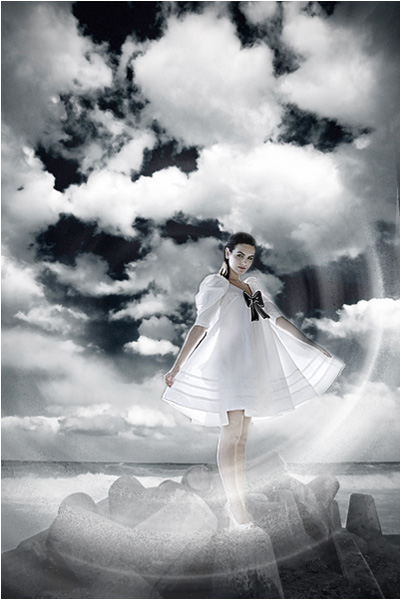
Press Ctrl+J to duplicate the brush layer, you will get the result like this:
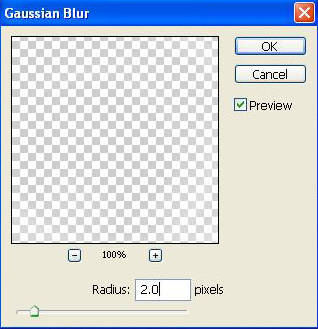
Continue to go to Filter -> Blur -> Gaussian blur
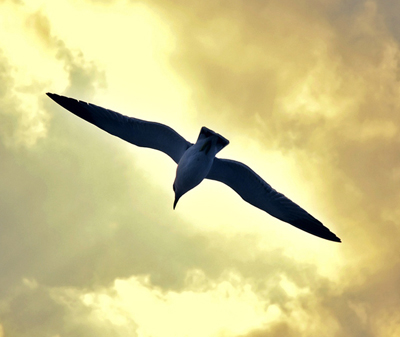
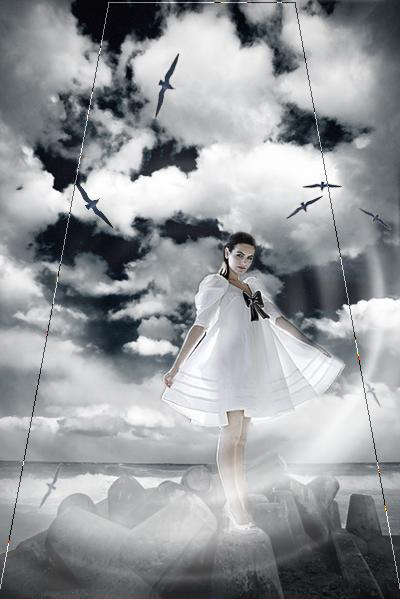
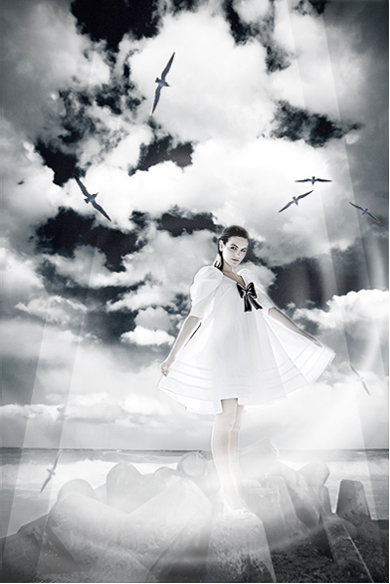
Put some birds into the sky of picture, you can use the stock below:
And you will get the result:

Create a new layer, use pen tool to draw a shape like this:
Click Right mouse -> Make selection, Feather: 0px -> Ok
Go to Layer -> New adjustment layer -> Gradient map

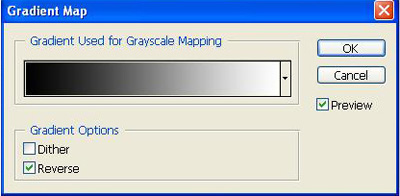
You will get:
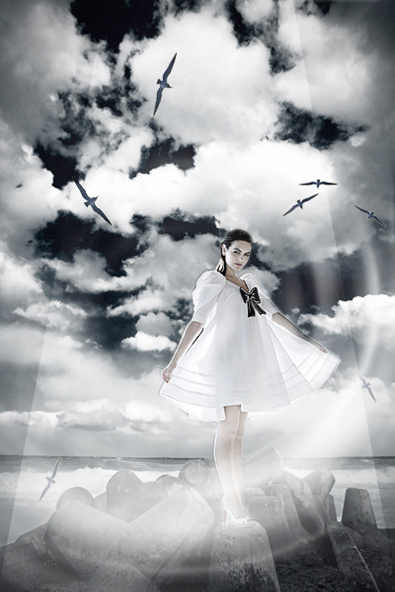
Press Ctrl+J to duplicate this layer one more time, move the "new layer copy" to left or right a bit
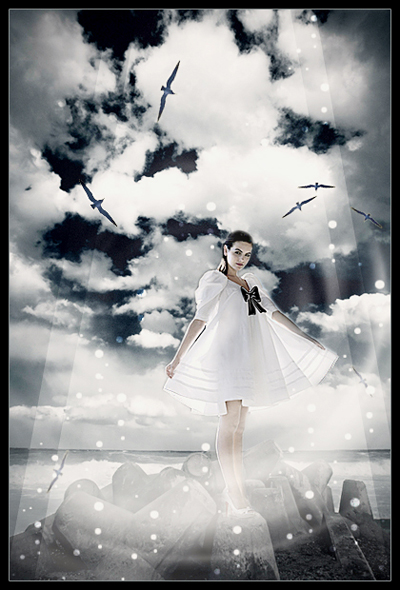
Put some soft circle brushes into the picture and you will get the final result: