


Let's start with a new document. I will use the same sizes like always: 760x770 pixels
The background is not important.
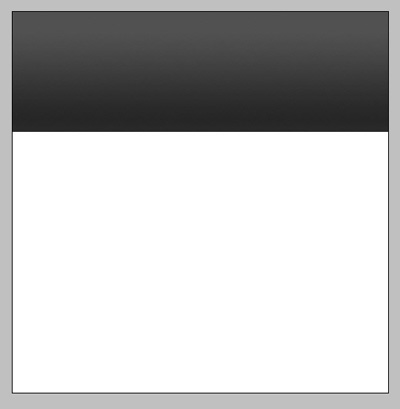
Set your foreground color to # 292929 , and the background color to #515151
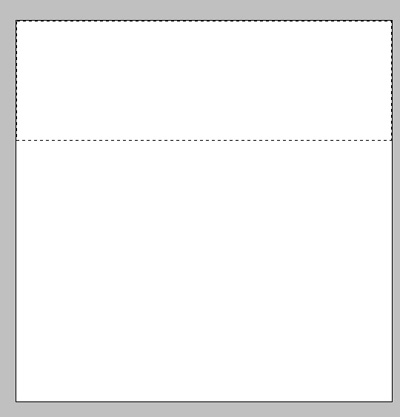
Select rectangular marquee tool, and make a selection like mine:
Then with gradient tool, make a vertical line ( from bottom to top ) inside your selection
Press Ctrl+D to deselect
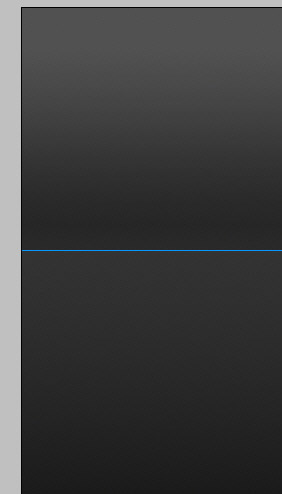
Then with the same tool ( rectangular marquee Tool ) make a selection like mine
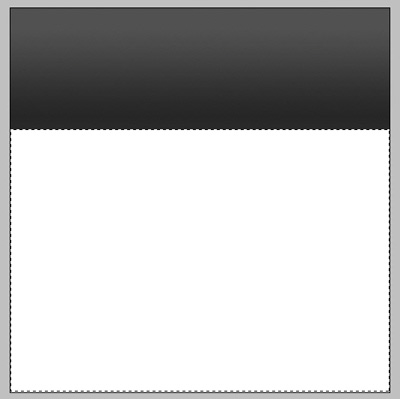
With Gradient tool , fill the selection like you did before ( draw a vertical line from bottom to top )
After you click one more time on Ctrl+D ( deselect ) you will have the same result like mine
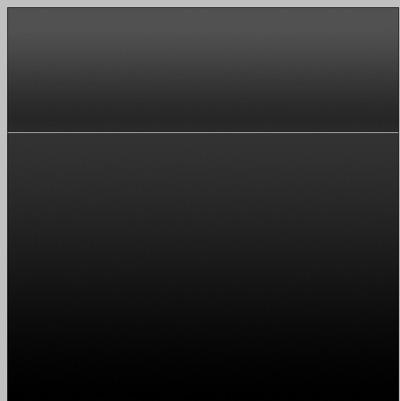
You can notice a white line. instead of this white line, we will create another blue line. To make this simple line you need to select Line tool, set the foreground color to blue : ( #009aff ), and make a horizontal line
Now i will use some custom shapes, and i will create a few icons
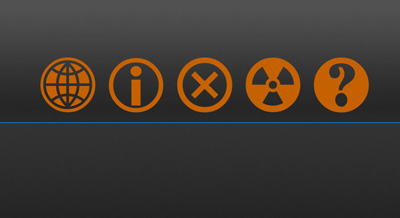
The color you choose for this custom shape is not important. we will use later some layer styles from Photoshop Designer's Pack
Now i will show you how to change this flat icons into 3D icons. For this i have created already some photoshop actions. You can purchase this package here : 3D Logo Creator
If you don't have 3D logo creator i will show you how to achieve the same effect.
Select a random custom shape. I will use the following shape

Then i will go to Edit > Transform > Perspective
and with my mouse pointer i will drag from the right corner to the right ( keep Shift key pressed when you drag this corner )
after i will apply the settings i will have the following result
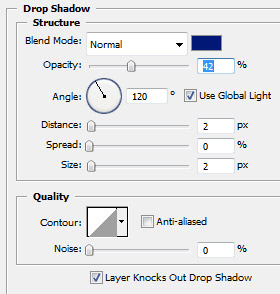
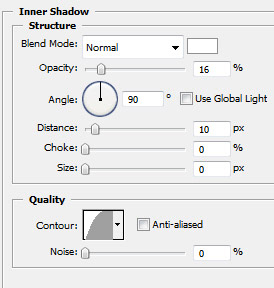
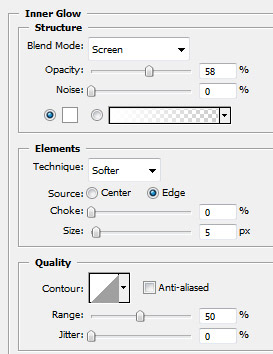
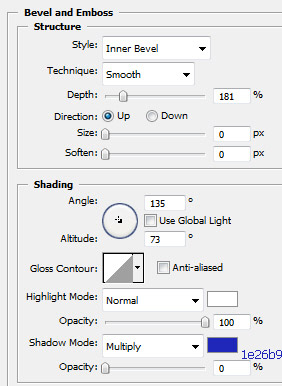
Now add the following layer styles for this shape
You will have the following result

Now comes the funny part. You need to duplicate this layer a few times. it is very important to follow exactly my steps:
Be sure you have the icon layer selected, then :
Step 1 : press on Ctrl+J
Step 2 : pres on Up Arrow
Step 3 : press on Ctrl+J
Step 4 : pres on Up Arrow
repeat the steps from above a few times
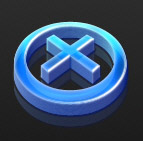
This is my result

Now select all the layers with this icon, and drag them to the " Create a new layer " button
You will duplicate all the layers with this icon. We need this copies because i want to create a mirror effect
after you create duplicates for all this layers, you need to select them , and press Ctrl+E ( merge function )
Press Down arrow key, a few times until you have the same result like mine
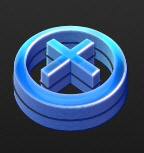
Adjust the Opacity setting for this mirror layer
This is my result
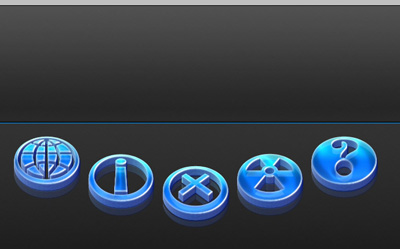
Now it is your turn to create the same 3D effects for all the icons
With 3D Logo Creator you can create this effect with a few mouse clicks. and you have a few thousand layer styles to choose from
after i have turned the flat icons into 3D icons , this is my result
Now please download the following set of brushes :
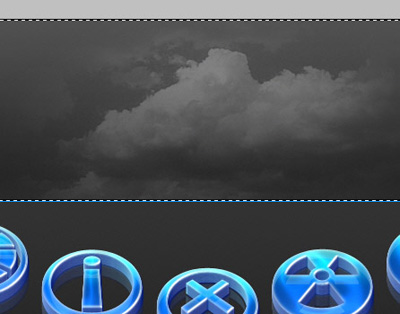
load the brushes, then on a new layer ( press Ctrl+Shift+Alt+N ) make some clouds.
You can create a selection like mine, and place the clouds inside your selection

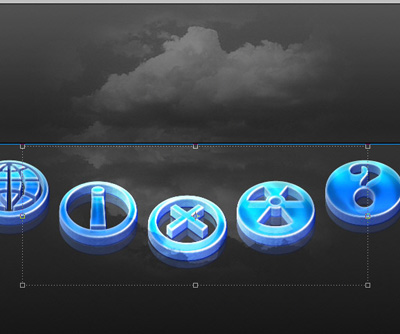
now i will change the blending mode for this layer to Overlay
Duplicate this layer with clouds, then go to Edit > transform > Flip Vertical
With move tool , place the clouds like me
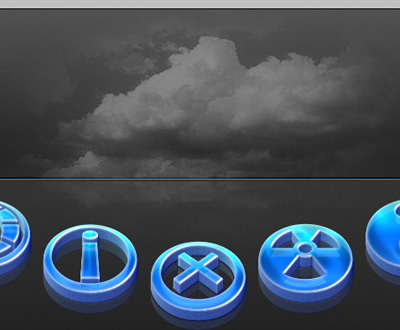
Then with eraser tool, delete some parts of the clouds. we don't want the clouds to be over our nice 3D icons. In the same time you can reduce the opacity for this layer to 70 %
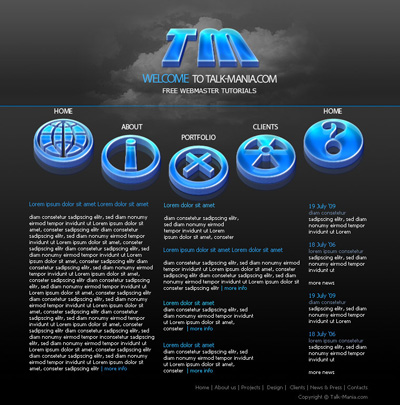
Now it is time to place some text on our layout
I hope you like it.