

Start working by representing a new file (File>New) with 1280x1024 px and 72 dpi. It may be pained in this color #382D19, applying the Paint Bucket Tool (G).

Next try to represent a new file with 40x40 px and 72 dpi and use on it the Pencil Tool (B) (brush 3 px) of black color to draw a pattern like the next one:
Edit>Define Pattern
Next apply the Rectangle Tool (U) to continue drawing the background of the picture to be.
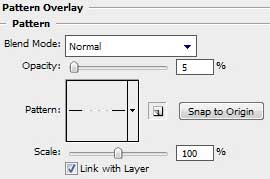
Choose next demonstrated parameters by making a mouse click on the processed layer on the layers' panel:
Fill 0%
Blending Options>Pattern Overlay (apply the earlier drawn pattern).

Create new layer and select on it the Brush Tool (B) of white color (Opacity 30%) to stroke out the background arbitrary.

The layer's parameters: Fill 20%
Blending mode-Overlay

Use the same brush, but of black color and on a different layer this time (Create new layer) to stroke it out the same way.
The layer's parameters: Fill 20%
Blending mode-Overlay

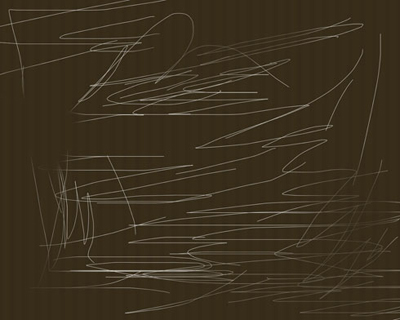
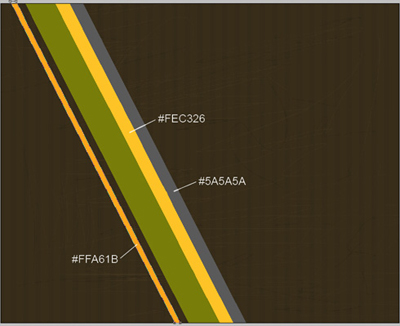
Select now the Pen Tool (P) to draw several inclined lines:

The line's color is #787D0A
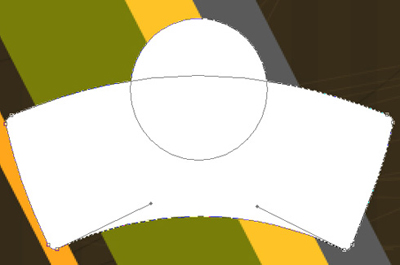
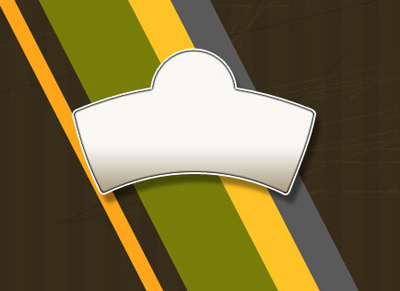
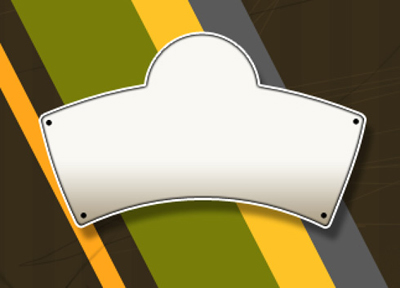
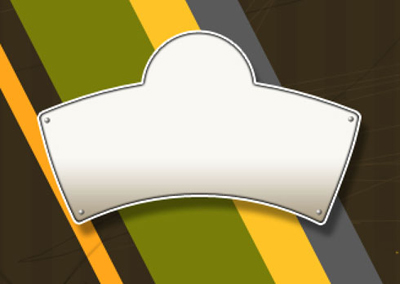
On the next layer we'll apply the Rounded Rectangle Tool (U) with a radius of 3 px and white color to represent the basis for the text we'll put in later. Press SHIFT button when using the Ellipse Tool (U) to insert a semicircle on the top part of the picture. Next we shall make the appropriate corrections on the picture with the Convert Point Tool.
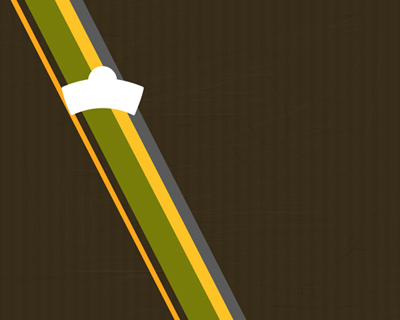
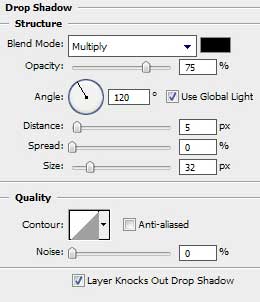
The layer's parameters: Blending Options>Drop Shadow
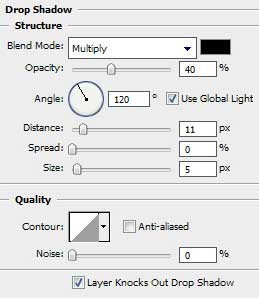
Blending Options>Inner Glow
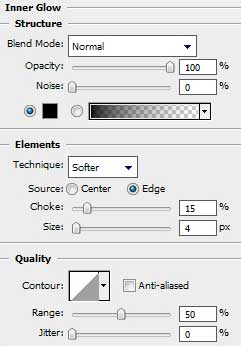
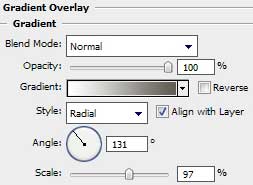
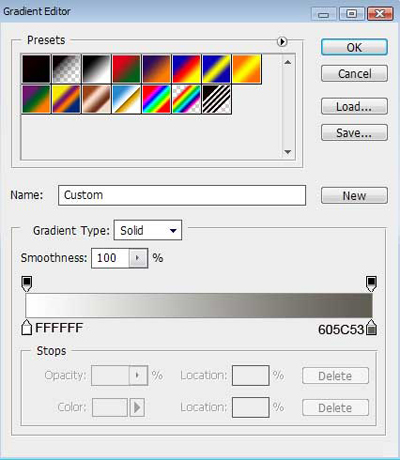
Blending Options>Gradient Overlay
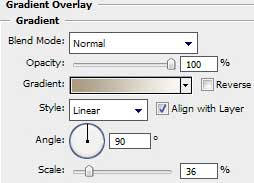
Gradient's parameters:
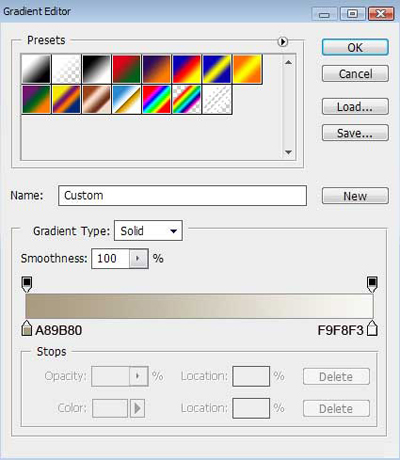
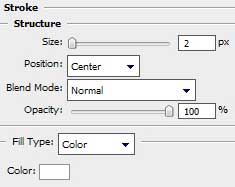
Blending Options>Stroke
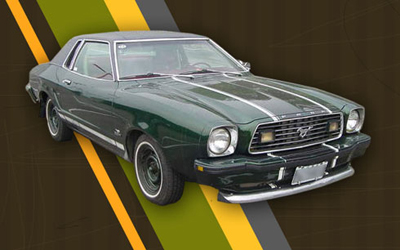
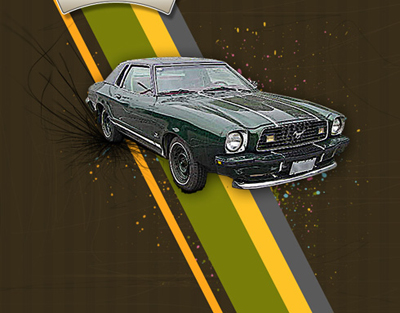
Next we must find in Internet a picture having a Mustang car on it:
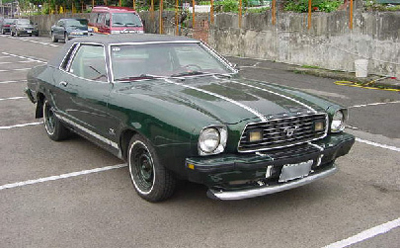
Cut out the automobile, introducing it on our picture:
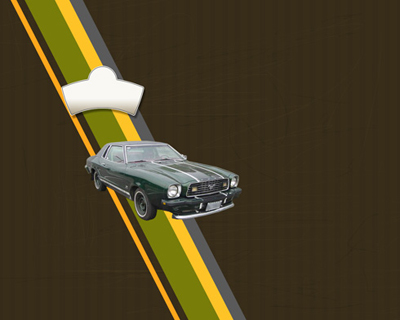
The layer's parameters: Blending Options>Drop Shadow
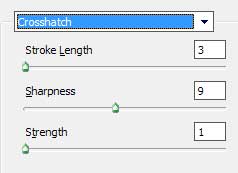
Select next filter's option for the car's layer: Filter>Filter Gallery>Brush Strokes>Crosshatch
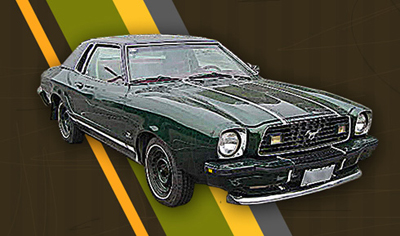
Create new layer and use on it the earlier applied standard brush – the Brush Tool (B) of black color to represent a shadow under the car's wheel and the spray. Situate this layer lower than the car's layer on the layers' panel:

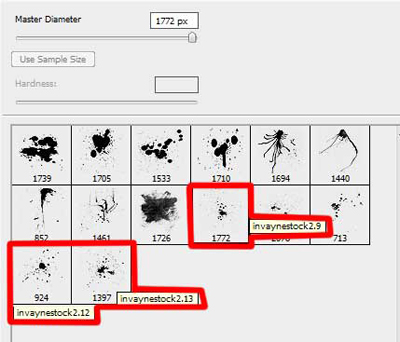
Download out of Internet a set of ready to use brushes for Adobe Photoshop, named bloodbrushes2_invaynestock.
Create a new layer and select the earlier chosen brushes out of the set bloodbrushes2_invaynestock. Their colors are these ones: #6BB3BB, #F0B925, #74780C, #E76699. Place the layer containing the brushes lower than the layers containing the car, inclined lines and the black spray.
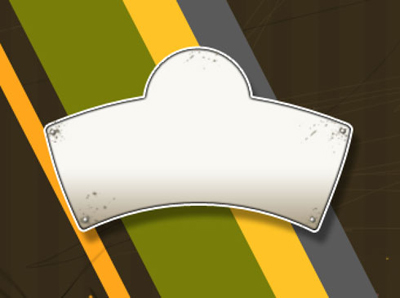
Select the Ellipse Tool (U) on the text's prepared basis to represent the rivets in those four corners
Select the same next shown parameters for all the rivets' layers: Blending Options>Gradient Overlay
Gradient's parameters:
Create new layer and use on it the earlier downloaded brushes on their name bloodbrushes2_invaynestock. Their color is #817A67. Those brushes' fragments coming outside the reserved zone should be erased with the usual instrument – Eraser Tool (E). Place this layer lower than the layers containing the rivets:
It's timer to insert the corresponding text on the made basis, keeping the demands from the next table:
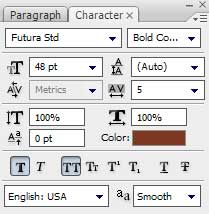
78
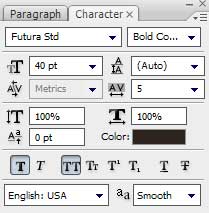
MUSTANG
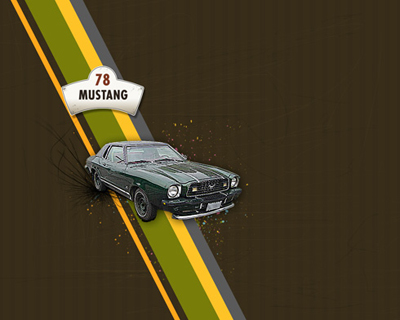
The picture is finished!