Open a new file that would have 400x400 px and 72 dpi. Then select the next instrument ![]() to represent the background for the next image to be.
to represent the background for the next image to be.

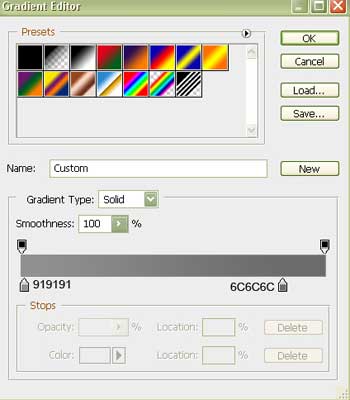
Blending Options-Gradient Overlay
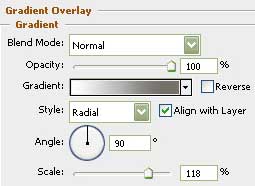
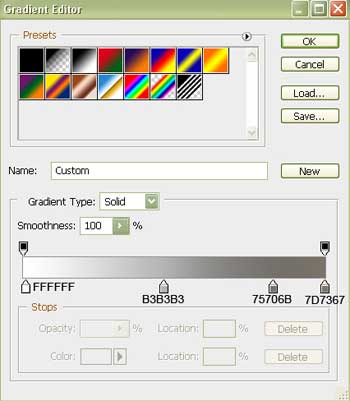
Gradient's parameters:
Select after that the shown tool  and represent the lowest layer for the audio system to be.

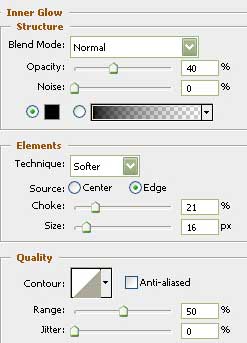
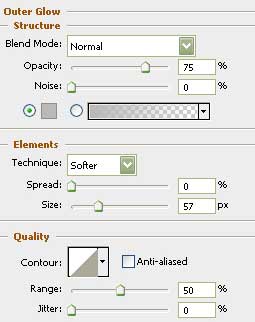
Blending Options-Inner Glow
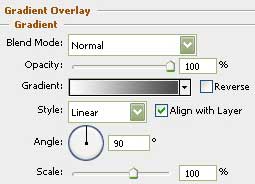
Blending Options-Gradient Overlay
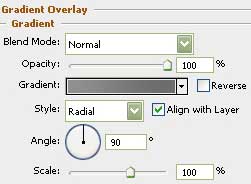
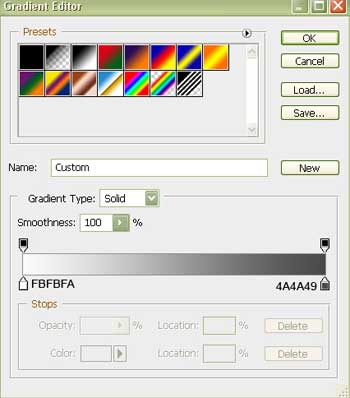
Gradient's parameters:
Make use of the next tool  and represent the basis for the loudspeaker to be.

Blending Options-Outer Glow
Blending Options-Gradient Overlay
Gradient's parameters:
Using the same instrument, draw an element of the loudspeaker, like that one shown next step:

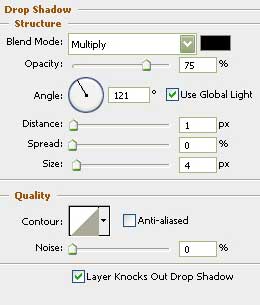
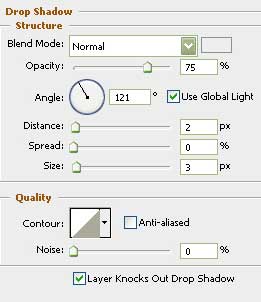
Blending Options-Drop Shadow
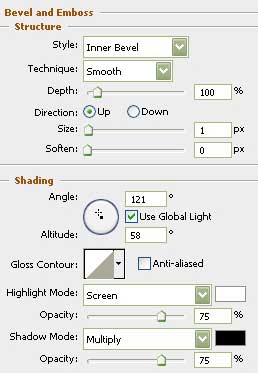
Blending Options-Bevel and Emboss
Blending Options-Gradient Overlay
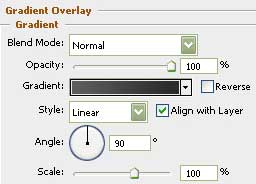
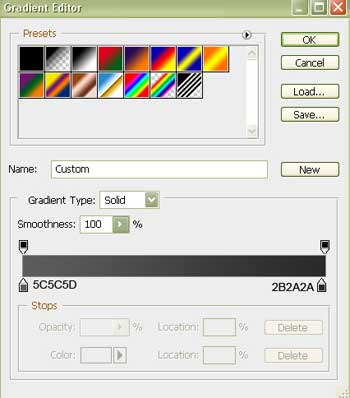
Gradient's parameters:
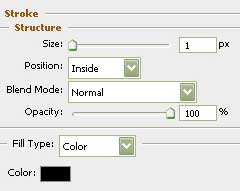
Blending Options-Stroke
Select the shown instrument here and try to represent an opening of black color like in the picture below:

Blending Options-Drop Shadow
Copy this new made layer and place it the way it is shown next step: