First start by creating a new document (500 x 500). After that select the type(text) tool. Choose Wingdings for the font and 400 for the font size.
![]()
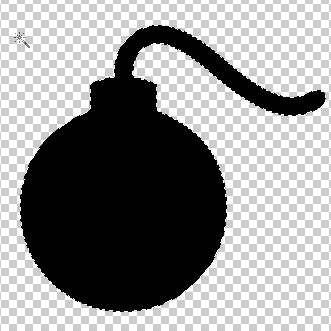
Type a capital M. If you have done this right there should be a bomb shape for your text. Duplicate the text layer and then rasterize it by going to Layer>Rasterize>Type, and name this layer to bomb.

Then make a duplicate of the bomb layer two more times, name it fuse, and sparks.
Select the bomb layer by ctrl clicking the layer. Delete the sparks with your wand tool, start by alt clicking the black sparks, this will deselect the sparks. Press Shift + Ctrl + I to inverse the selection, then press delete, this will delete the sparks from the layer. Still on the bomb layer Ctrl + Click the layer to select it once again. You can use any way you feel like for this next part. First Alt + Click & Drag a selection around the fuse. If you did this correctly only the round part of the bomb and the piece that connects the bomb with the fuse will be selected. Shift + Ctrl + I again to inverse the selection, press delete to delete the selection.
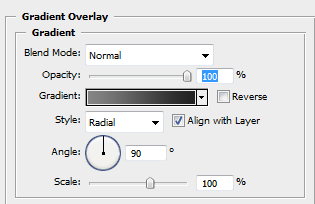
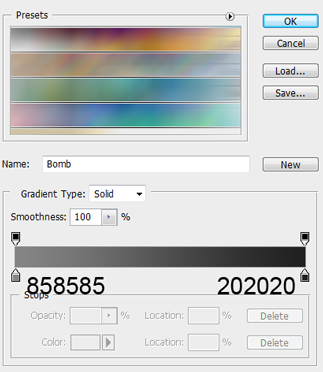
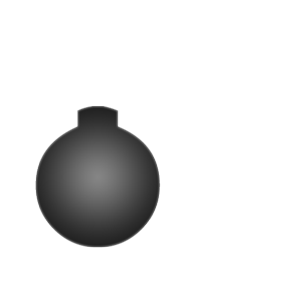
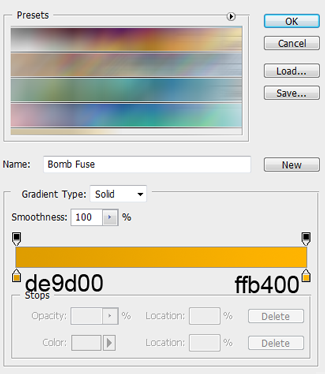
Then add a gradient overlay to this layer.
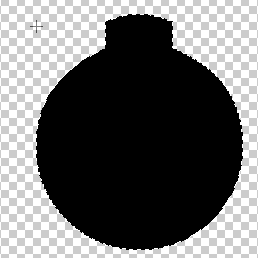
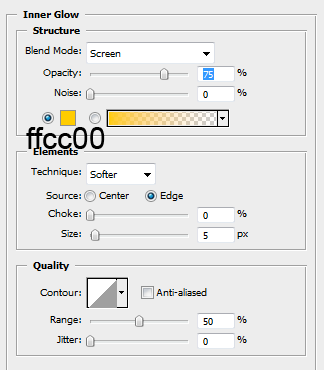
After add an inner glow to the layer.
This is what you should have.
Do the exact same thing on the spark and the fuse layer only for the fuse layer have only the fuse selected, for the spark layer only the sparks selected, after that we will apply some styles to those layers.
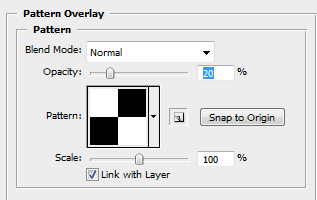
Now go to File>New, set the height & width properties to 8 pixels. Select the rectangular marquee tool and drag four pixel while holding down shift.
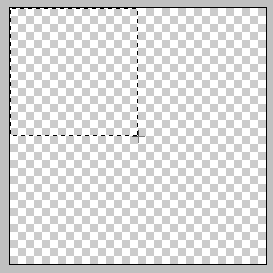
Fill the selection with white, move the selection to the right 4 pixels by hitting the right arrow key 4 times, fill the selection with black, press the down arrow key 4 times and fill it with white, then the left 4 times and fill with black.

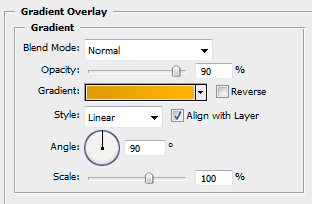
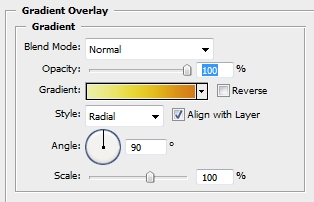
Go to Edit>Define Pattern. Go back to the bomb document and select the fuse layer. We will add a few layer styles to it. First layer style is a gradient overlay. Then we will add a pattern overlay, the pattern will be the pattern that we just created previously, see figure 14. The last layer style we will add to the fuse layer is an inner glow.
This is what you should have.

We are almost done!
Now select the spark layer, we will be adding a gradient overlay.

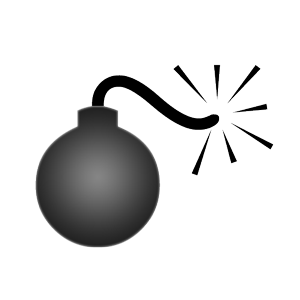
Finished!
This is what you should have.

Have Fun!
Don't Forget I Have Included the PSD File Bomb & Pattern.