

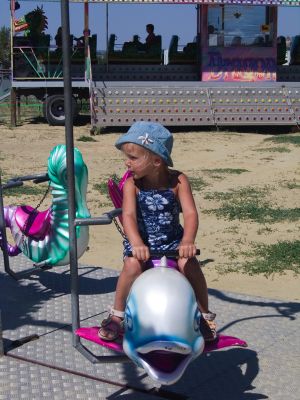
The effect you'll learn to use in this tutorial helps to intensify the idea of motion and at the same time creates a new background void of unnecessary detail. The tool used is the simple Radial Blur Filter.
1. Open your image and copy background layer. We'll be working with the copy to preserve the original untouched.
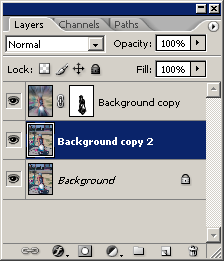
2. Make another layer copy - it'll contain the mask.
3. Staying in the top layer make a selection of the girl and the dolphin she is sitting on.
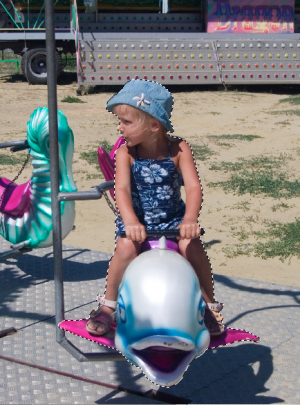
4. Add layer mask - the selection will disappear but you will see a white rectangle with the black figure inside appear in the layer representation in the layers palette.
5. Click on the second layer, it'll serve as background. Go to Filters > Blur > Radial Blur and use the following settings (you can change the amount of blur, of course, and see if it suits your image better):

6. Merge the layers, if you are satisfied. After that I used Image > Adjustment > Levels to intensify the colors.

