Step 1: Creating the Workspace:
Start with a 300 x 100 Document and fill in with any colour. I'm using a slight gradient white, but you can choose your colour
Make a new layer and grab your rectangular marquee tool and make a selection like so:
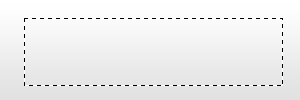
Step 2: Round off the corners:
Once you have a selection like the one above, go to Select > Modify > Smooth. Use a setting of 7 to give you this effect
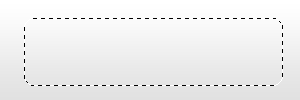
Step 3: Fill in the new shape:
Now once you have your rounded shape right click and select fill. Use any colour as you will be applying styles later on. Filling your shape in should give you this:

Step 4: Apply some styles:
Next apply the following styles to your layer by right clicking on your shape layer and selecting blending options, apply the following:
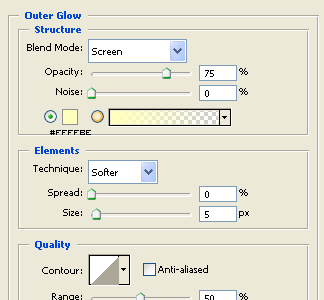
Outer glow:
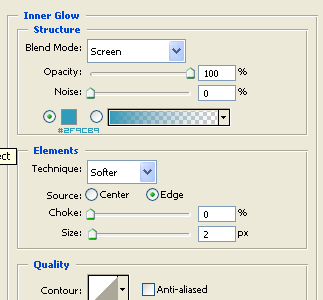
Inner Glow:
Bevel and Emboss:
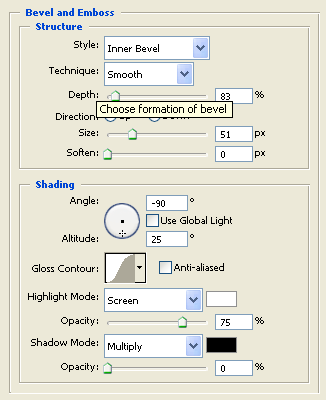
Take note of the gloss contour setting, make sure you change it and not miss it out!
Gradient Overlay:
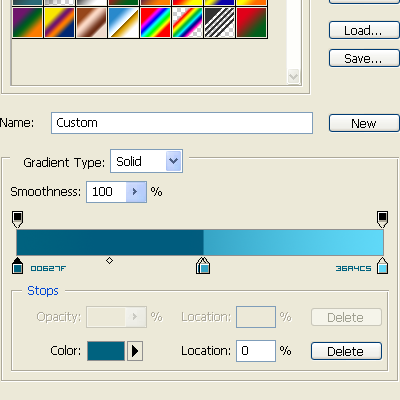
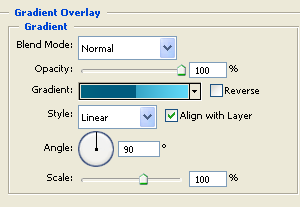
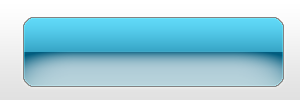
Stroke:
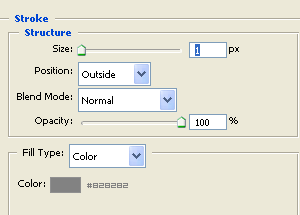
Now the button should now look like this:
Step 5: Add some text:
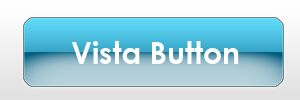
Add any font you wish to use on your new vista style button, I'm no good with fonts but if you want to know the font I'm using, then I used Century Gothic, using a bold setting at 30pt
Add your text in and look at your final result!
The Final result:
Download the PSD file here.