


Step 1. Firstly open a new file, create 2 new layers. On the second layer, use rectangular marquee tool (M) to make a square selection (press shift to make square) like this picture below.

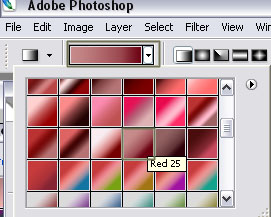
Step 2. Use Gradient Tool, I choose this one:
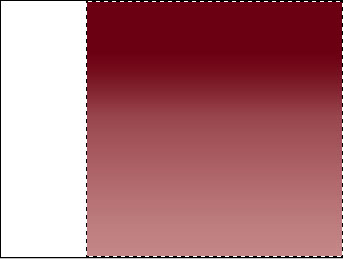
And make gradient like the picture below:
Step 3. This is an important step of tutorial, you have to remember this thing: Do not deselect your square selection. If you forget that, your artwork could be worse.
Ok, go to Filter > Distort > Wave and set the option :

Continue to Filter > Distort > Polar Coordinates > choose Rectangular to Polar. At this time, duplicate layer and hide the new one. Come back to the previous layer, go to Filter > Distort > Twirl > choose 100. Press Ok.
Open the top layer (the one that you duplicate), goto Filter > Distort > Twirl > choose -100. Press Ok. Set Opacity 55%
Link 2 this layer and merge them together, named "Flower". Come back to the first layer that you create it before, fill it with color #c78b8b .You will get this result:

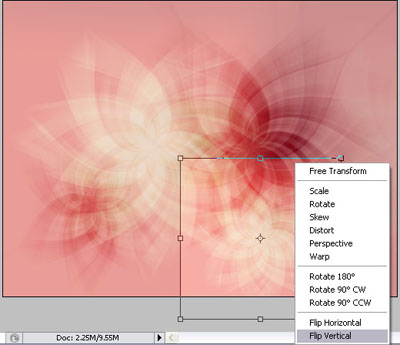
Step 4. Choose Flower layer and duplicate it. In this new layer, press Ctrl + T to transform like the picture below:

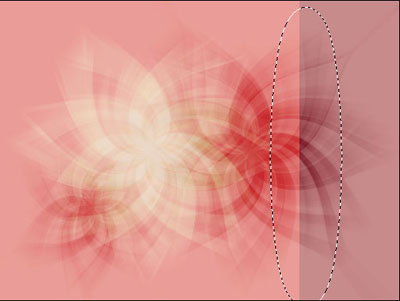
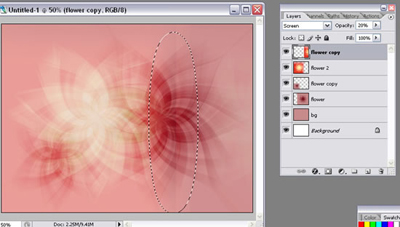
Use Elliptical marquee tool and set option:
![]()
Make selection and press Delete. In this step, you will erase some areas on the layer to make 2 flowers look more pretty

Continue to erase until you see it's really pretty

Then set opacity 71% for this layer. Your result:

Step 5. Create new layer, repeat actions from step 2 to the end of step 3 with this gradient:

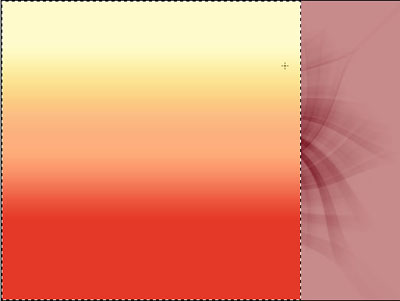
After all, you will get this result:

Named this layer "Flower 2", set it into screen mode and set opacity 71%.
Continue to use Elliptical marquee tool like step 4 to erase unnecessary areas:
Duplicate layer Flower 2, move it and erase like this:
Duplicate layer Flower 2 again, set opacity 55% then transform:
Continue to erase.
Create new layer and set on the top, set soft light mode. Use Paint Bucket Tool and set Foreground color #e29995 to cover this small area.

It looks more pretty than before.
Well, you've got the final result.

Click here to download gradient files used in this tutorial.