


Step 1: Creating the Workspace:
Start with a 500 x 100 Document and fill in the Background colour as #6D6D6D
Step 2: Create the Base Layer
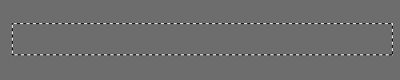
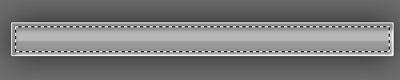
Next make a new layer and grab your Rectangular Marquee tool, and make a selection like so:
Fill it in with any colour and then apply the following layer styles. Apply these by going to the layer and right clicking on it in panel. Apply the following:
Drop Shadow:

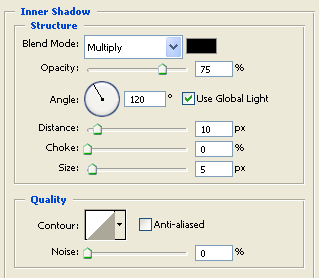
Inner Shadow:
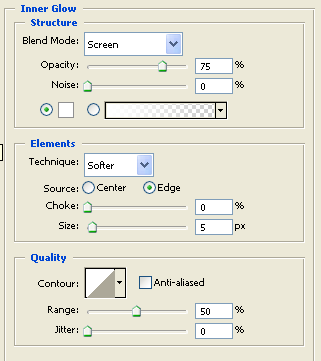
Inner Glow:
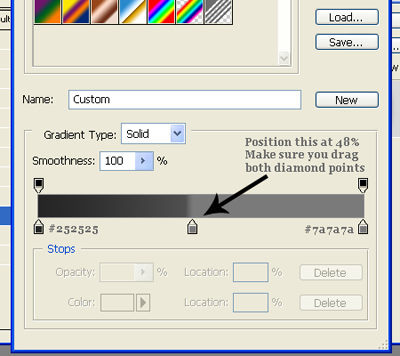
Gradient Overlay:
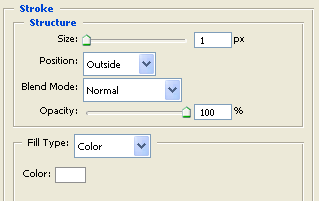
Stroke:
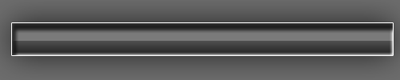
Once you have done you should have something like this:
Step 3: Gloss it up
Now on the layers thumbnail hold Ctrl on the keyboard and click on the layers thumbnail to select the whole selection then make a new layer and fill it in a neutral white colour (#FFFFFF):
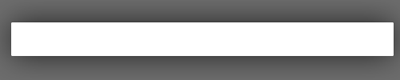
Lower the opacity of this new layer to 46 and then we should have a much better looking base for the navigation:
Step 4: Making the Buttons
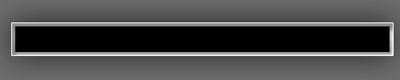
Next click on the layer that has the lowered opacity and then go to Select > Modify > Contract. Contract the selection by 4 px to give you this:
Now make a new layer and then fill in the selection with a neutral black (#000000) To give you this:
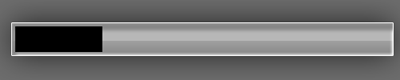
Shrink this selection by either going to Edit > Free transform or quickly select the shape by pressing Ctrl + T on the keyboard shrink it to about this size:
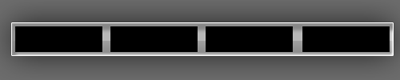
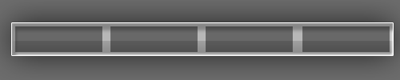
Duplicate this shrinked shape 3 more times and they should fit perfectly like this:
Now you may of wondered why the navigation bar's base looked horrible at the start? Well that's because all the layer styles you set were also to help make the 4 shapes blend in better.
Let's start making them blend in simply by changing the layers opacity to 43% on each one:
Step 5: Add some finalizing styles
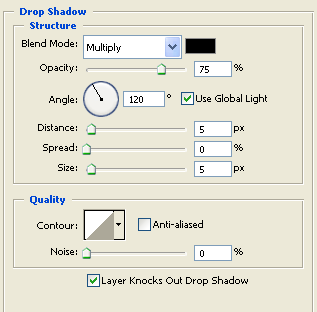
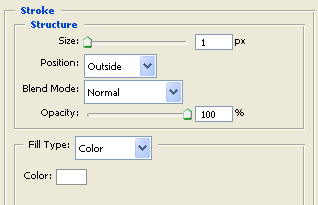
Next lets add in some quick layer styles to the 4 button shapes. Apply the following Drop Shadow and Stroke Settings on each button shape:
Drop Shadow:
Stroke:
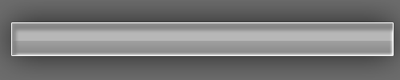
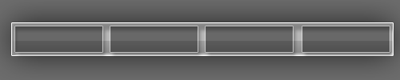
Apply these layer styles to all 4 of the button shapes and you should get this:
Step 6: Add some text links
Finally go ahead and add in some text. For this tutorial I will be using the font Georgia set at 12pt and font colour as #FFFFFF:
The Final Result:
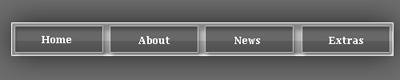
There we go a Chrome/Glossy Navigation bar!