Start creating the file (File>New), that would have 800x300 px and 100 dpi.
Using the Rectangle Tool (U), try to represent the background of the picture we want to have on the final stage of our work.
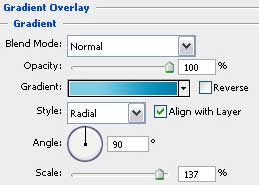
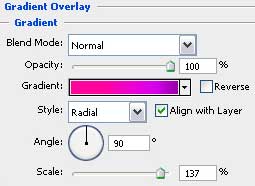
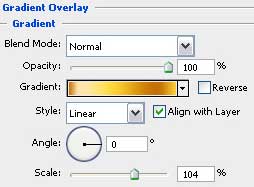
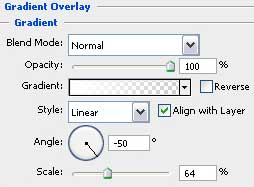
Select the next parameters by making a mouse click on the layer we work with on the layers' panel: Blending Options>Gradient Overlay
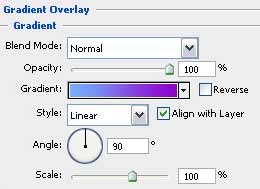
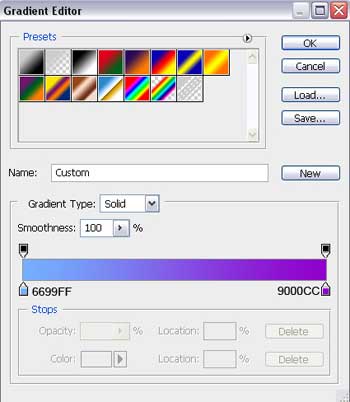
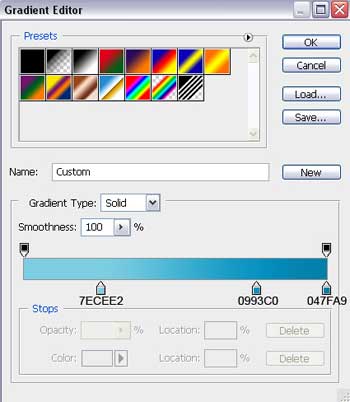
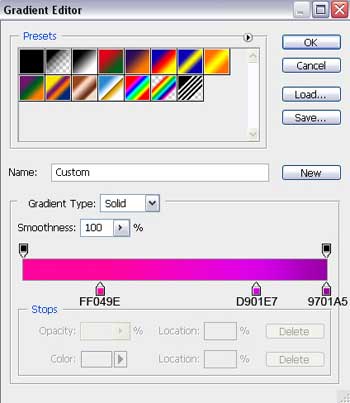
Gradient's parameters:

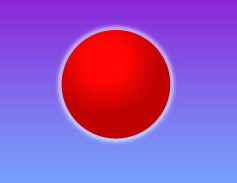
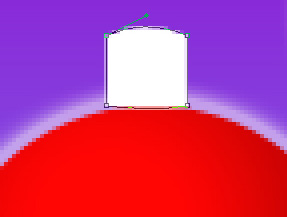
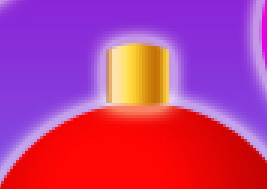
Using the Ellipse Tool (U), try to draw now the primary layer of a Christmas toy decoration
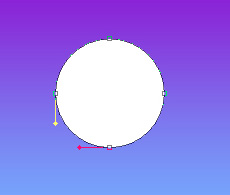
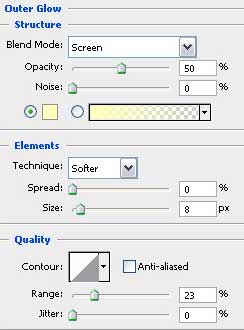
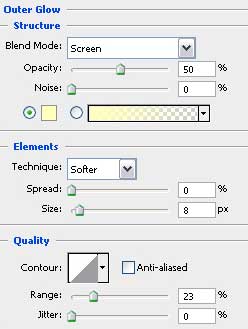
The layer's parameters: Blending Options>Outer Glow
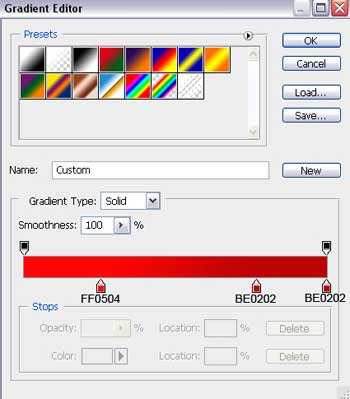
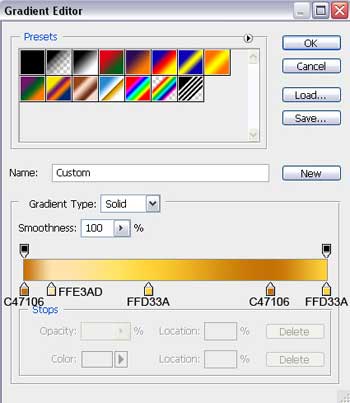
Blending Options>Gradient Overlay
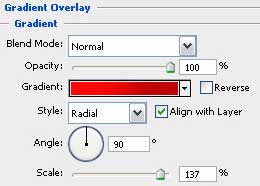
Gradient's parameters:
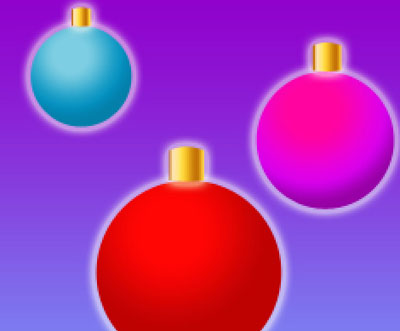
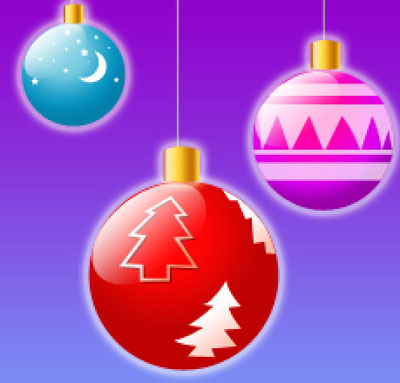
Select the previous instrument and picture out three more toy decorations of different colors.
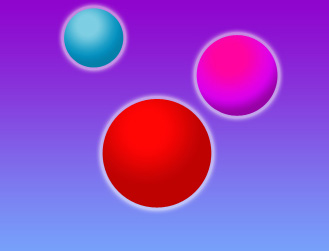
The parameter Blending Options>Outer Glow is the same for all the toys (the same with the red toy decoration). The parameters for the blue toy decoration: Blending Options>Gradient Overlay
Gradient's parameters:
The parameters for the violet toy decoration: Blending Options>Gradient Overlay
Gradient's parameters:
Next we'll make the top part of the decorations, applying the Rectangle Tool (U) and correcting the elements' parts with the Convert Point Tool.
The layer's parameters: Blending Options>Outer Glow
Blending Options>Gradient Overlay
Gradient's parameters:
Make three copies of the layer containing the top part of the decoration and select Free Transform option to make the necessary copies smaller, placing them as it is shown below:
Let's make the threads now the toys hang up with. In this case we should choose the Line Tool (U) and place the threads' layers lower than the layers containing the colored toys (on the layers' panel). Select also this color - #7B7B7B.


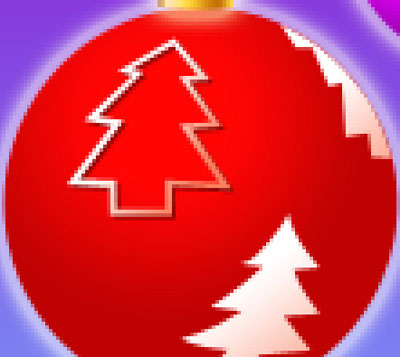
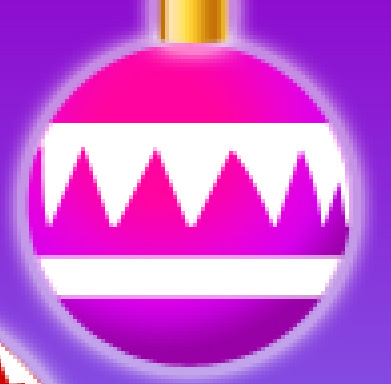
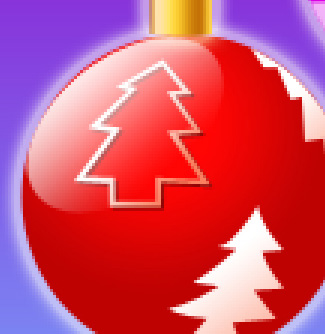
Insert now some ornaments on our toys by applying the Pen Tool (P) and making the appropriate corrections on them with the Convert Point Tool.
The layer's parameters: Blending Options>Gradient Overlay
Gradient's parameters:
Using the earlier described method and the same layer's parameters, try to picture another ornament of the same kind.

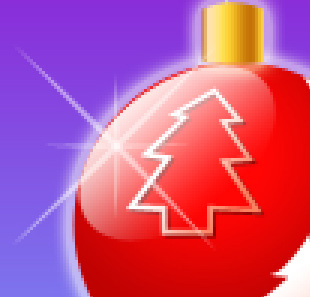
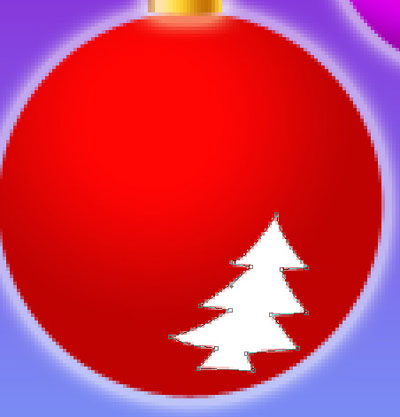
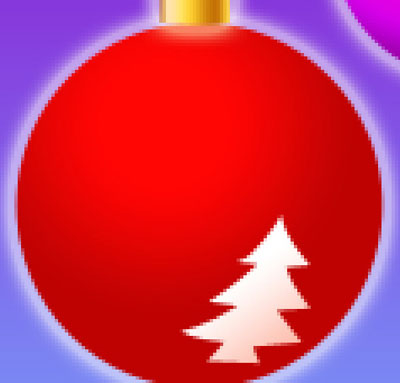
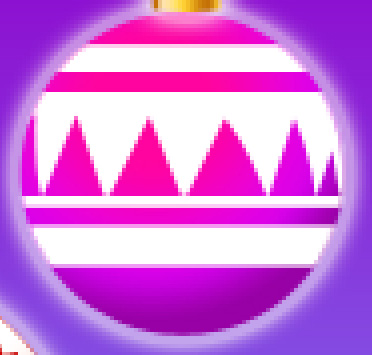
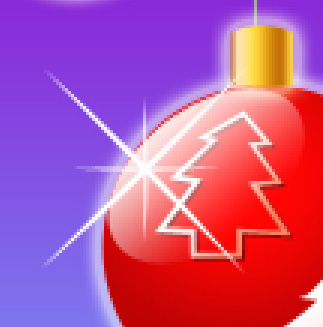
Take the Pen Tool (P) to represent one more ornament on the toy, drawing firstly its outside edges and then after changing the tool's regime, cutting out the inside elements.
![]()
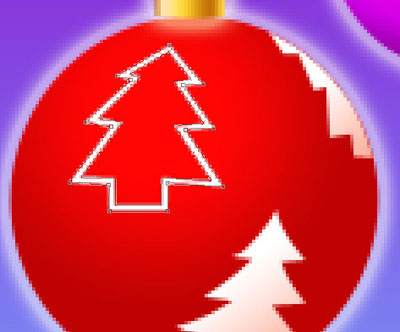
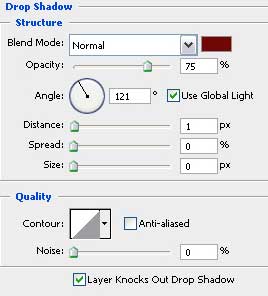
The layer's parameters: Blending Options>Drop Shadow
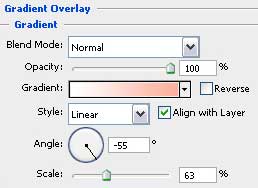
Blending Options>Gradient Overlay
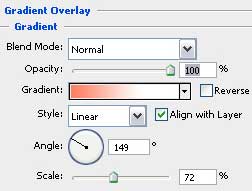
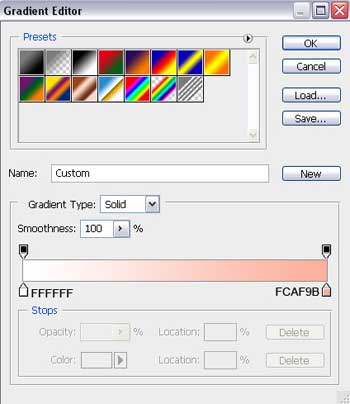
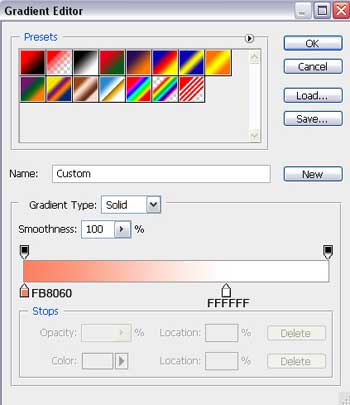
Gradient's parameters:
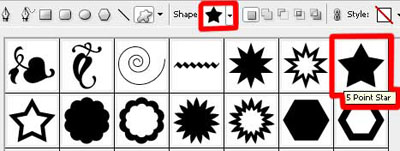
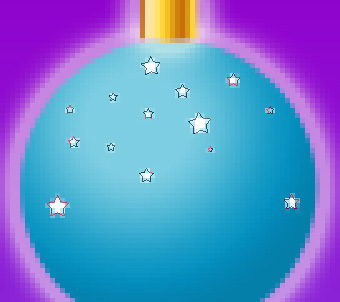
Select now the Custom Shape Tool (U) and press SHIFT button to draw several stars of different sizes and white color for painting the blue toy decoration.
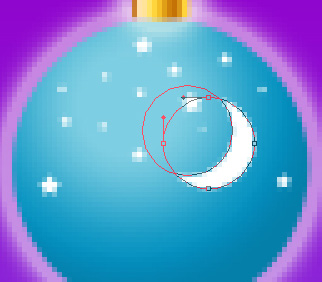
Using the Ellipse Tool (U) on this stage, it's possible to represent a half-moon of white color, creating for the beginning the moon's basis and only after that pressing Alt button for moving off the unnecessary elements.
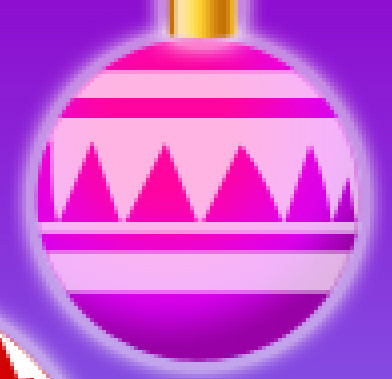
Let's decorate now the violet toy by choosing the Pen Tool (P) of white color too.
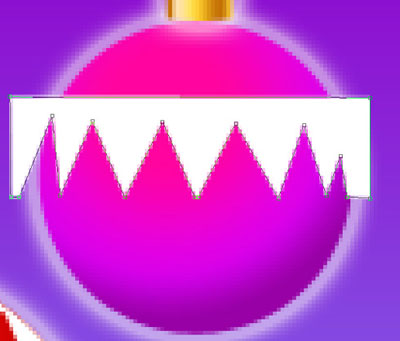
Make a mouse click on Add a Mask option on the lowest part of the layers' panel and select the Brush Tool (B) of black color to erase the coming outside the edges some ornament's parts.
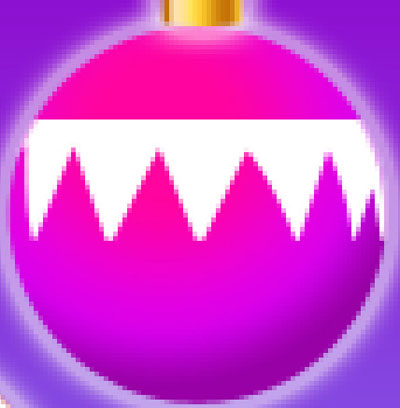
Select the Rectangle Tool (U) to insert another ornament on the violet toy decoration, having the white color.
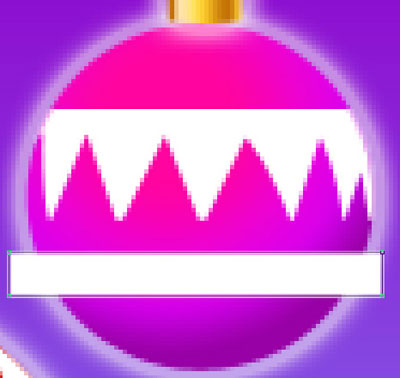
Use again Add a Mask selection when choosing the Brush Tool (B) to erase the unnecessary ornament's parts, coming outside the toy's edges:
Select again the Rectangle Tool (U) for drawing two small stripes of white color. In this case we'll apply the same described method above for erasing those parts coming outside the toy's edges:
Each element of the violet toy has the same layer's parameters: Fill 70%
Let's choose again the Ellipse Tool (U) and represent a highlight on the red Christmas toy decoration.
The layer's parameters: Fill 0%
Blending Options>Gradient Overlay
Gradient's parameters:

Make two copies of the layer containing the highlight and select the Free Transform option to make the copies' sizes according to the toys they are situated on.
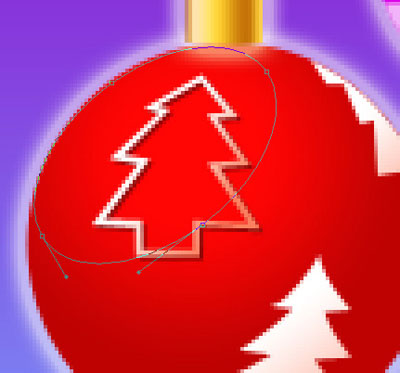
Let's represent now a kind of brilliance on the red toy, applying the Pen Tool (P) and then the Convert Point Tool for introducing the necessary changes on the element's shape. The color in this case is white.
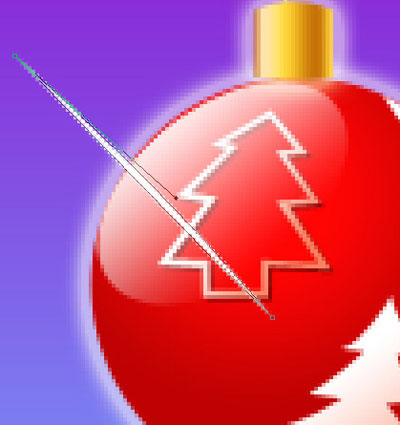
Make three copies of the last made layer and select again the Free Transform option to turn the copies over, making them smaller and trying to get the shape of a star.
The brilliance's layers have the same layer's parameters: Fill 50%