

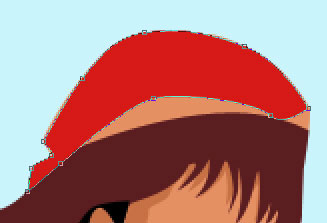
Having the indicated instrument , represent a cap on the girl's head. It must have the color DD221B.

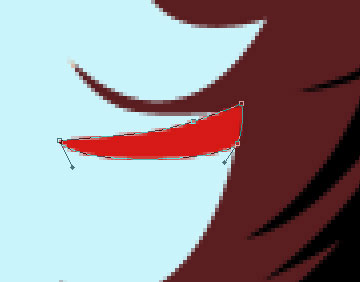
The same instrument can be useful in drawing another cap's element, colored in DD221B.
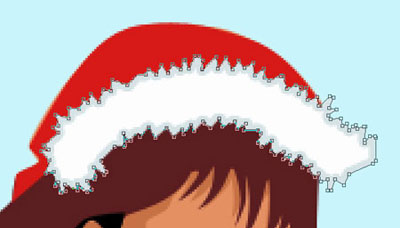
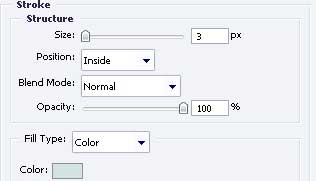
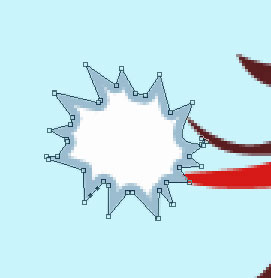
Take the same instrument to picture the fur on the cap. It must be of white color and with the parameters from below.

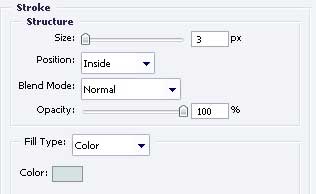
Blending Options-Stroke
Take the last instrument to picture more fur on this cap, also of the white color and with the same sizes shown below.
Blending Options-Stroke
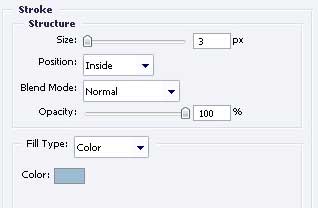
Using the already known instrument, represent more fur on the rest of the girl's clothes, applying the same parameter for all: Blending Options-Stroke.

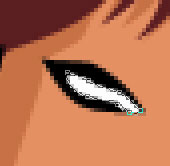
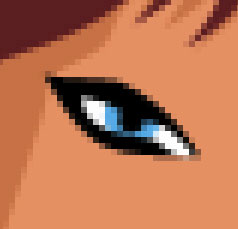
Take the instrument to make the eyes' silhouette of black color.


Having the instrument , represent the eyes' inside of white color.
Applying this instrument  , represent the eyes' iris, with the color 5ABFEE.
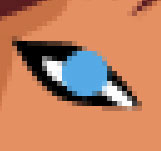
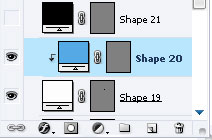
Keep pressed now the Alt button to put the mouse on the layers' edges (between the iris and the cornea), click on the left mouse's button and the iris's layer will be transformed in a mask.
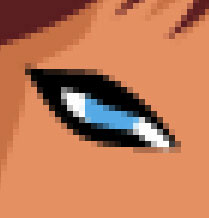
Having the next instrument represent the eye's pupil of the black color.

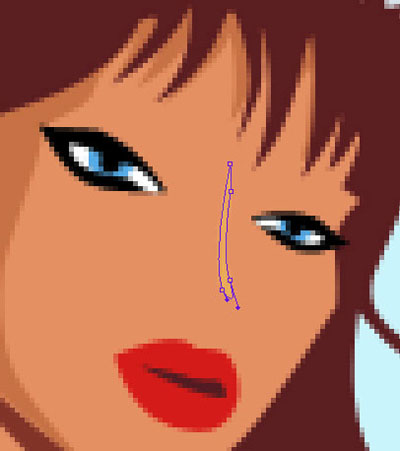
For your convenience, merge down now all the layers, composing the eyes in a group. Copy this new made group and apply Free Transform selection, to turn it around, minimize it (holding Shift button) and place it out like in the next picture.

Pass to creating the girl's nose with the shown instrument and with the color F4B568.
Take the indicated tool to picture the nose's nostril with the color B36843.
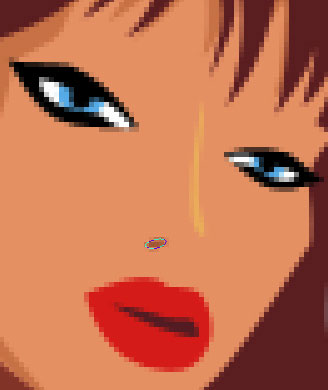
Copy the new made layer. Apply next Free Transform selection an turn it around, minimize it and place it out like in the picture below.

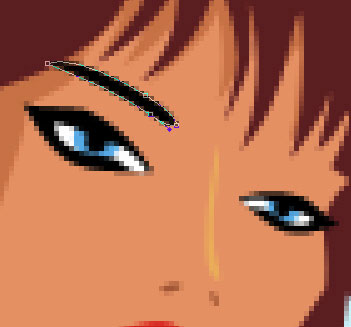
Take again the tool to represent the eyebrow of black color, above the girl's eye.
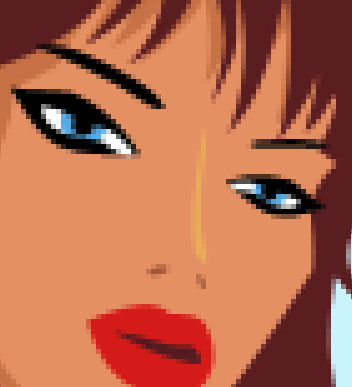
Copy again the new made layer and apply Free Transform option to turn it around, minimize it and place it out like it demonstrated next image.

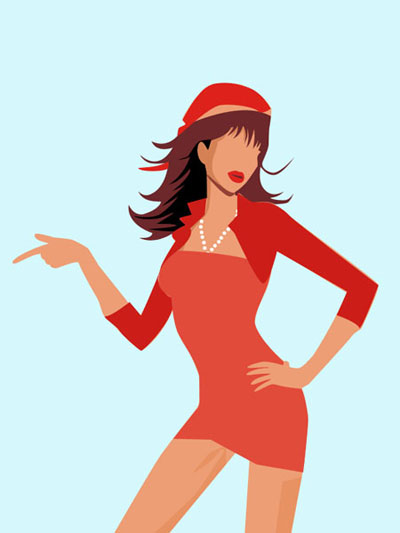
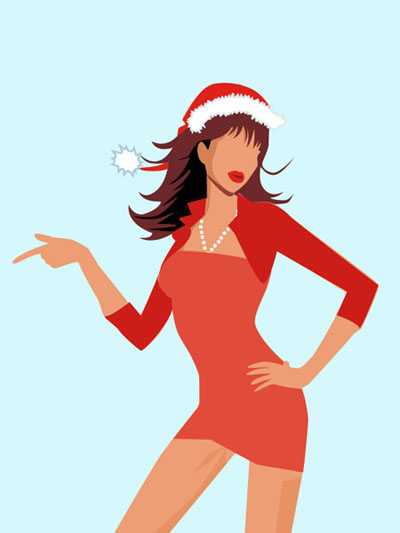
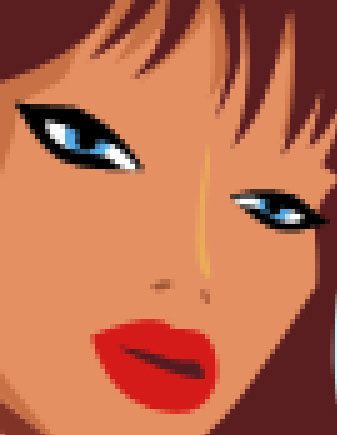
The final result!