


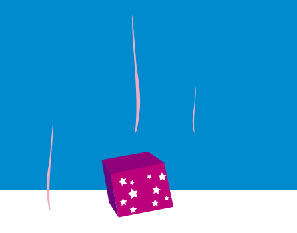
Open a new file that would have 680x705 px and 72 dpi.

Having the next instrument  , it's possible to represent a rectangle colored in 008BCE.

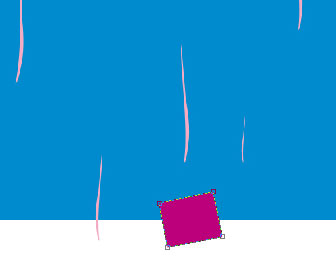
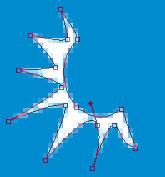
Take another instrument  to make a figure that must have the next color – F3ABC3.

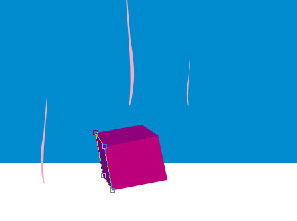
Copy the recently represented layer 8 times and make use of Free Transform option to minimize it or enlarge it. Turn it around on 180 degrees where it is necessary. Place everything out the same way it is done below.

Using the next instrument , make an element colored in BC007B.
Having the previous instrument, make one more element colored in 90007B.

Make the same way one more picture, colored in 67087C.
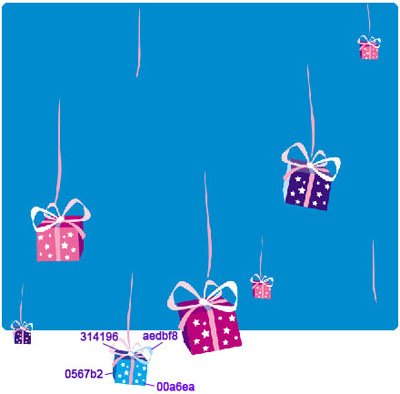
Take the next instrument  and choose a corresponding cliché, like the next table demonstrates it.
Picture out several white stars, like in the picture below.
Take the indicated instrument to picture another element colored in F5A9C5.


Using the last instrument, represent one more element colored with 9498C8.

Now one more with the color F5A9C5.

Take the known instrument already and create one more figure colored in F5D5E2.

Take the same instrument to represent one more element colored in white.

Having the same instrument, it's possible to draw another one color it out in F5D5E2.

Using the same instrument, create one more colored in white.

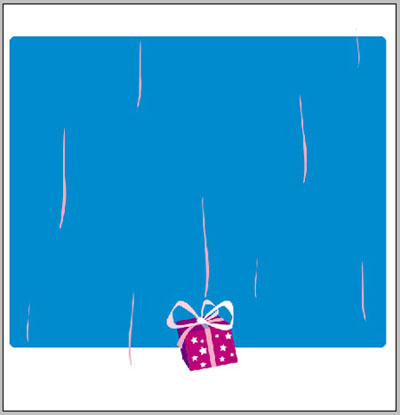
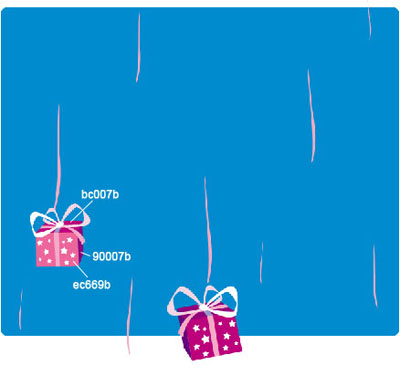
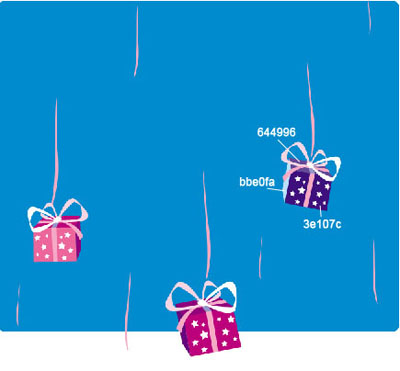
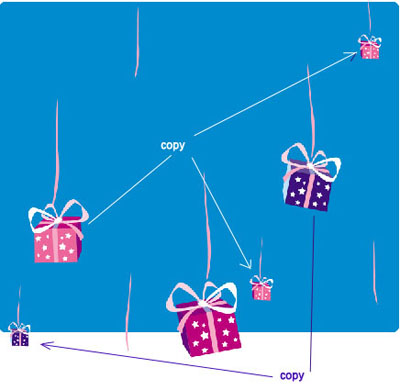
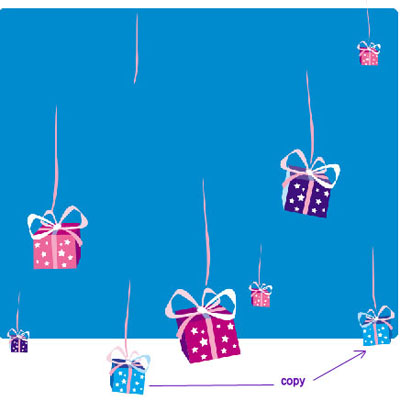
For your convenience, merge down all the layers in a group that form the present. Copy the recently made group 8 times and apply Free Transform selection to minimize or enlarge, or turn around on 180 degrees if it is necessary (the codes of changed colors are indicated below). Place everything out the same way it is done next step.

Make use of the shown tool to picture a figure of white color.

Copy the new made layer and apply Free Transform option to turn around on 180 degrees.


Take the next instrument  to make two circles of white color and apply the next instrument
  to represent over them a line colored in white, like in the next picture.


For your convenience, merge down all the layers composing the white line, the two circles and the pins in a group.
Copy the new made group 7 times and make use of Free Transform selection to place them out like in the picture below.

Make several more pins, like it is demonstrated in the picture below.

Take the next instrument and represent two ellipses with next parameters.
Fill 0% on the layers.
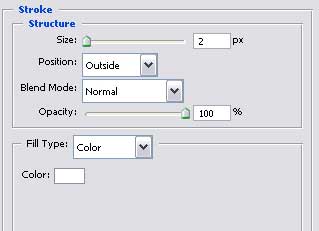
Blending Options-Stroke

For your convenience now, merge down all the layers composing the snowflake in a group. Copy the new created group 7 times and apply Free Transform selection to minimize it, increasing it on turning around where it is necessary. Place everything out like in the picture below.

Finished!