

Start your work by creating a new file (File>New) of 1280x1024 px and 72 dpi. ;
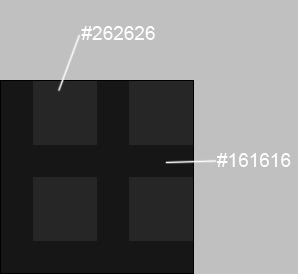
Next we shall represent a new file of 6x6 px and 72 dpi. We have to use on it the Pencil Tool (B) (brush of 1 px) to represent the next shown pattern.
Edit>Define Pattern
Create now a new layer and press on it this option - Edit>Fill

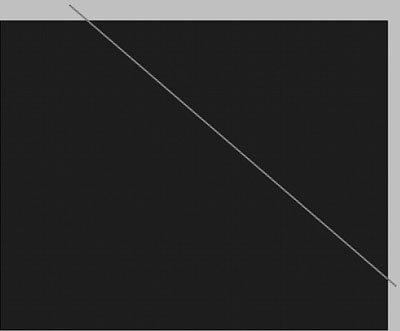
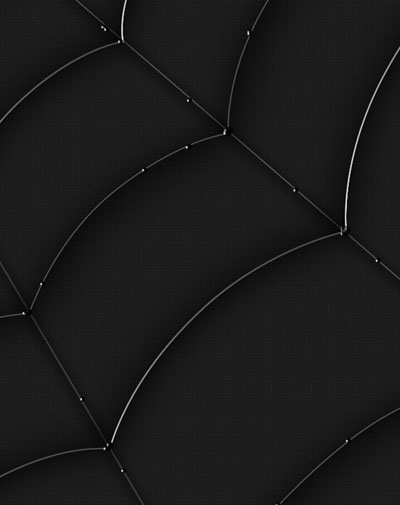
Next we shall draw a spider's web, applying the Line Tool (U) and having colored the line with #515151
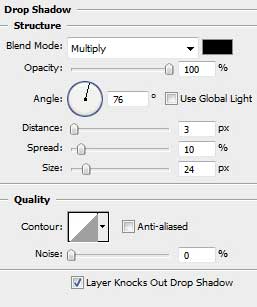
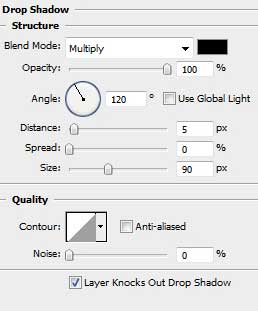
Select the next demonstrated parameters by making a mouse click on the layer we work with on the layers' panel. Blending Options>Drop Shadow
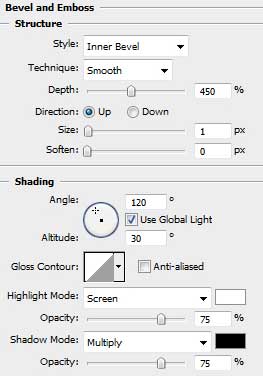
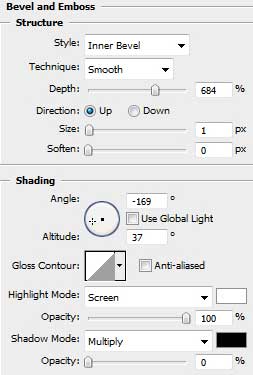
Blending Options>Bevel and Emboss

Make a copy of the recently made layer and select Free Transform option to incline the line a little, placing it the way shown below:

Choose the Pen Tool (P) and the Convert Point Tool to represent the next elements of the spider's web.
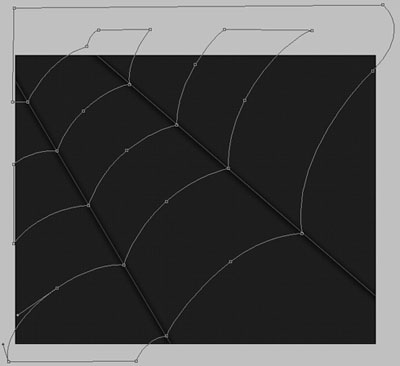
The layer's parameters: Fill 0%
Blending Options>Drop Shadow
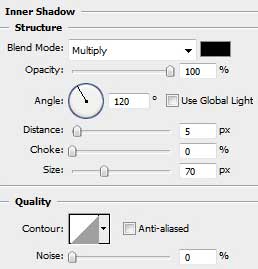
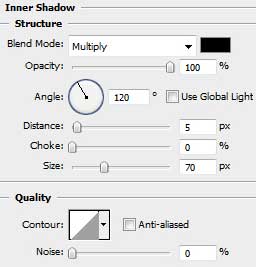
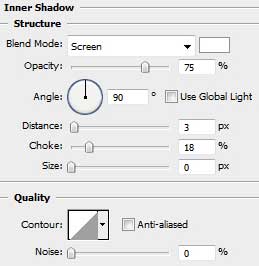
Blending Options>Inner Shadow
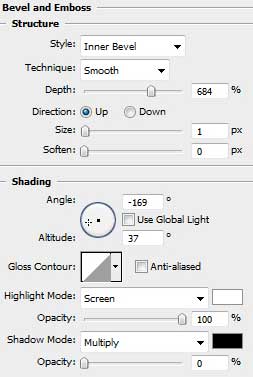
Blending Options>Bevel and Emboss
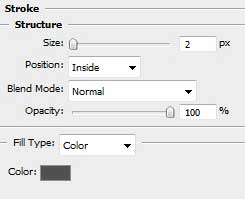
Blending Options>Stroke

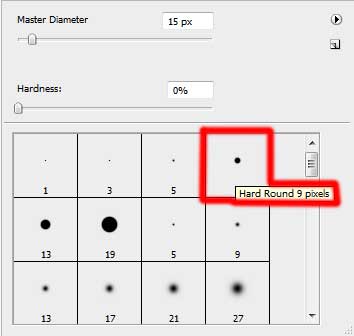
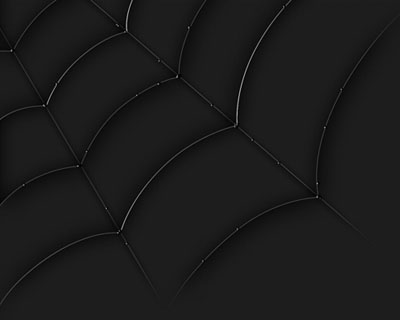
Create a new layer, applying on it the standard Brush Tool (B) of the color #404041 for drawing on the web several water drops.

Select the next indicated parameters for the drops' layer:
Blending Options>Inner Shadow
Blending Options>Bevel and Emboss
Next we shall combine in a group all the layers composing the spider's web and the drops (press Ctrl button to mark out the appropriate layers and hold on the left mouse's button while moving the marked layers on Create a new group selection). Mark out the new group we've got and press Ctrl+E for the group to get a new layer's effect. On the new layer we shall apply the Eraser Tool (E) (Opacity 20%) to clean out the spider web's edges.
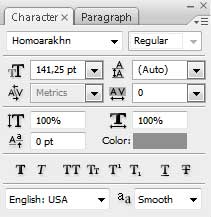
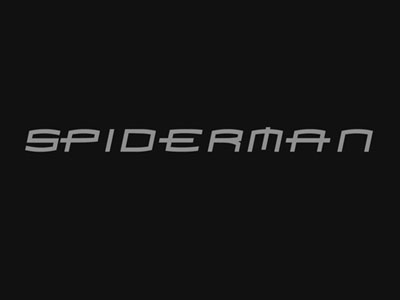
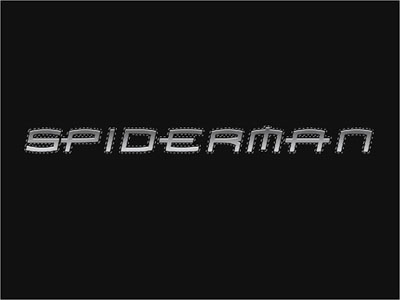
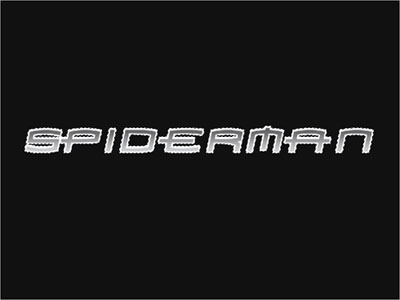
Download out of Internet the ;font Homoarakhn and install it on. Next we shall write the demonstrated below word on a separate file (File>New) of 1280x960 px and 72 dpi.
The layer's parameters: Blending Options>Inner Shadow
Blending Options>Gradient Overlay
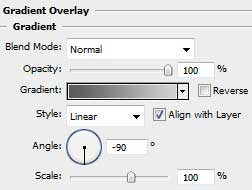
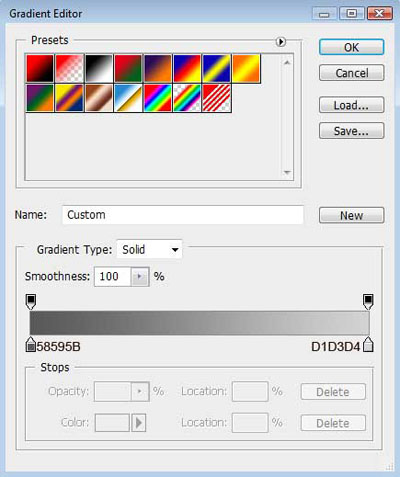
Gradient's parameters:

Create a new layer and place it under the text's layer on the layers' panel. Mark out the new layer and then hold on Ctrl button while making a mouse click on the text's layer:

Select>Modify>Expand

Select the white color on the instrument's panel and press this combination of buttons: Alt+Backspace to color on the marked zone, applying the chosen white color.
Contours.
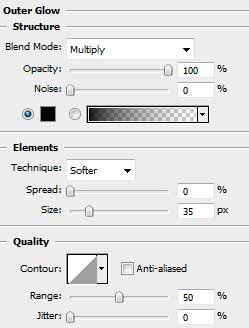
Blending Options>Outer Glow
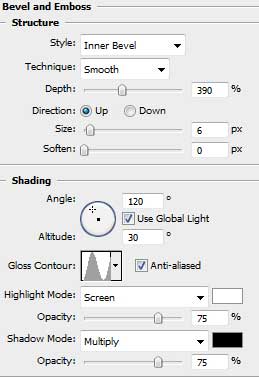
Blending Options>Bevel and Emboss

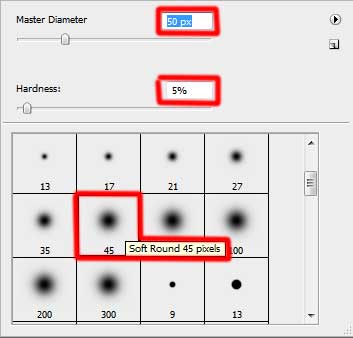
Next step includes choosing the standard brush, Brush Tool (B), of the color #404041 on the contours' layer to represent by vertical line on each letter.


Merge Down the layers containing the inscription (the text's layer and the contours' layer). It's necessary in this case to press Ctrl button and mark out the necessary layers. Then press Ctrl+E. Insert this new text's layer we've got on the spider web's picture. But we have also to change the inscription's sizes and its placement applying the Free Transform option.
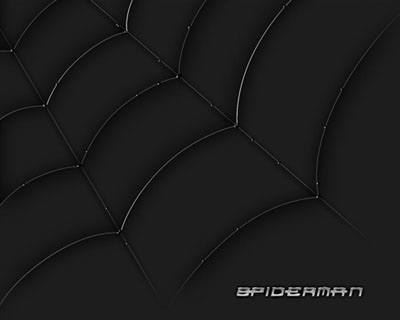
That's it!