


Begin by representing a new file of 800x600 px and 72 dpi. Select then the Paint Bucket Tool (G) to fill the new file with black color.

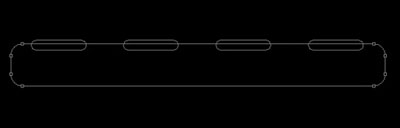
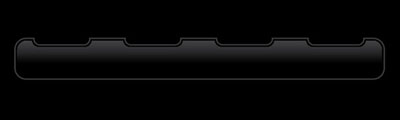
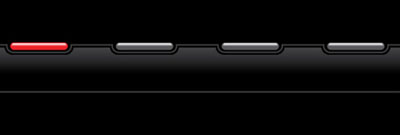
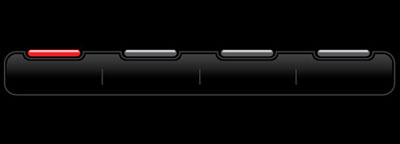
Next we shall choose the Rounded Rectangle Tool (U) with a radius of 20 px to draw the menu's panel and then press Alt button while using again the same tool, but this time with a radius of 10 px to cut out 4 openings the same way demonstrated next picture:
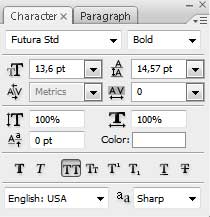
Select the next parameters by making a mouse click on the processed layer on the layers' panel. The layer's parameters: Fill 0%
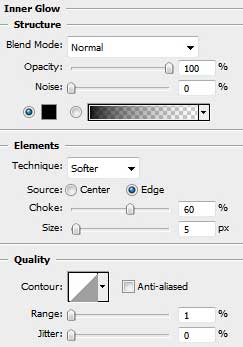
Blending Options>Inner Glow
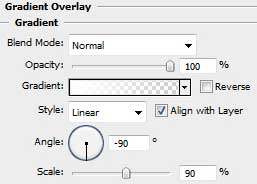
Blending Options>Gradient Overlay
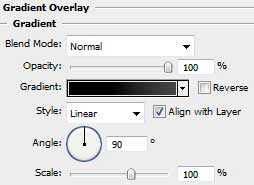
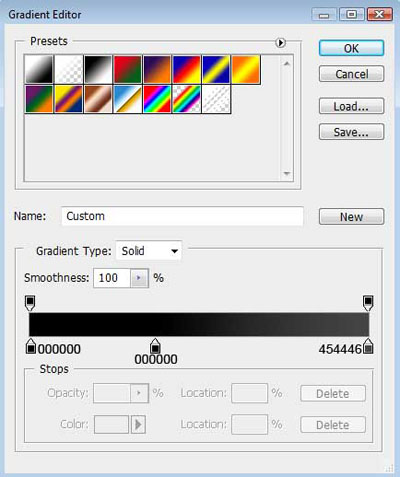
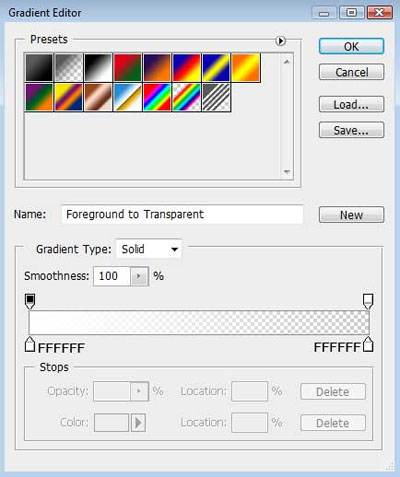
Gradient's parameters:
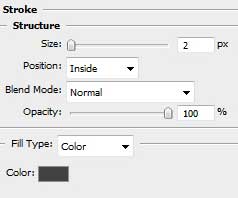
Blending Options>Stroke
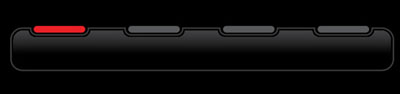
Using the earlier applied Rounded Rectangle Tool (U) (radius of 10 px), it's possible to represent the indicator of switching on menu's button. The layer's color is #EB2127

Make three copies of the indicator's layer, changing the color of the copied layers on #58595B.
Select Free Transform option to place the copies the same way shown below:
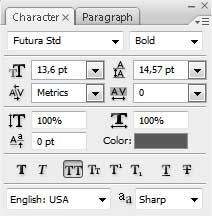
Using the Rounded Rectangle Tool (G) (radius of 15 px), try to draw a highlight on the indicator representing the switching on button.
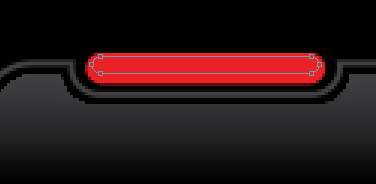
The layer's parameters: Fill 0%
Blending Options>Gradient Overlay
Gradient's parameters:

Make again three copies, but this time of the highlight's layer and select after that the Free Transform option to place the copies the same way indicated next picture:
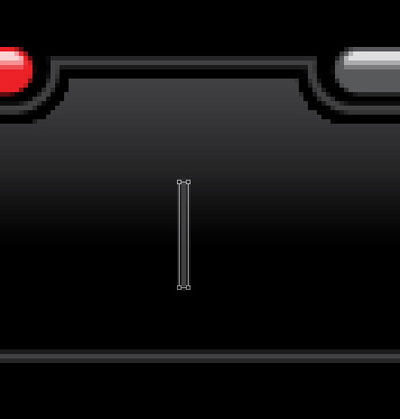
Using the Line Tool (U), try to divide the menu's buttons by creating three vertical lines, colored with #414142
Insert the titles for the menu's buttons, keeping the demands shown below:
About us
the titles for the rest of the buttons:

Getting a better result is possible if combine in a group all the layers composing the panel with the menu's buttons (press Ctrl button to mark out the corresponding layers and then hold on the left mouse's button to take down the marked layers on Create a new group selection). Make a copy of the recently made group and put it together in a single layer (press CTRL+E). The copy may be turned over, applying the Free Transform solution. Place the copy as it is demonstrated next picture:
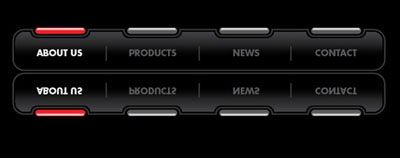
Make a mouse click on the same layer on the bottom part of the layers' panel on Add a Mask option. Select then the Gradient Tool (G) to represent a half-transparent reflection the way it is shown below:

Finished!