Step 1 - Open your Document
First step is to open up photoshop and create a new document by clicking "File > New" and then creating a new document about 700px by 400px.
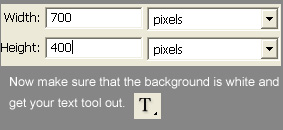
Step 2 - Create your Text
Now that you have the text tool selected, click anywhere on the page and write your text. Make the second half of your text a light blue color, I have used #0098FF.

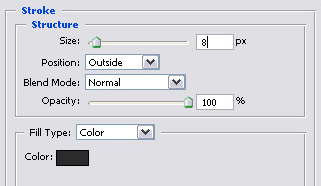
Step 3 - Add Some Style
Now that you have your text created its time to add a stroke around the font. To do this right click on the font layer and select "Blending Options". This should then open another box. Check the stroke box and use the following settings: (8px #2b2b2b stroke)
Step 4 - Adding Some Splatter
Now the fun begins. Its time to add the splatter. To do this you will need to download the following brush from:
If you do not know how to install a brush set, then go to [My Computer - Local Disk (C:) - Program Files- Adobe - Adobe Photoshop - Press - Brushes - Photoshop Only] then drag and drop the file that you download from deviant art into there.
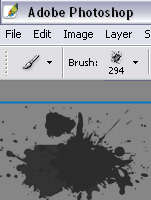
Now we need to select our brush. Select the brush tool, then up top there should be the word Brush followed by the current brush you have selected. Select the small arrow beside the image of your current brush, pictured in the top half of this image.
This should then open a side menu, so all you need to do is click [Load Brushes] and find the one you just installed and click it. This will the load that brush set. So now find the one that you want to use. Once done create a new layer and use the brush to create the splatter effect that you want as pictured in the bottom half of this image.
Step 5 - Add the Splatter to the Logo
Now all that is left to do is resize the splatter by [Edit - Free Transform]. Once you have resized it make sure that the layer with the splatter is below the text, and then just move the splatter to where you want it to be. you should end up with something that looks like this: