


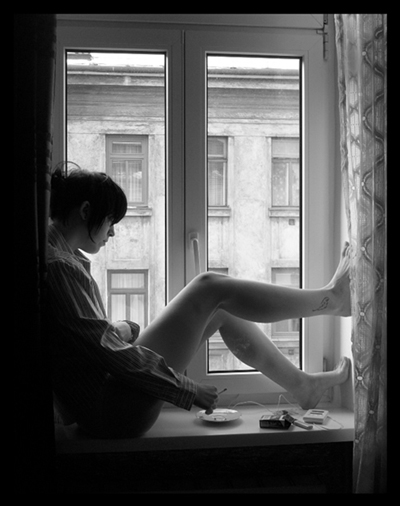
Open the photo below:
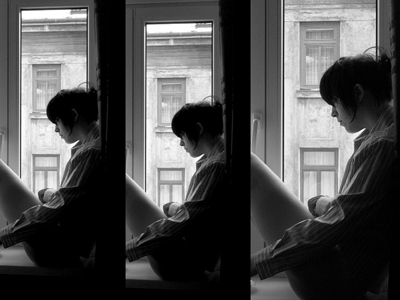
Create a new document (640x480), move the photo above into this document. Duplicate that photo 3 times and arrange like this:
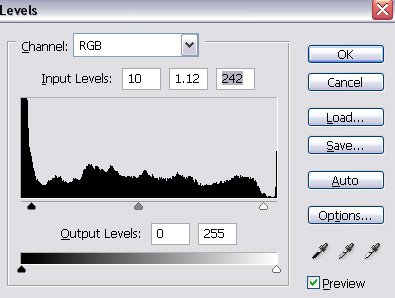
Press Ctrl + L to make it stronger:
Now rearrange all the images (put each image on one layer). Put layer Right on top, put layer Center under layer Right and layer Left under layer Center.
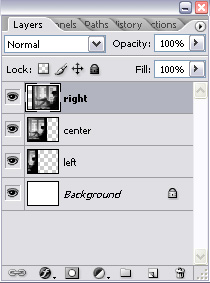
This is the layer palette:
Open this texture:
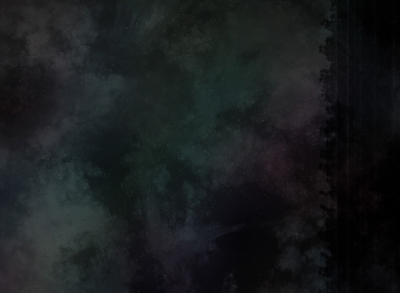
It seems so dark right?
Ok, we'll make it brighter. Create new layer and fill it with #ffffff, set to overlay.
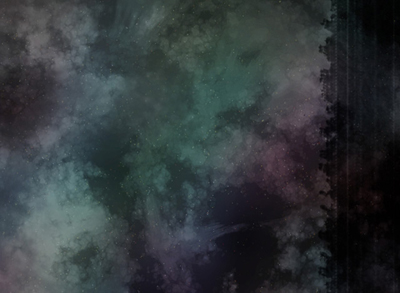
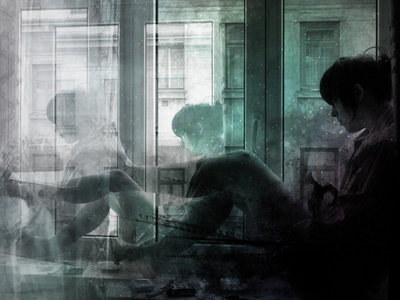
Save the texture then drag it into our document and put it at the bottom. Set layer Right to overlay mode, set layer Center to screen mode (opacity 68%) and the last one to screen mode (opacity 70%).
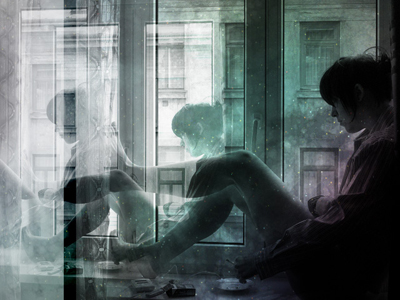
You will get this:
Choose Elliptical marquee tool & set option:
![]()
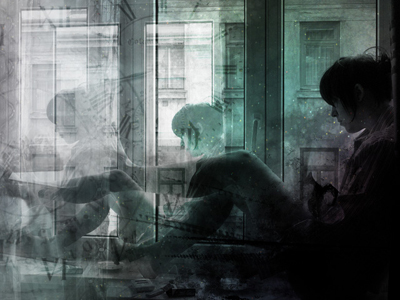
Now we have to fix the spoiled areas (select the layer that you want to do on it)

You will get:
Next step, decorate your artwork by using brushes.
Choose grunge brush & set foreground color #000000, put brush in the bottom of right corner.
Create new layer and name Time then set blend mode to overlay, opacity 43% for it, put brushes Time into bright side of the picture:
Now select Dodge Tool with option like this:
![]()
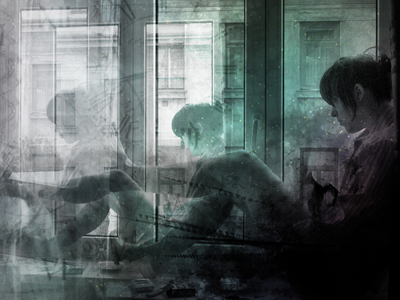
Select texture layer to fix the very-dark areas.
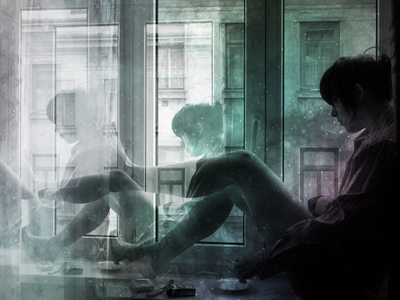
And you will get:
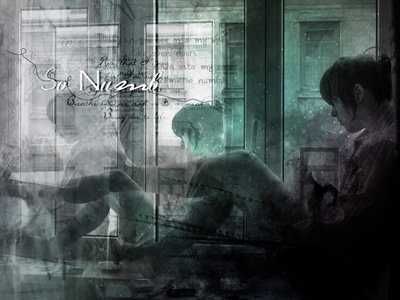
Finally, you can add some texts or other details into the picture.
In this tutorial I added some lyrics & set it overlay, I applied a striped pattern too.
Click here to download brushes used in this tutorial.