Create a new document (640x480). Then open this photo:
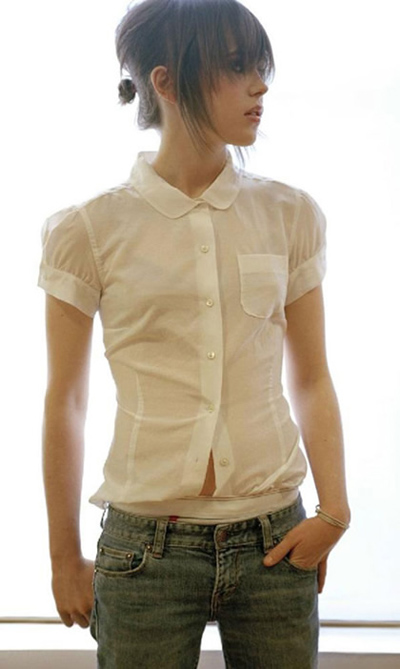
Use any cutting tool to cut the model out of background then drag to the document

Name the model layer is Ellen.
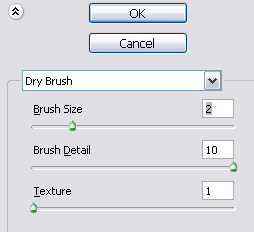
Go to Filter > Artistic > Dry Brush, set options:
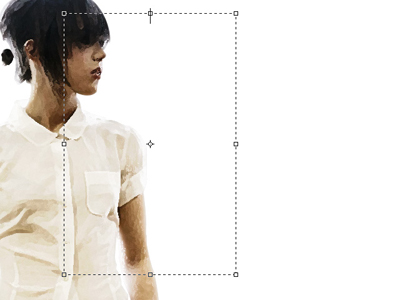
Duplicate Ellen twice then make them be black and white.
Set the topmost layer to Overlay (opacity 83%) and the second layer to Linear Light (opacity 41%) This is what you will get:

Duplicate Ellen (main), put this new one under Ellen and move it to right. Name it is E-BG.

Then fill it with #FFFFFF.
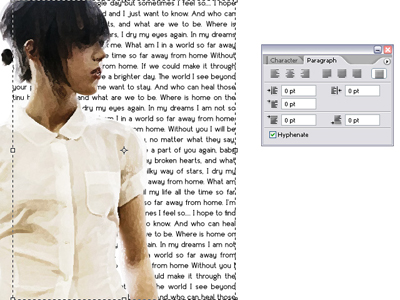
Create a new layer and put it over E-BG. Choose Text Tool:
Copy any text paragraph that you like (I use Far Away From Home lyric in this case) then edit your character palette until you see it's ok.
Right click on the text layer, click Rasterize Layer.
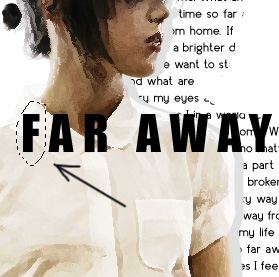
Select E-BG. Go to Select > Load selection. Press Ctrl + Shift + I to choose the outside selection:
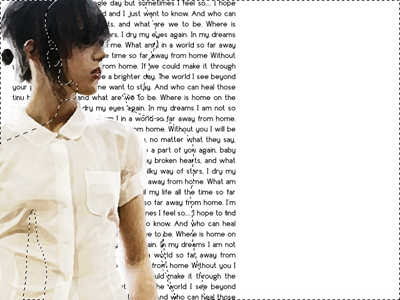
Click Layer Text then hit Delete.
Now you get this:
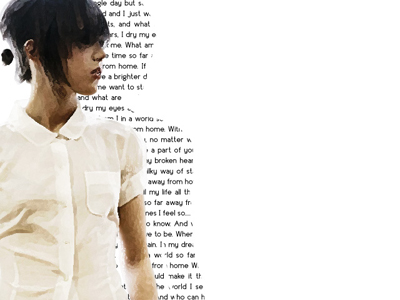
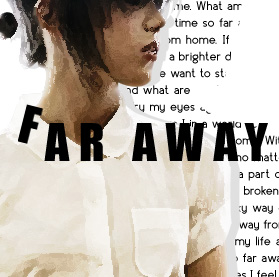
Duplicate layer Ellen main, put it under Ellen then fill it with #e0e0e0 to make shadow.
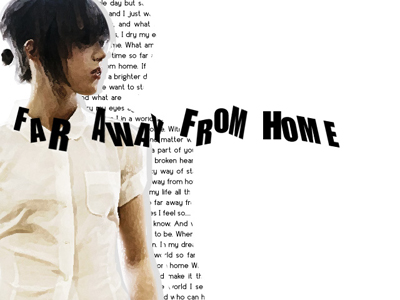
Choose Text tool to write something you like, in this tutorial I wrote "Far Away From Home".
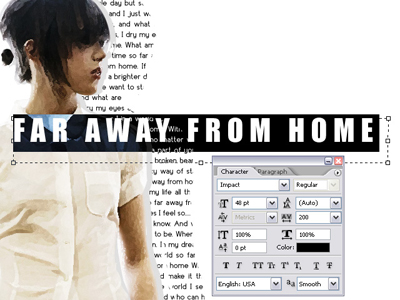
Right click and select Rasterize Layer
Use Lasso Tool to get selection on each letter, then press Ctrl+J to to separate each letter from sentence
Press Ctrl + T to transform. Your result:
Continue to repeat this step with all remaining
Now merge all the text layer together.
Use Lasso Tool to make selection like this:
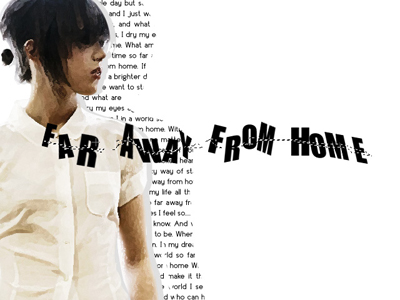
Then hit Delete.
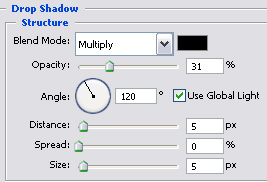
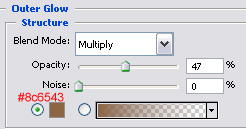
Decorate your text with blending option:
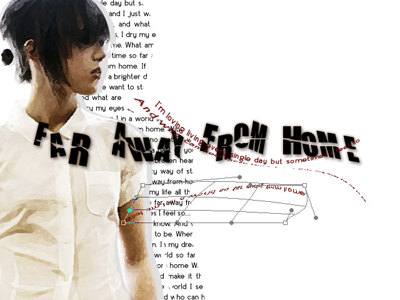
Continue to type more text to decorate your work. In this case, I use warp text
![]()
Remember to rasterize layer so as you can use Transform.
This is my result:
Now create a new layer over Ellen BG. Use this brush to fill on your work (Download brush)

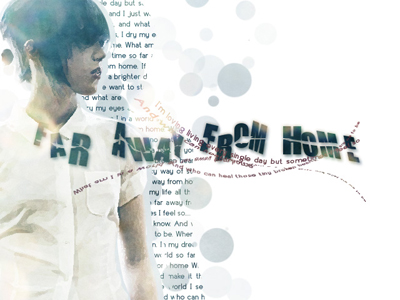
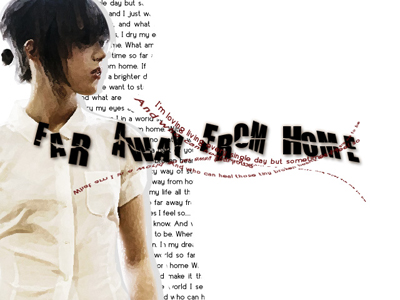
Finally, you merge all layers together then open Hue/Saturation (Ctrl+U) to adjust the color of artwork
Here is my final result: