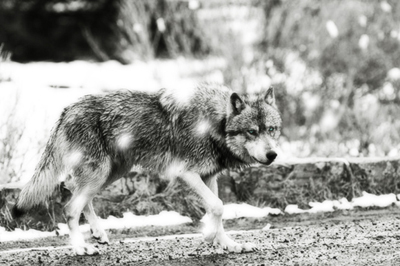
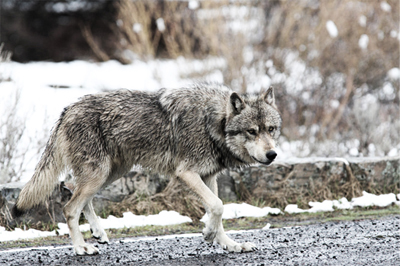
The first, you open this original photo:
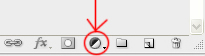
At the bottom of layers palette, you click on this icon
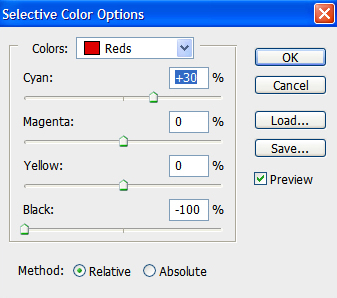
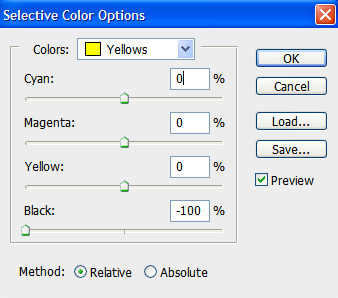
Choose Selective color and set properties like this:
Continue to click on this
Choose Hue/Saturation and set properties like this:
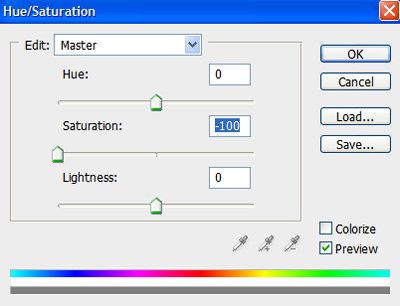
Change blend mode to Overlay and reduce opacity 90%

At this state, the result will look like this
Continue to click on this
Choose Gradient Map:
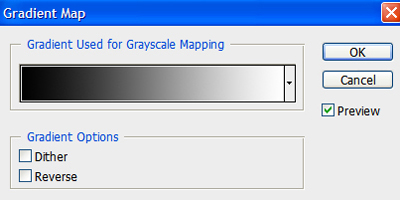
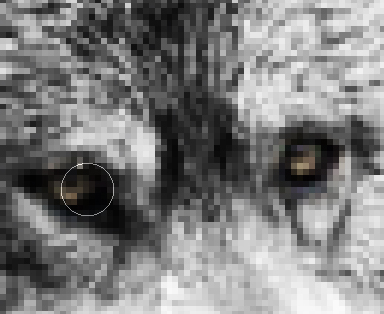
Click Ok, you will get a B&W picture
Pick Eraser tool
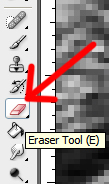
to erase inside the eyes of wolf :
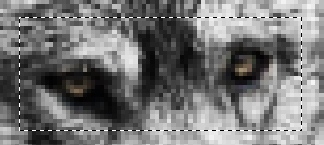
Use Rectangular Marquee Tool
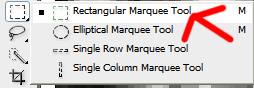
to make a selection like this:
Click on this icon
choose Hue/Saturation:
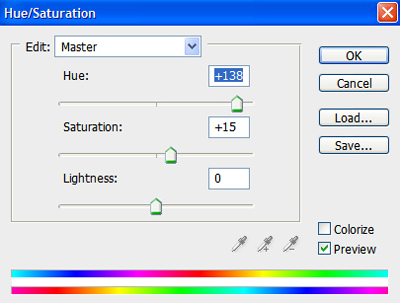
Click OK
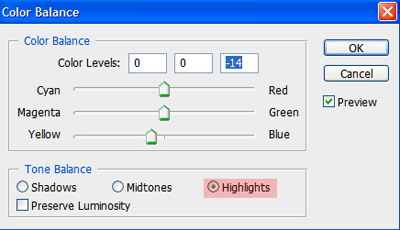
Click on this icon
Choose Color Balance, set something like this:
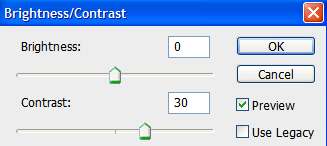
Click on this icon
choose Brightness/Contrast :
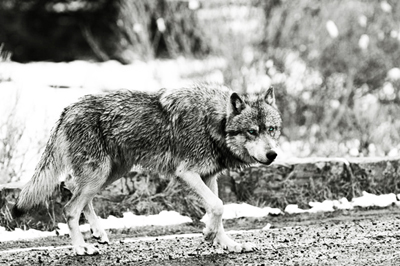
You will get the result like this:
Press Ctrl+Shift+E to merge all layers
After that, press Ctrl+J to duplicate this layer
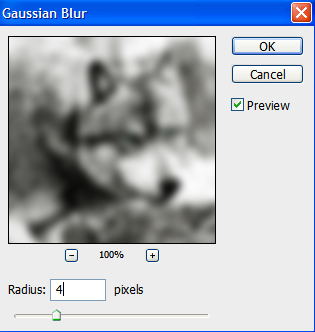
Go to Filter - > Blur -> Gaussian blur
Reduce Opacity: 30%
Create a new layer, use soft brush (color white) to make some spots light on the wolf
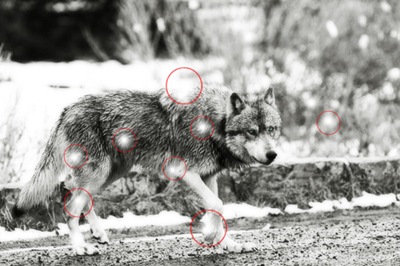
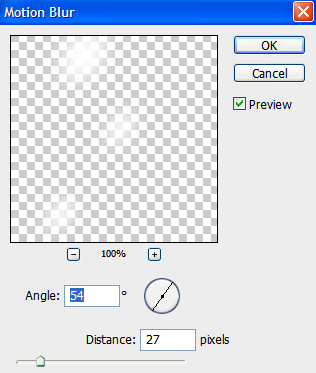
Then go to Filter -> Blur -> Motion blur, set properties like this:
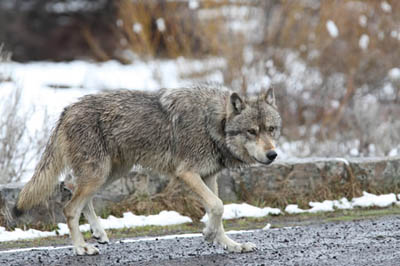
And this is the final result: