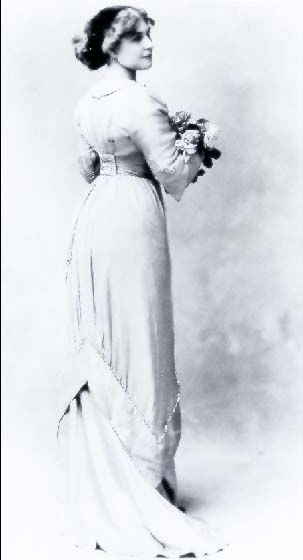
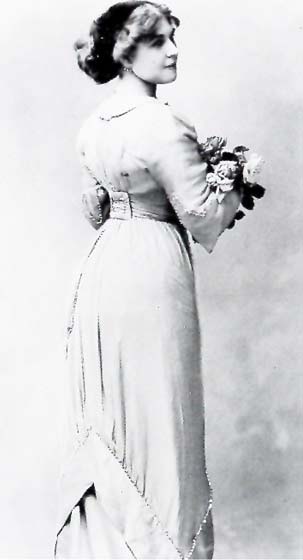
Welcome to this tutorial. As you can see this photos is a little dark and has lots of grain. We are going to run through a few steps to fix this photo up.
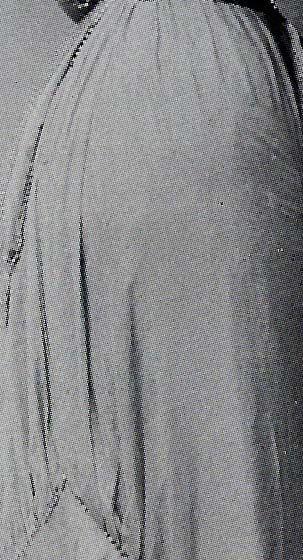
In this zoomed in photo you can see that there is a lot of grain.Some older photos were printed on a cloth/canvas type material.
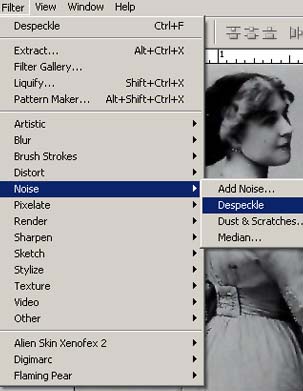
Step 1: We are going to remove a bit of the grain by going to our Filter/Noise/Despeckle and repeat it a few time .
To repeat simple click (Ctl-F) this repeats the last filter used.
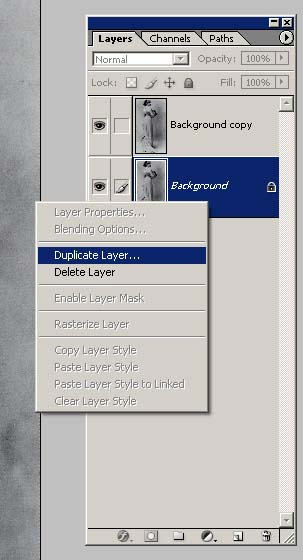
Step 2: We are going to duplicate the original layer.
Right click on your layer and click Duplicate Layer.
Step 3: Set our new layer to Blend Mode- Screen
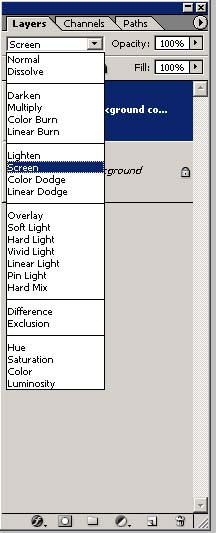
As you can see things are starting to clear up.
Step 4: Duplicate our 2nd layer . So now we have 3 layers.
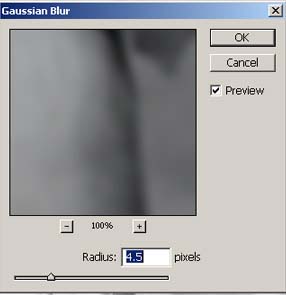
On the 3rd (new) layer we are going to add a little blur.
So go to Filter/Blur/Gaussian Blur.
We are going to add about 5 pixels of Blur.
Step 5: On the same layer (#3) we are going to right click on the layer in our layer palette box and choose Blending Options.
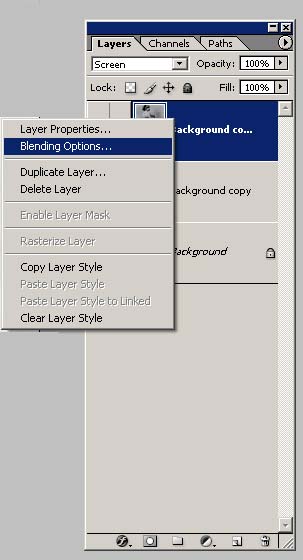
In the Blending Options double click on Color Overlay.
In the Color Overlay Settings we are going to change Blend Mode to the Color option. Then choose a color to overlay. I chose a light blue. Next set the opacity down .(to your personal preference).

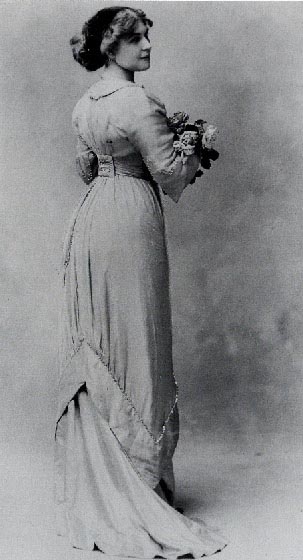
Final: This is the finished image. Hope you enjoyed this tutorial.