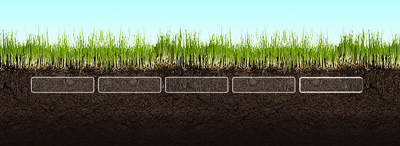
Let's start as usual with a new document. The size doesn't matter. I'm using 760 X 770 pixels. Copy the following image on your computer.
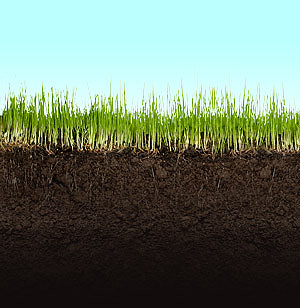
Open this image in photoshop, then go to Edit > Define pattern. Chose a name for this grass pattern, and click OK.
Create a new layer ( press Ctrl+Shift+Alt+N ) in the same time.
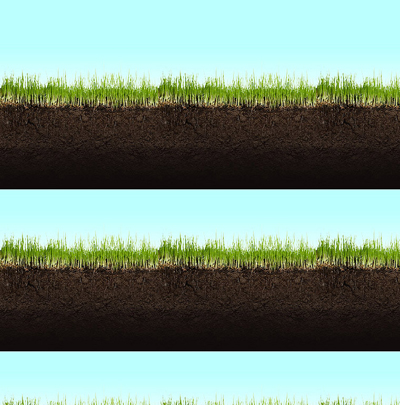
Grab Paint bucket tool, and Set source for fill area to "pattern".
![]()
Then on the layer we just created, add this gradient with Paint bucket tool.
Set the foreground color to #120c0c , and with brush tool, you can draw at the bottom of your layout, until you have the following result:

Now with rounded rectangle tool, add some buttons:
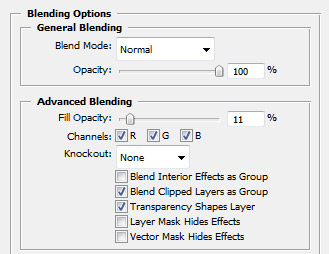
For all these shapes add the following layer style:

Here is my result:
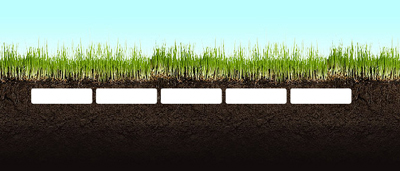
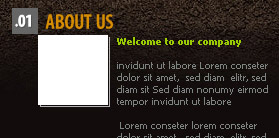
Now I will add some images on the bottom part of the layout, and in the same time I will add also some text:
Under the numbers, I will add a Grey rectangle. I will create this shape with rectangle tool:
With type tool, I will write some minus signs:
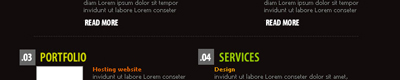
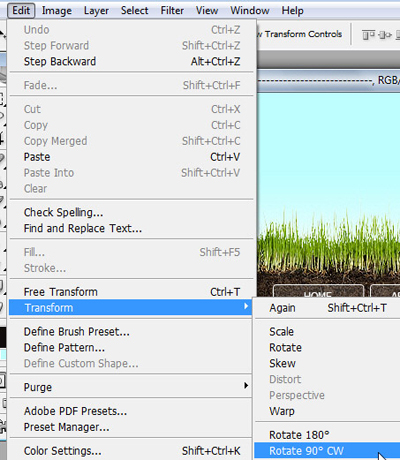
I will duplicate this layer with minus signs , and I will rotate it 90 degrees ( to rotate a layer first you need to select it, then go to Edit > transform > rotate 90.
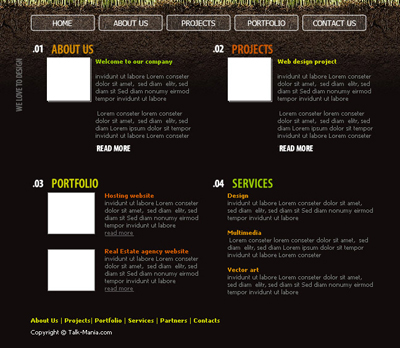
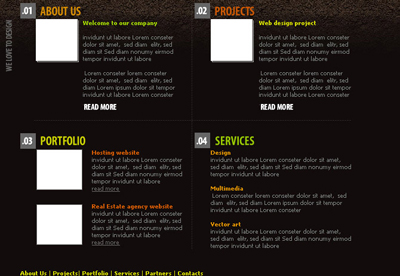
This is my layout so far:
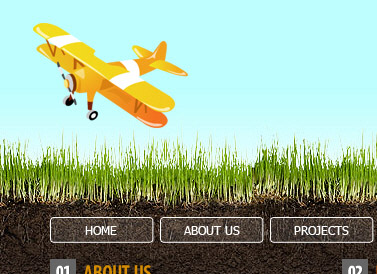
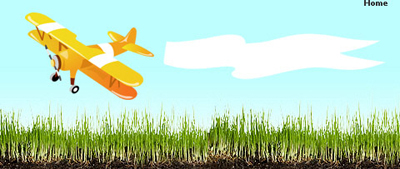
On the header i will add a plane icon:
If you have Photoshop Designer's pack you will find some nice brushes for the next step. I want to add like a scarf at the end of our plane.
You will find this brush in the " banners " folder.
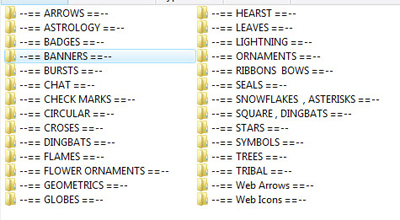
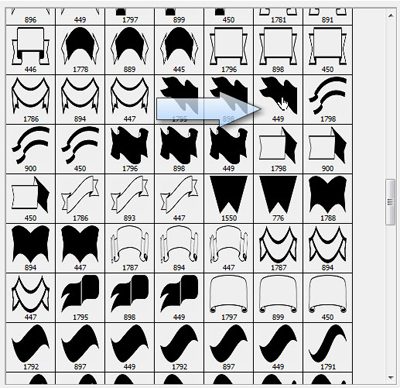
I am sure you will find another type of banner/scarf in this set.
If you don't have the photoshop designer's pack, you can create this scarf with pen tool. In the next image you can see how i placed the scarf, at the end of the plane:
To create a more realistic effect I will add some lines.

I will select brush tool, and with a small rounded brush i will create a few points ( i will use the same color as the sky ). To select the same color you can use Eyedropper tool.
This is my result:

My final step is to add some text on this scarf:

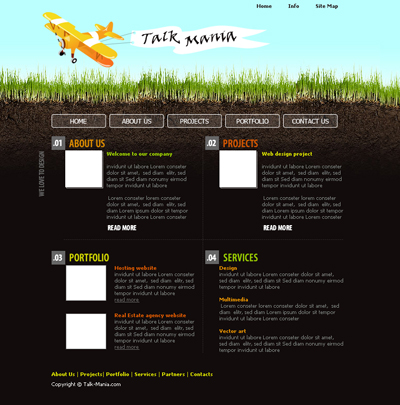
This is my final result: