
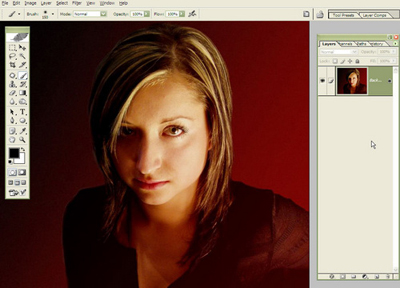
Alright, open up an image and let's start!
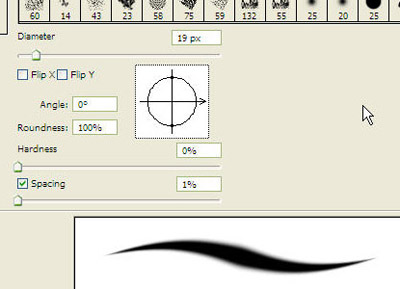
Press F5 to bring up the brushes palette. Start from using one of the regular circular brushes.

Choose the "brush tip shape" in the left menu and set the hardness to 0% and spacing to 1%.
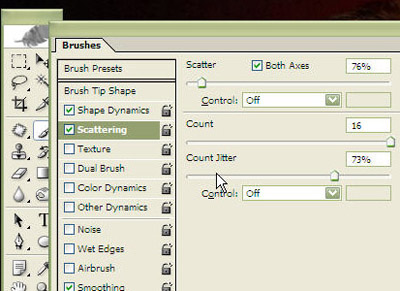
Set scattering to about 80% to bring in some variety. Count jitter can be at about 70% as well and the count at 16.
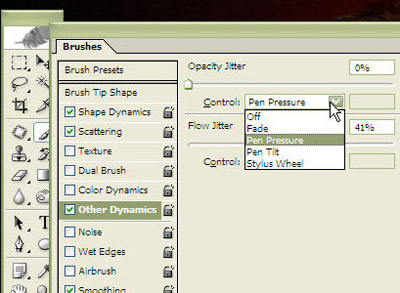
Set the pen pressure to be controlling opacity.
Note to non-tablet users: you'll just have to live without this setting since this is a tablet-only feature.
Flow jitter to 40% and continue:
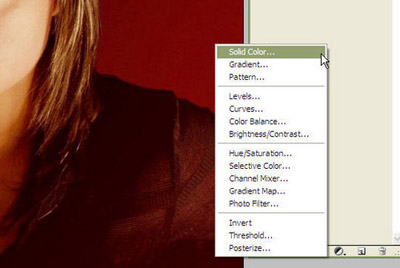
Create a new adjustment layer with solid color and choose a bluish color like it did (or don't and experiment with the colors by yourself, hehe).
Click on the layer mask that was also created (the white square next to the adjustment layer) and hit ctrl+i to invert the mask, thus hiding all. Set the layer blend mode to overlay. Choose the brush tool, set the opacity to something like 50% (remember we have also put the opacity control to the pen pressure) and ... start drawing.
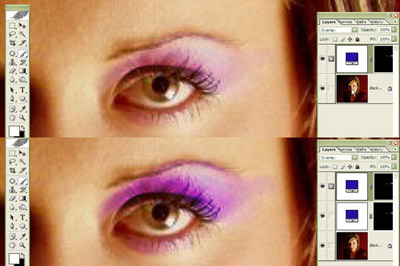
On the above image I have also shown what happened if you duplicate the solid color layer - this will give you twice the effect and can get pretty interesting :)