

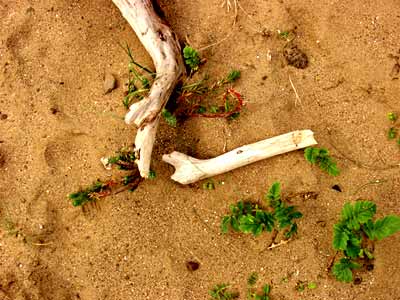
Stock: from Rod L.
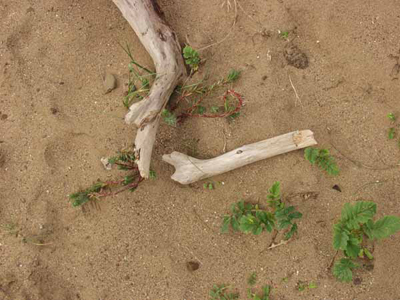
As you can see, this shot had the potential to be good, but poor light and camera adjustment made it turn out flat and uninteresting.
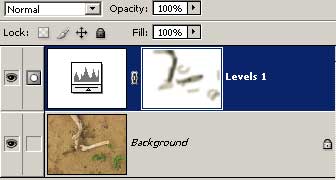
1. Using Layer > New Adjustment Layer > Levels, or the button 4 from the left at the bottom of the Layers Pallet, make a new levels adjustment layer.
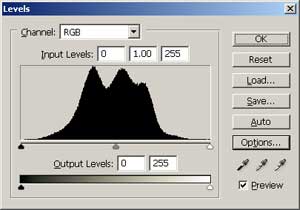
2. Click the options button.
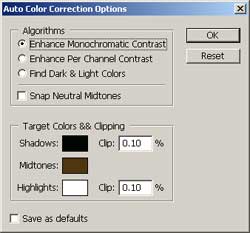
As you can see - We have a choice of 3 algorithms.
Enhance Monochromatic Contrast - This option gives maximum contrast without shifting colour balance. This is the setting I will use in this tutorial.
Enhance Per Channel Contrast - Choosing this option will enhance reds, blues and greens seperatly. In this image, it creates a grey cast and so will not be used. It is, however, very useful for quick fixes with existing colour casts.
Find Dark & Light Colours - Again, very useful in the right circumstances, but here it does not do what we want. Select this option to restore 'natural' tones to your image.
Before --> After
3. Turn on the "Snap Neutral Midtones" option. This will change anything it sees as being a neutral midtone to the color you set below. Click the Midtone color and set an orange/brown. I'm using #763A0E.
4. I am also changing Shadows Clipping to 4% to bring out shadows. Normally you do not want to clip colors, however in this case it is needed to give depth and richer tone. Highlights Clipping set to 2% will bring back the brightness of the original, but the depth of Shadow Clipping will remain.
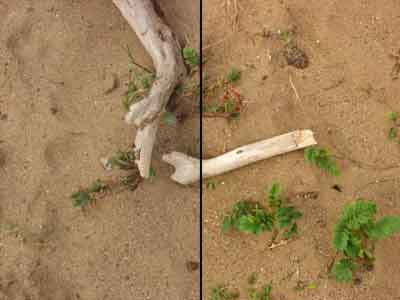
Notice that everything in the image has been subjected to these changes, not just the areas we want. The final step will solve this.
5. The adjustments layer has a mask, click in it. Using a soft brush set to black with opacity and flow down to about 20%, brush over the logs. Leafs here are looking fine, as they had no gray midtones to be tinted orange in the first place.
And thats it. Subtle use of Auto Levels to enhance a photograph.
My Final Result:
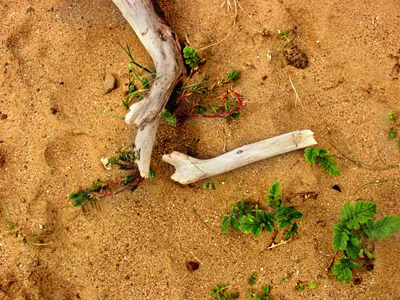
Hope it's helped.