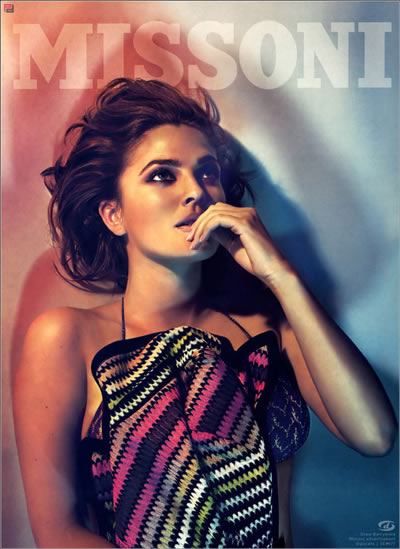
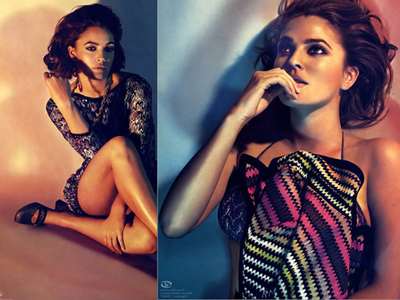
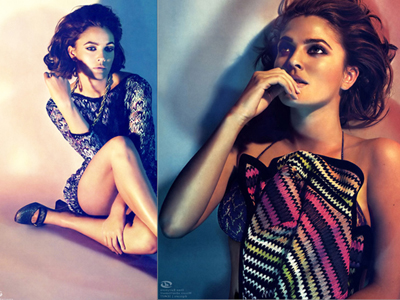
The first you open these pictures below:

Put them together like this:
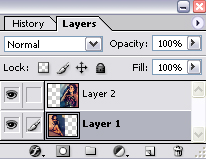
Select "layer 1" then press Ctrl+J to duplicate it.
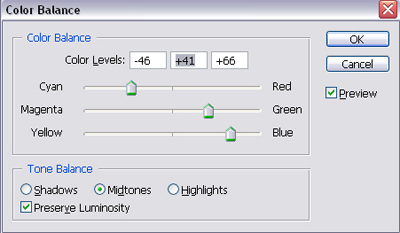
Select "layer 1 copy" and then press Ctrl+B to open Color Balance, set options like this:
Change blend mode of "layer 1 copy" to Screen.
Merge "layer 1" and "layer 1 copy" by pressing Ctrl+E.
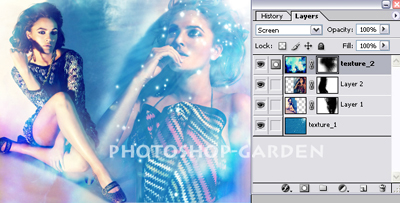
Add layer mask to "layer 2". Use this brush to erase the border between these picture as shown below:

Apply this texture to your work.
Change blend mode of "layer 2" to Screen.

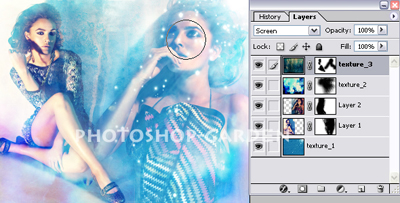
Choose "layer 1", add layer mask and use the brush above to erase unnecessary areas.

Apply this texture to your work.
Change blend mode of this texture to Screen, add layer mask to erase unnecessary areas.
Apply this texture to your work.
Change blend mode of this texture to Screen, add layer mask and erase over model's skin.
Apply this texture to your work, duplicate it then rotate it.
Change blend mode of this texture to Screen add layer mask and erase unnecessary areas.

Now duplicate "layer 1", move "layer 1 copy" to the right a bit.
Change blend mode to Screen,opacity 70%, add layer mask then erase unnecessary areas.

Choose "layer 2", press Ctrl+L to make it lighter.

Add some texts that you like to your work and you will get the final result:
