Start of by making a selection with the pen tool and filling it with a solid color.
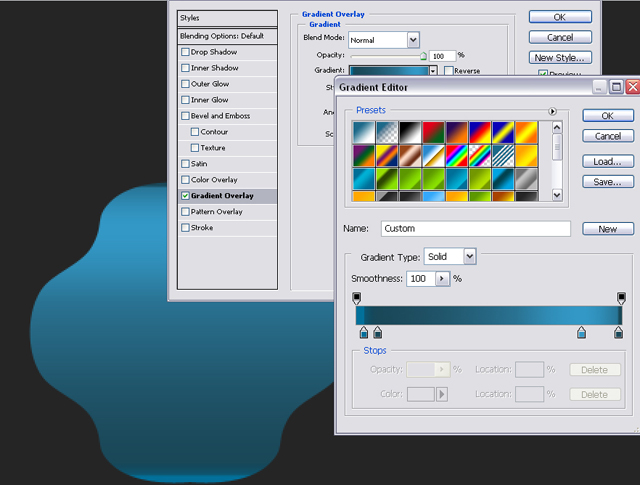
Go to Layer- Layer Style- Gradient Overlay and use these settings:
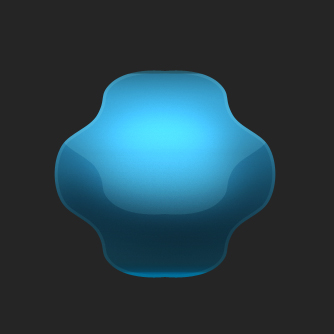
Select the Dodge Tool and an airbrush around 100 pixels and dodge the middle of the orb to give it a 3d effect.
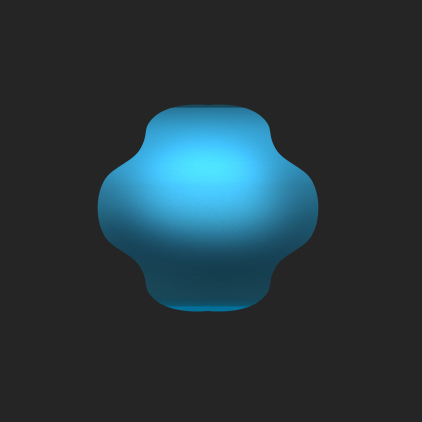
My result:
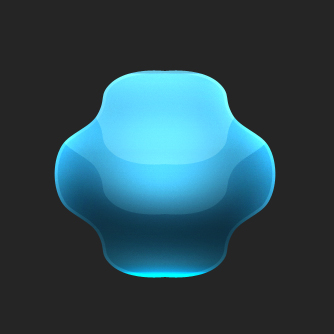
Now select the Burn Tool and pick an airbrush around 100 pixels again and burn below the bottom part of the orb.
Now go to Select- Modify- Contract and use 2pixels and hit ok. Now go to Select- Inverse. Go to
Image- Adjustments- Levels and adjust the middle slider to highlight the edges.
My result:

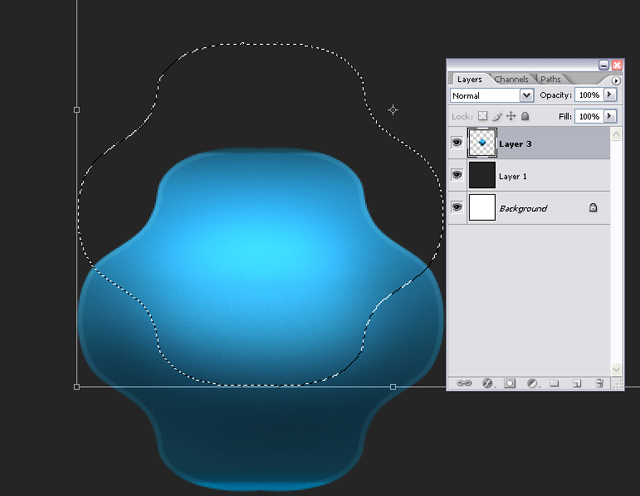
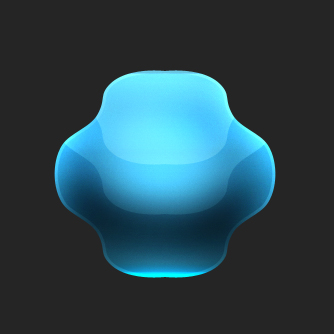
Now select the orb and go to Select- Transform Selection and move it up like this:
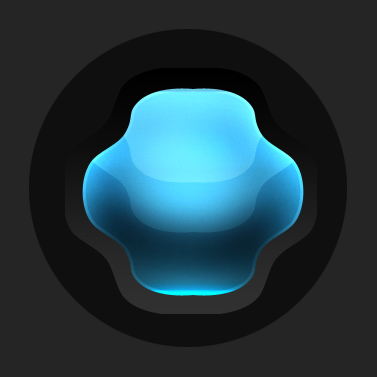
Now go to Image- Adjustments- Levels and adjust the middle slider to do the highlight. My result:
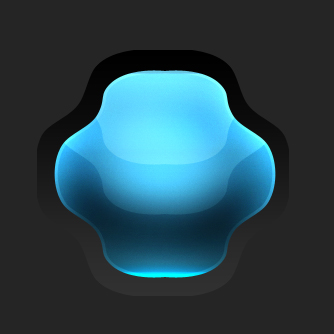
Now move it up a bit again and adjust the levels again to make the highlight even brighter.

Pick the Dodge Tool again and use an airbrush around 30 pixels big and dodge the sides.
Select the Burn Tool and burn the bottom part of the orb to give it more contrast.
Select the orb again and make a new layer behind the orb layer. Fill it with a solid color. Now go to
Layer- Layer Style- Gradient Overlay and make a vertical gradient from black to gray.
My result:
Make a new layer above the background layer and make a selection with the Elliptical Marquee Tool and fill it with black.
Cut out some parts with the Elliptical Marquee Tool.
Now select the layer with gradient on it ( black to gray ). Now this part may be a bit hard so read carefully.
Make a new layer below the gradient layer. Now select the gradient layer again and go to Layer- Merge.
It should merge the 2 layers together.
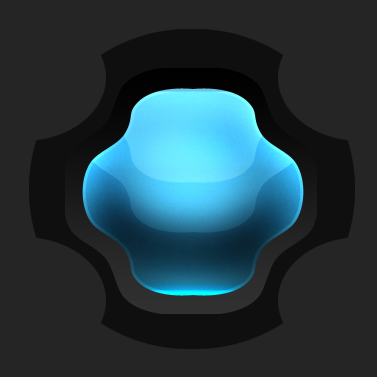
Now go to Select- Contact and use 2 pixels. Now go to Select- Inverse. Select the Dodge Tool and dodge the outlines.
My result:

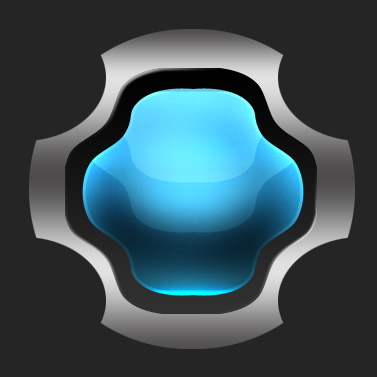
Now select the layer with bottom layer again and go to Layer- Layer Style- Gradient Overlay like so:
dark grey-grey-dark grey-grey-darkgrey. My result:
Make a new layer below the chrome layer. Now select the chrome layer again and go to Layer- Merge.
It should merge the 2 layers together.
Now select the burn tool at around 50 pixels and burn the middle and the top and the bottom of the orb.

Now make sure your layer is selected and go to Select-Modify- Contract and use 2 pixels. Go to Select- Inverse.
Go to Image- Adjustments- Levels and adjust the middle slider to around -80.

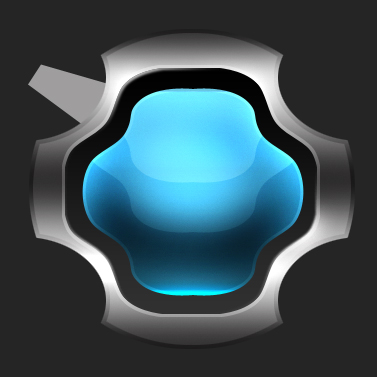
Make a new layer above the background layer and use the Polygonal Lasso Tool and make something similar to below:
Select the layer and go to Select- Modify- Contract and use 2 pixels.
Go to Image- Adjustments- Levels and use around -70 to -80
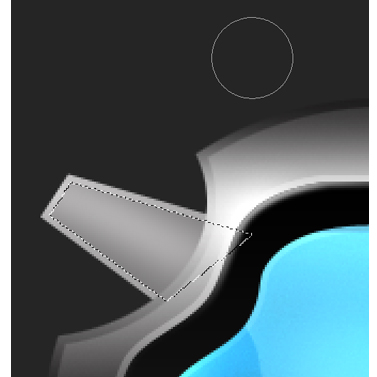
Select the Burn Tool and burn the edge of the shape like so:
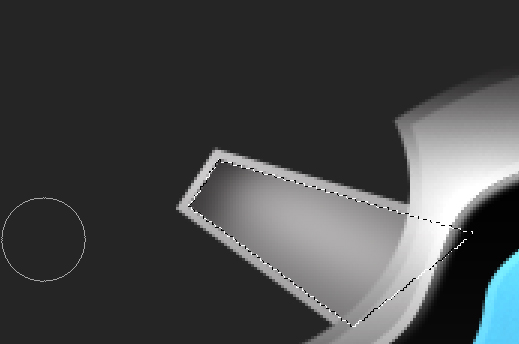
Now go to Select- Transform Selection and move it down a bit like so, and burn the edge again:
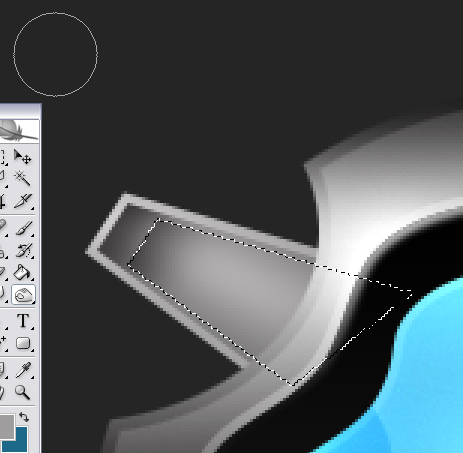
Keep doing this till your satisfied. This is my result:
Now duplicate the parts (Layer- Duplicate) and position them correctly.
Make a new layer above the background layer again and use the Pen Tool to make the wire.
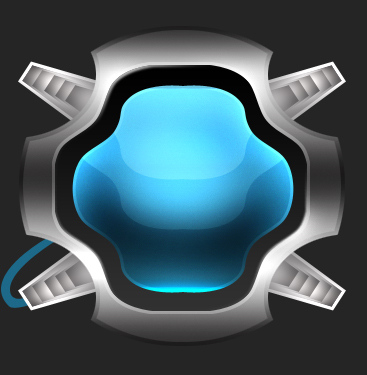
Now go to Select-Modify-Contract and use 3 pixels. Select the dodge tool and dodge the inside of the wire.
Now go to Select- Inverse and burn the outside of the wire.
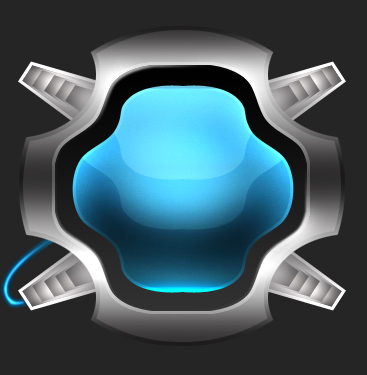
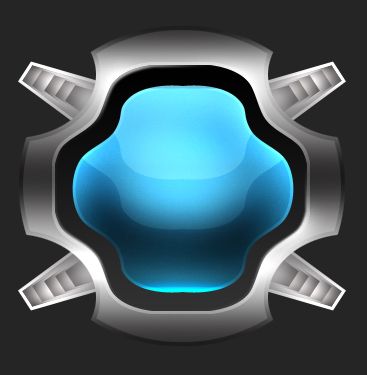
Duplicate the wire and move them around to give it a feeling of many wires (its only one).
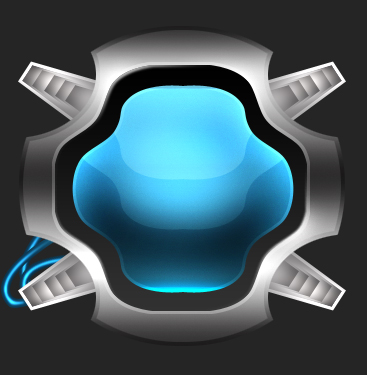
Now merge the wires together (Layer-Merge) and duplicate them and place them on the other ends of the orb.
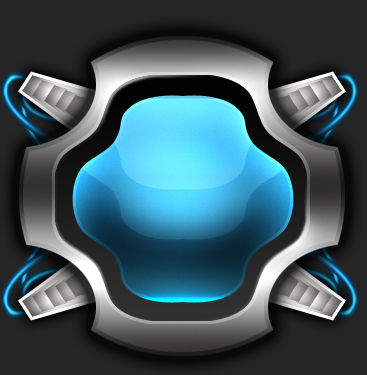
My result:
Now select the Type Tool and type in some text. Make sure your layer is on the top.
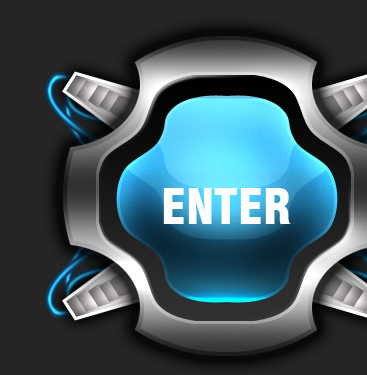
Now duplicate the text layer and go to Edit- Transform- Flip vertical and use the Move Tool to position it.
Set the layer to overlay.
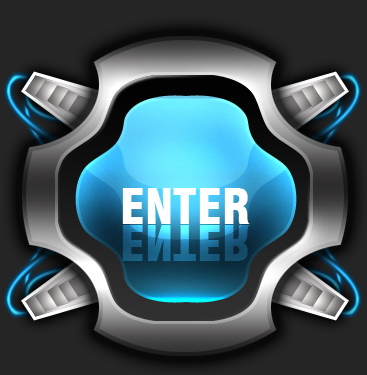
Now make a new layer below the text reflection layer and merge the 2 layers together. Now select the Eraser Tool and use
an airbrush at around 30-40 pixels and erase the bottom part of the text. My result:
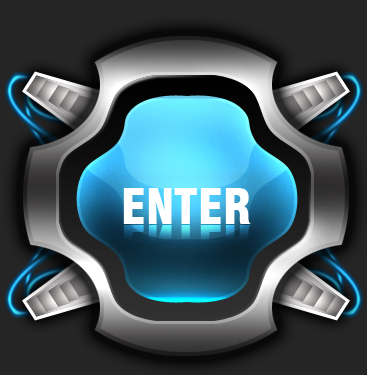
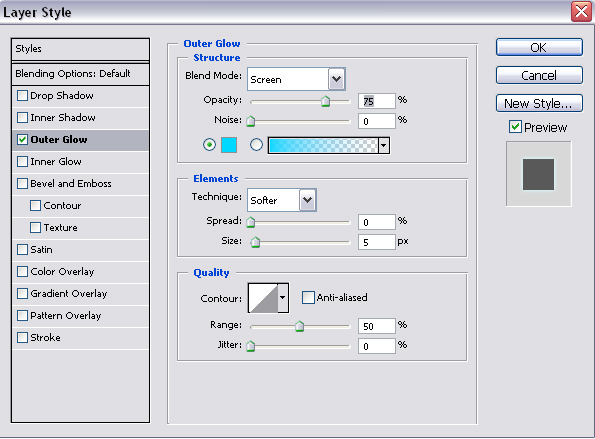
Now select the layer that that isn't reflected (white text) and to go Layer- Layer Style- Outer Glow and use these settings:
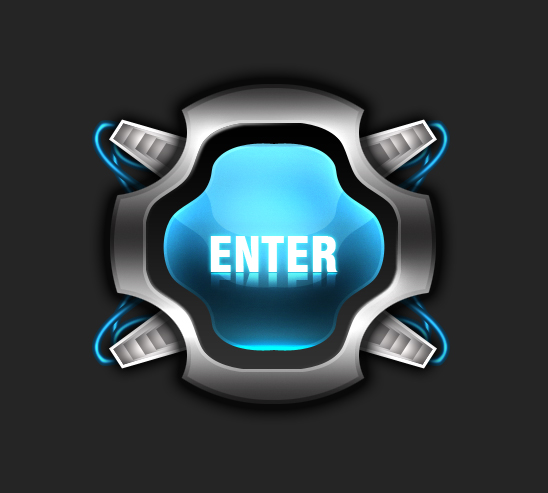
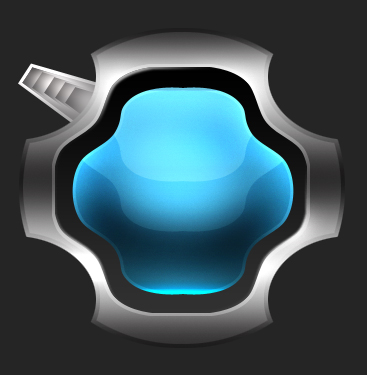
VOILA! There you have it a very unique splash page!