1. First start by making a new document, I'll be using a document size of 300 x 300 pixels. Now fill the background with a very dark gray, I used #282828.
Find and get out the Custom Shape Tool, then find the following shape:
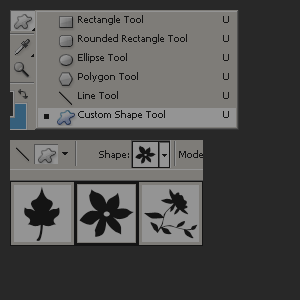
If that shape isn't there, click the little arrow on the right then go to either All, or Nature, then you'll be able to find it.
After you've got the shape out, change your foreground to black then draw a few shapes on a new layer. Lower the opacity for the flowers layer to 10-20%.

2. Now you've made the background, let's start on the buttons.
First start by getting out the Rounded Rectangle Tool, change the radius in the options to about 5 px.
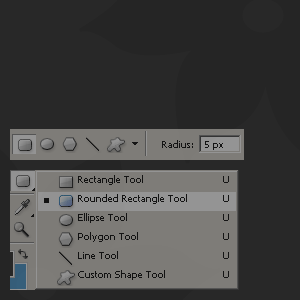
Reset your foreground color to white (Press D then X,) now draw a rounded rectangle on a new layer.

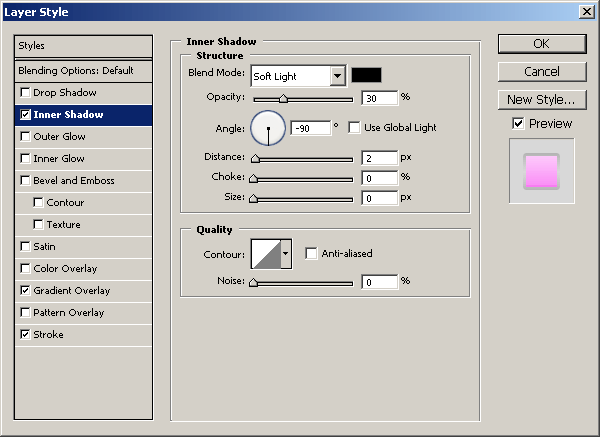
Apply the following layer styles to your button layer:
Inner Shadow
Gradient Overlay
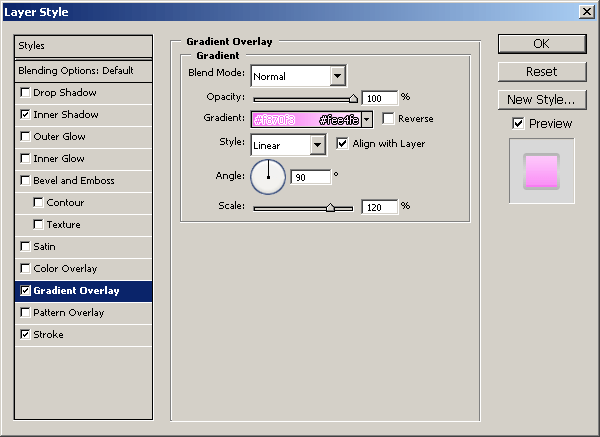
Stroke
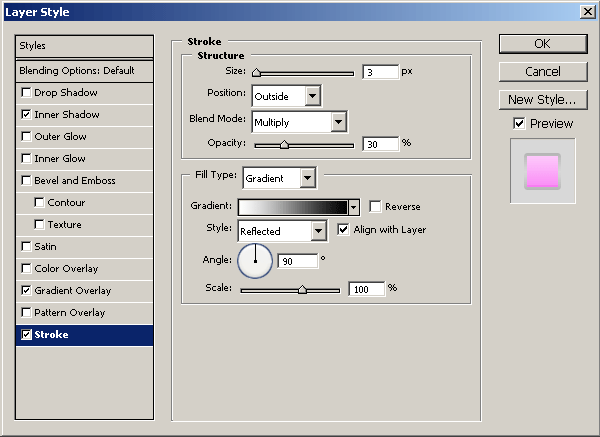
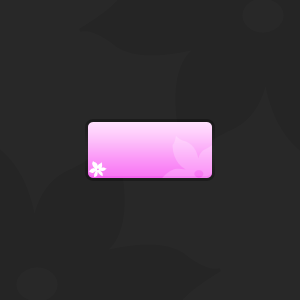
Your button will now look like this:

3. Create a new layer then again get the Custom Shape Tool out. With the same shape, make a very small version down in the bottom left of the button. Be sure you're on a new layer when making this shape.
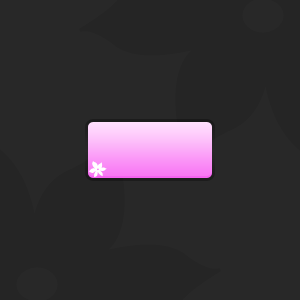
On another new layer create a much larger flower shape on the right.
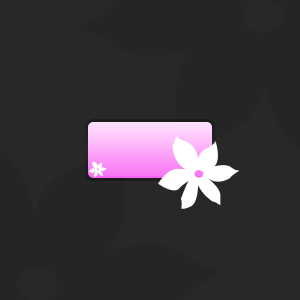
Hold ctrl then click the main button layer's thumbnail, this will have made a selection around it.
Invert the selection by right-clicking the selection (with a selection tool out) and clicking Select Inverse. Press delete to remove the outside of the flower.
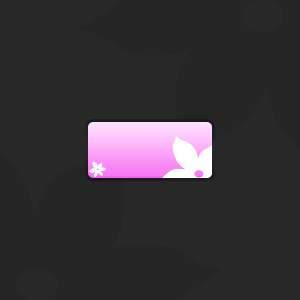
Change the layer mode for this layer to Soft Light and lower the opacity to about 50-70%.
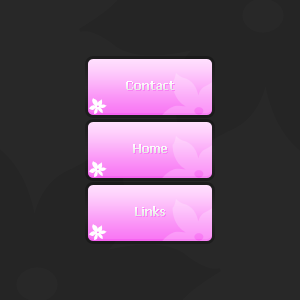
4. Lastly you have to add text to the button.

The font I used above is called Tahoma, I used a size of 12 pt, and a color of #ffffff.
After writing out your text, add the following layer styles:
Drop Shadow
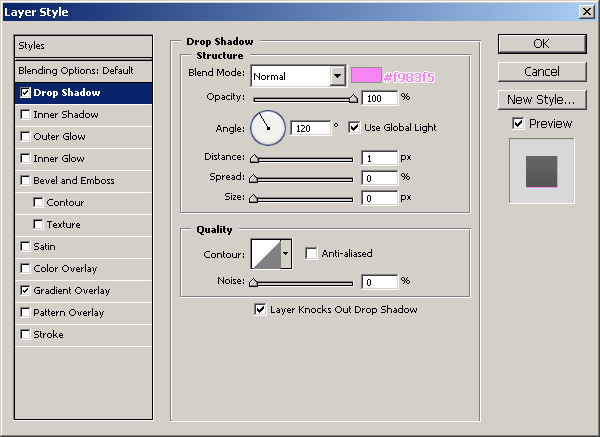
Gradient Overlay
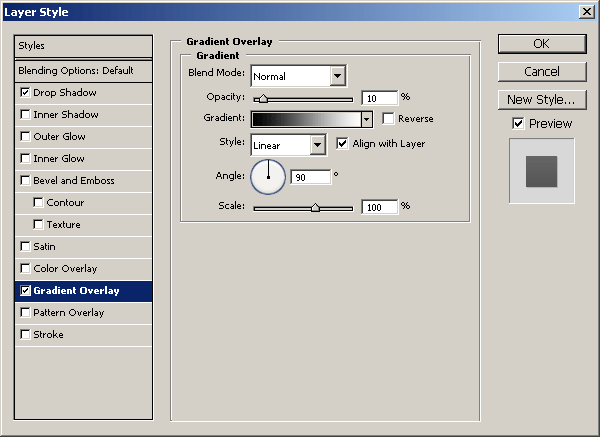
Your text should now look like this:

Lastly, duplicate the button layers, change text, etc.
Thanks for reading, we hope you enjoyed the tutorial. If you need to, you can download the PSD file from here.