1. First of all open a new file, around 500 x 500 pixels and with a white background.
2. Now go to Filter => Render => Clouds. So your file is convert in clouds.

3. In step 3 go to Filter => Render => Different Clouds. So when you click on Different Clouds, your file is convert totally black.
4. In this step go to Image => Adjust => Invert. Your file look like:

5. And now here is the final step go to Image => Adjust => Levels and set the Levels setting shown below.
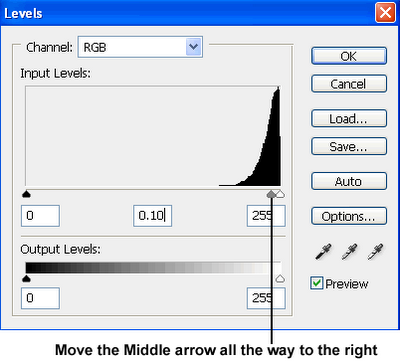
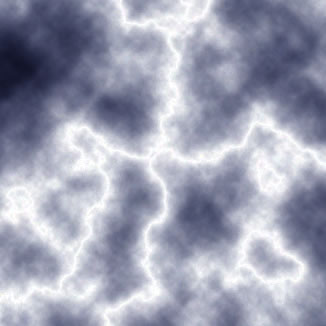
After setting the Levels you can get the Final Result!
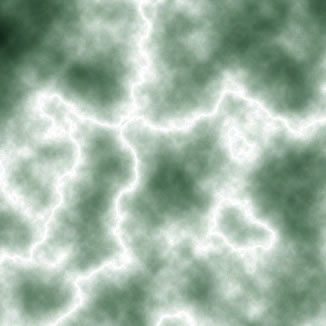
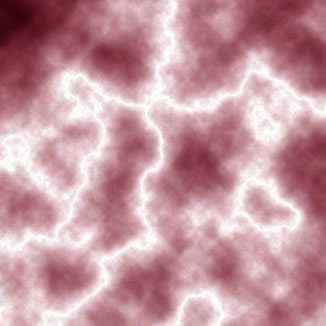
Here is a tip for you, If you want to change its color go to Images => Adjust => Hue Saturation. Check colorize and change the hue, saturation. Here is some examples.....