Step 1. Background
Start by creating a new document, I'll be using a size of 540 x 540 pixels. Now fill the background with #a48034.
Now go and apply Filter > Noise > Add Noise, use similar settings to these:
Duplicate the Background layer then apply Filter > Artistic > Underpainting, you can use the default settings.

Lower the opacity for this layer to 25% and change the layer mode to Overlay.

Step 2. Base
First of all, get the Rectangular Marquee Tool then make a set-sized selection of 366 x 220 pixels in the middle of the document.
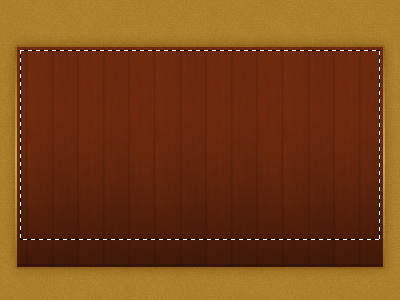
After making the selection, make a new layer then fill the selection with a dark brown color, I used #56220c.

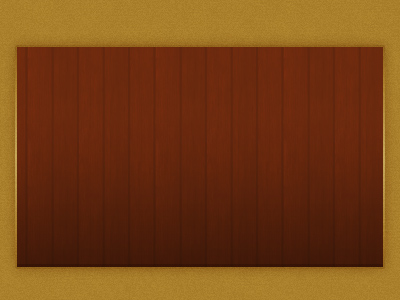
Right-click the layer you just created and go into the Blending Options, apply the following settings:
Inner Shadow

Outer Glow
Gradient Overlay

Pattern Overlay. To use this pattern, first download it from here, open it in Photoshop then define it as a pattern (Edit > Define Pattern).
Stroke

Be sure you paid attention to all the settings, and you should have gotten a result like this:
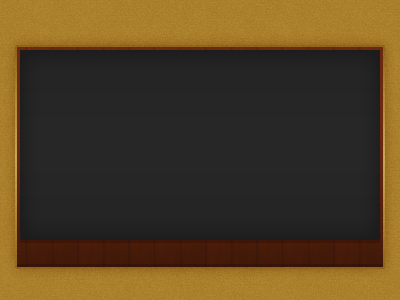
Step 3. Making the chalk board
Create another new layer then with the Rectangular Marquee Tool make a selection of about 360 x 190 pixels inside of the other layer.
Fill this selection with a dark gray I used #232323. After filling your selection, apply the following layer styles:
Drop Shadow
Inner Glow
Gradient Overlay
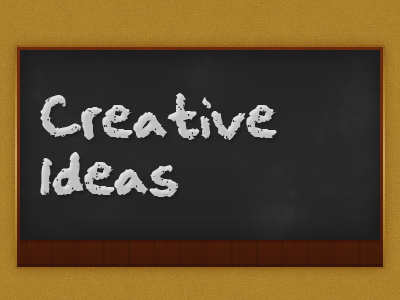
You should now have a chalk board like this:
Create a new layer then do a little bit of soft brushing on the inside of the chalk board. You can either leave the brushing, or erase away a bit with a grunge brush like I did.
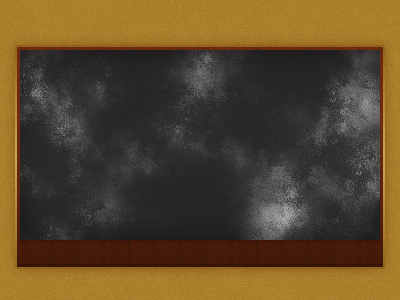
After finishing off, change the layer mode to Soft Light and lower the opacity if you think it needs it.
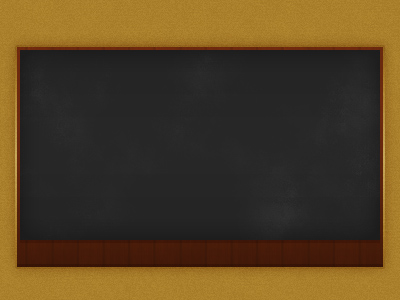
Lastly you should add in your text. You can download the font that I used from here.

After writing out my text in white I lowered the fill to 70% and apply the following layer styles:
Drop Shadow
Inner Shadow
Step 4. Logo
Get the Horizontal Type Tool out and write your text in white.

The font I used above is called Helvetica Neue, but you'll have to make use of what you have, be creative.
After writing your text, apply the following layer styles:
Drop Shadow
Inner Shadow

Lastly for the logo I added in a 'fresh' stamp, I've written a similar tutorial on this effect before, you can view it here.

Step 5. Navigation text
Lastly for this tutorial you'll want to add in some navigation text, I added mine at the bottom of the blackboard in the brown area. First get the text tool and write out your links, then change the font and such.
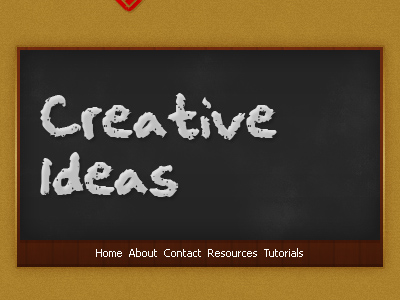
In the above image I used the font Tahoma, size: 11 pt, color #ffffff.
Lower the fill for your text layer to 70% then apply the following layer styles:
Drop Shadow

Gradient Overlay

That's pretty much it for this tutorial, you can download the PSD file from here if you need any help.