You will need to download this Grunge Brush Set for this tutorial.
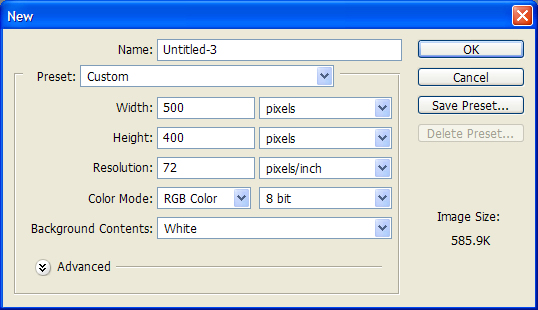
Step 1: Open a new document, and fill in these values.
Create a new layer and name it 'Tape 1′

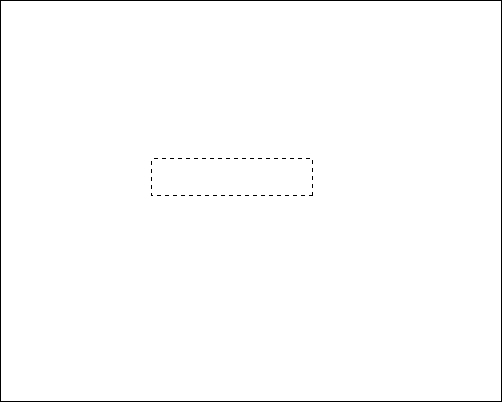
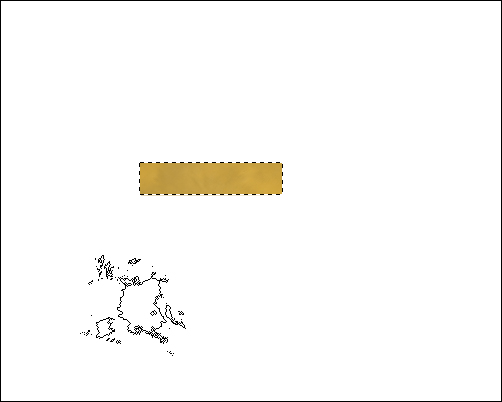
Step 2: Select the box-selection tool.

Step 3: Select an area of around 30px high by 120px wide.
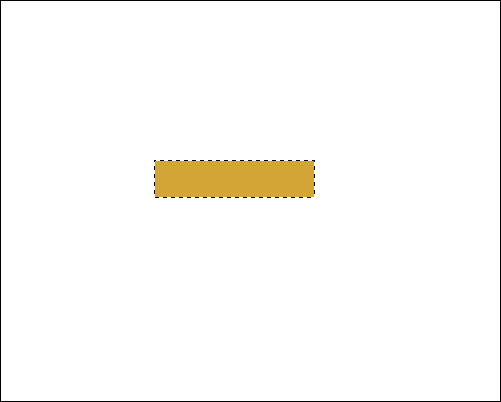
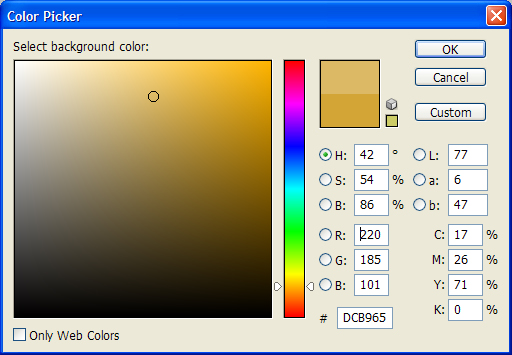
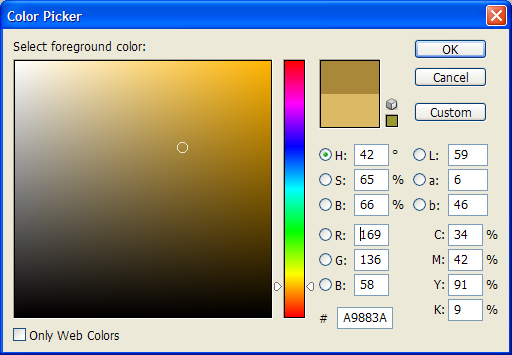
Step 4: Fill the box with the color below.

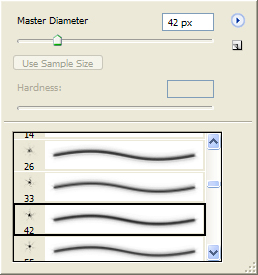
Step 5: Select the brush tool and choose one of your new grunge brushes.

Step 6: Select the following color, and sparingly brush your tape selection to vary the texture.
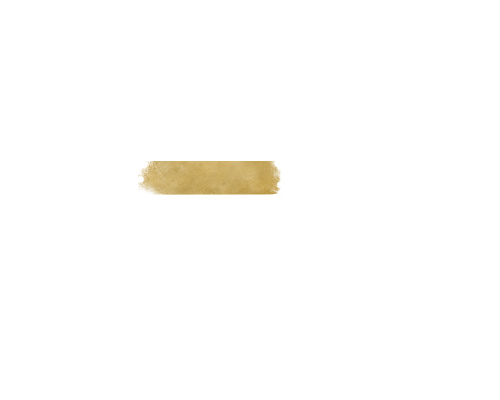
Step 7: Repeat this technique several times with different variations of a similar color to create a texture.
Step 8: Now select the eraser tool, and very sparingly use the eraser tool over the tape selection (set the opacity of the eraser to 60%), this will create a transparent effect when placed above the photo.

![]()
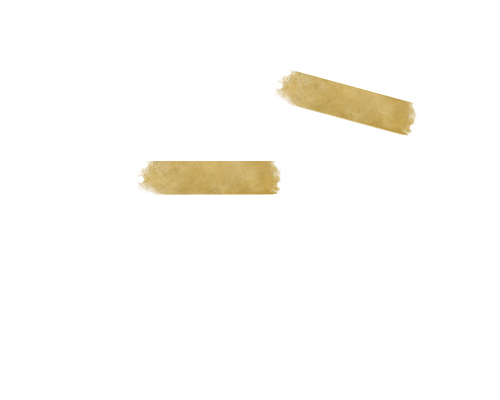
The first stage is now complete.

Step 9: Use various brushes to create a fraying effect on the ends of the tape.
Step 10: Select all (Ctrl+A), copy (Ctrl+C) and paste (Ctrl+V) the original tape into the second layer. Now create a new layer and name it 'Tape 2′.
Use the burn tool and run it over the edges of the pieces of tape to differentiate their looks.

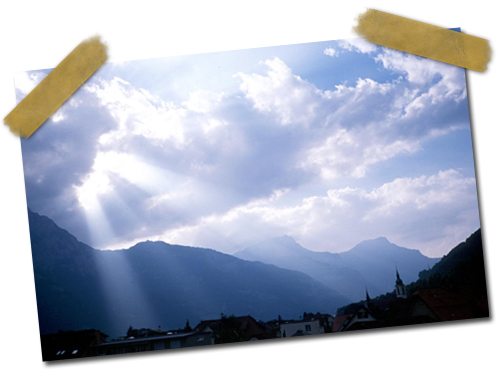
Step 11: Now open the image you wish to use in Photoshop. Copy and paste it into a new layer named 'Photo'. I used a random sunset photo I found on the Internet.
Crop the photo to the right size using the resize tool (Ctrl+T) and angle it.
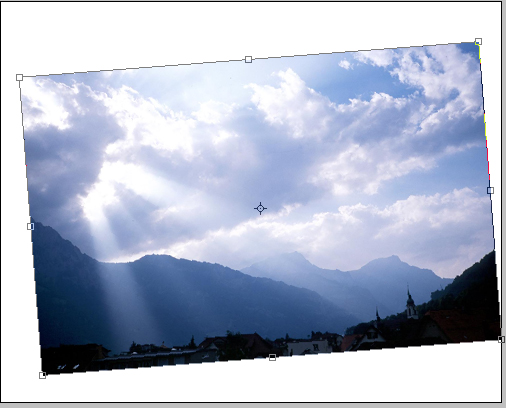
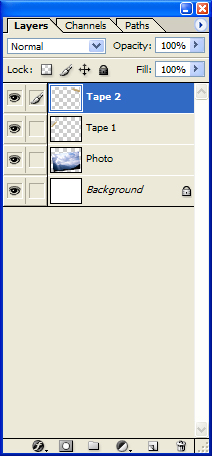
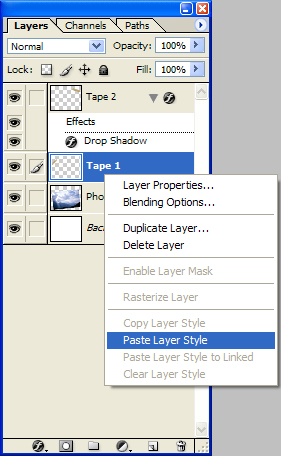
Now drop this layer below the two tape layers. Your layer window should now look like this.
Step 12: Place the pieces of tape above the top corners of the photo, use the resize tool (Ctrl+T) to randomly angle the pieces of tape.
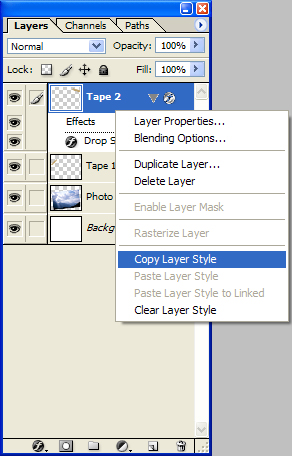
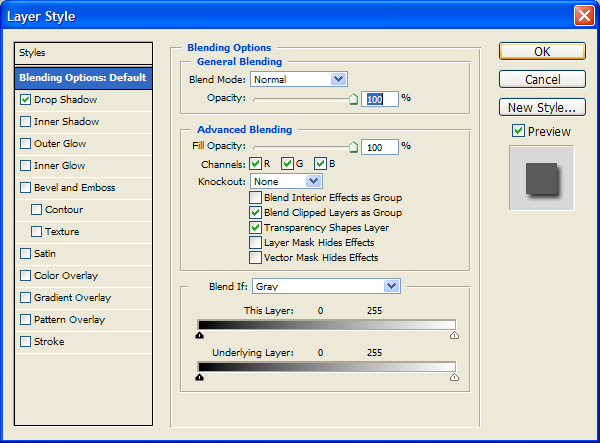
Step 13: Now right click on the top tape layer and select 'Blending Options'. Put in these values…
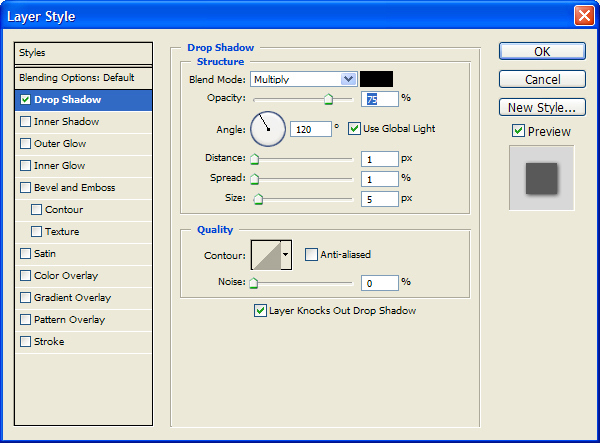
Apply this to both tape layers…
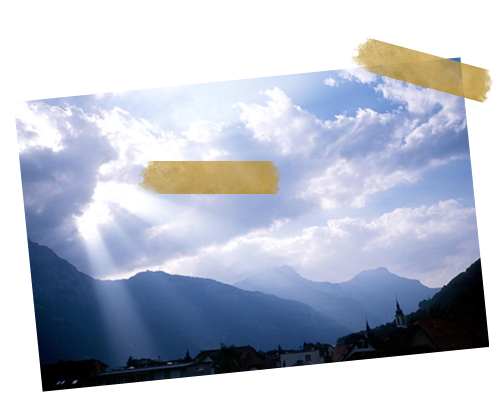
Step 14: Right click on the photo layer and select 'Blending Options'. Highlight the drop shadow option and leave the settings as default. Your picture should now be taking shape…
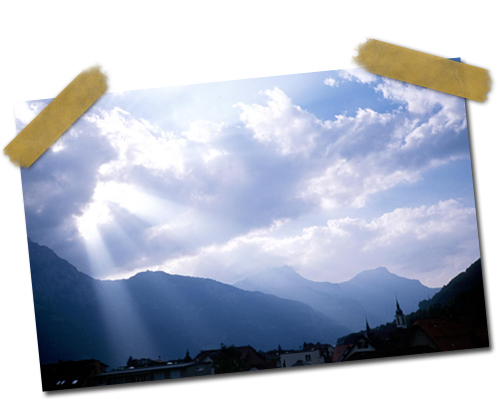
You can adjust the opacity of your tape layers if you think they aren't transparent enough. Once again use the burn tool to vary the looks of each piece of tape.
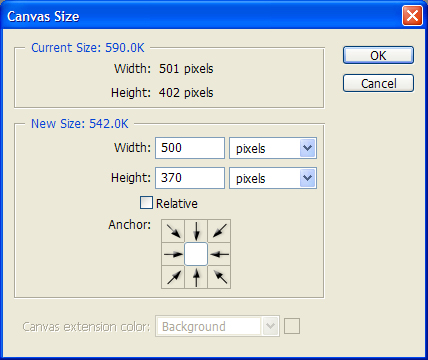
Finally, open the canvas size window ('Image' > 'Canvas Size') and trim your picture if there are any large white gaps.
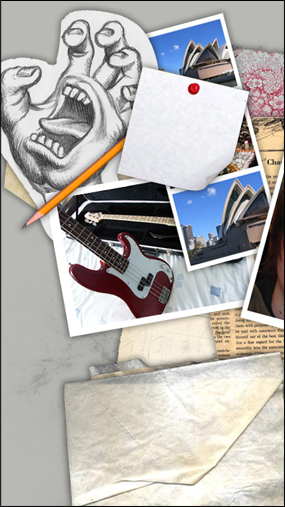
You can add text to your picture or just leave it how it is. Try repeating this technique many times to create a collage-esque layered effect.
Congratulations, you're done!